Setting the Date and Time |
| |
The current date and time are shown in the display when the machine is on | 1 | |
and ready for use (Standby mode). The date and time are printed on all | ||
| ||
faxes you send. |
|
1Press the Menu button, then press the Date & Time button on the One- Touch keypad. The current date and time are displayed. A flashing cursor in the display prompts you to enter the date.
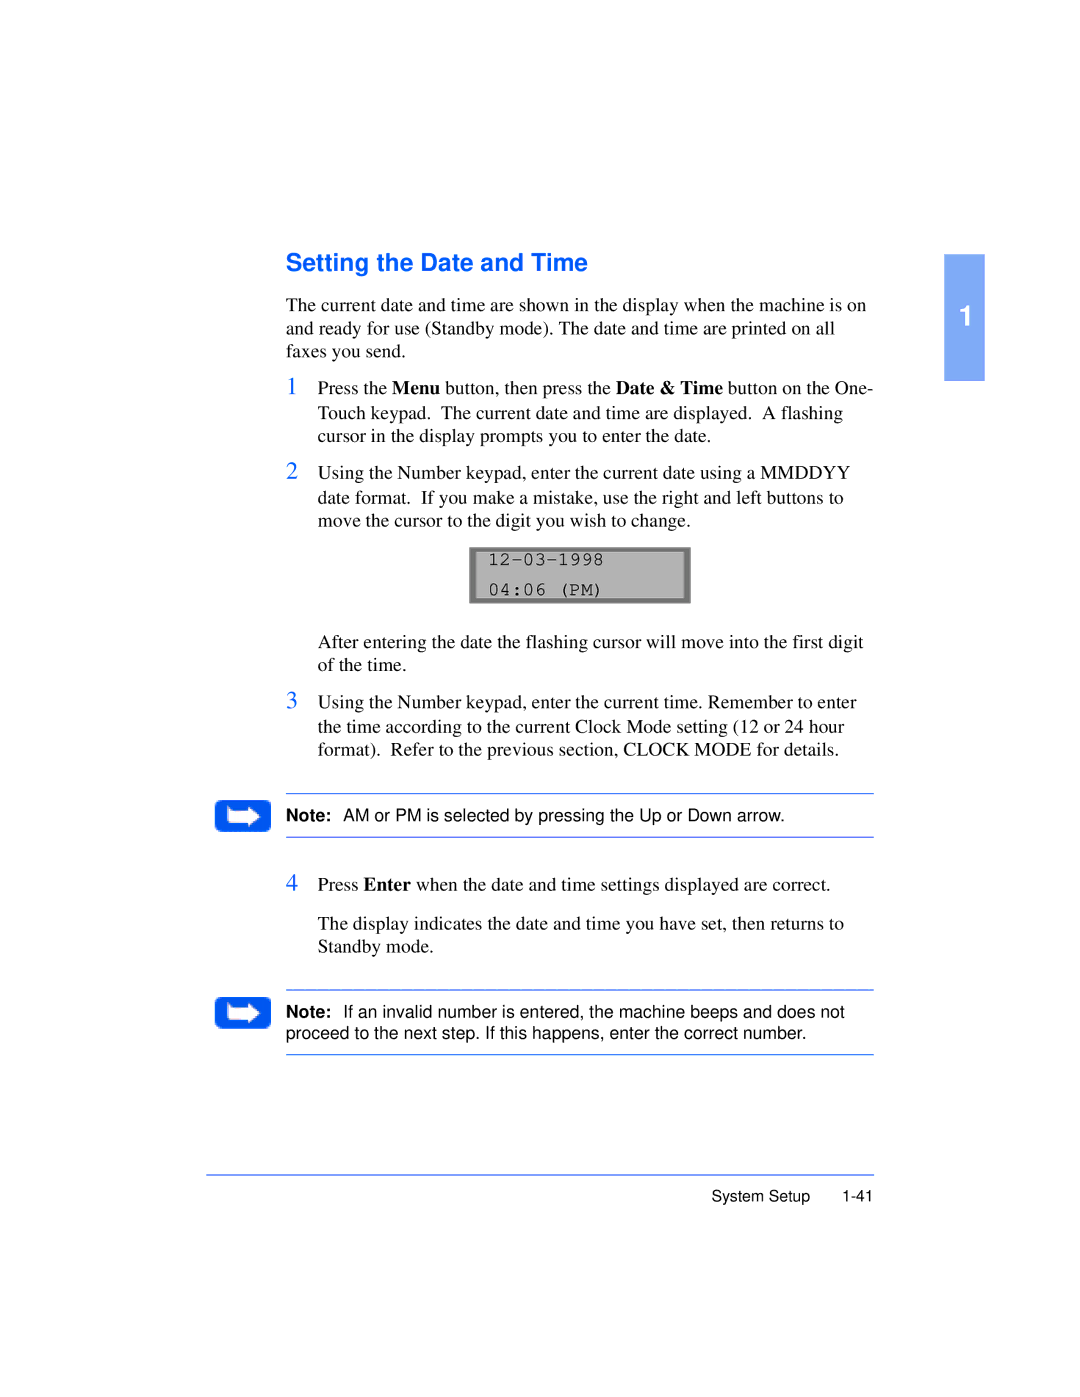
2Using the Number keypad, enter the current date using a MMDDYY date format. If you make a mistake, use the right and left buttons to move the cursor to the digit you wish to change.
04:06 (PM)
After entering the date the flashing cursor will move into the first digit of the time.
3Using the Number keypad, enter the current time. Remember to enter the time according to the current Clock Mode setting (12 or 24 hour format). Refer to the previous section, CLOCK MODE for details.
Note: AM or PM is selected by pressing the Up or Down arrow.
4Press Enter when the date and time settings displayed are correct.
The display indicates the date and time you have set, then returns to Standby mode.
Note: If an invalid number is entered, the machine beeps and does not proceed to the next step. If this happens, enter the correct number.
System Setup |
