Installation Manual for DiBos Video System
Configuration (continued)
Saving camera positions
You can set the positions of dome cameras to which you can automatically swivel time and time again. Users can quickly select these positions in the live image, provided they are authorized to do this.
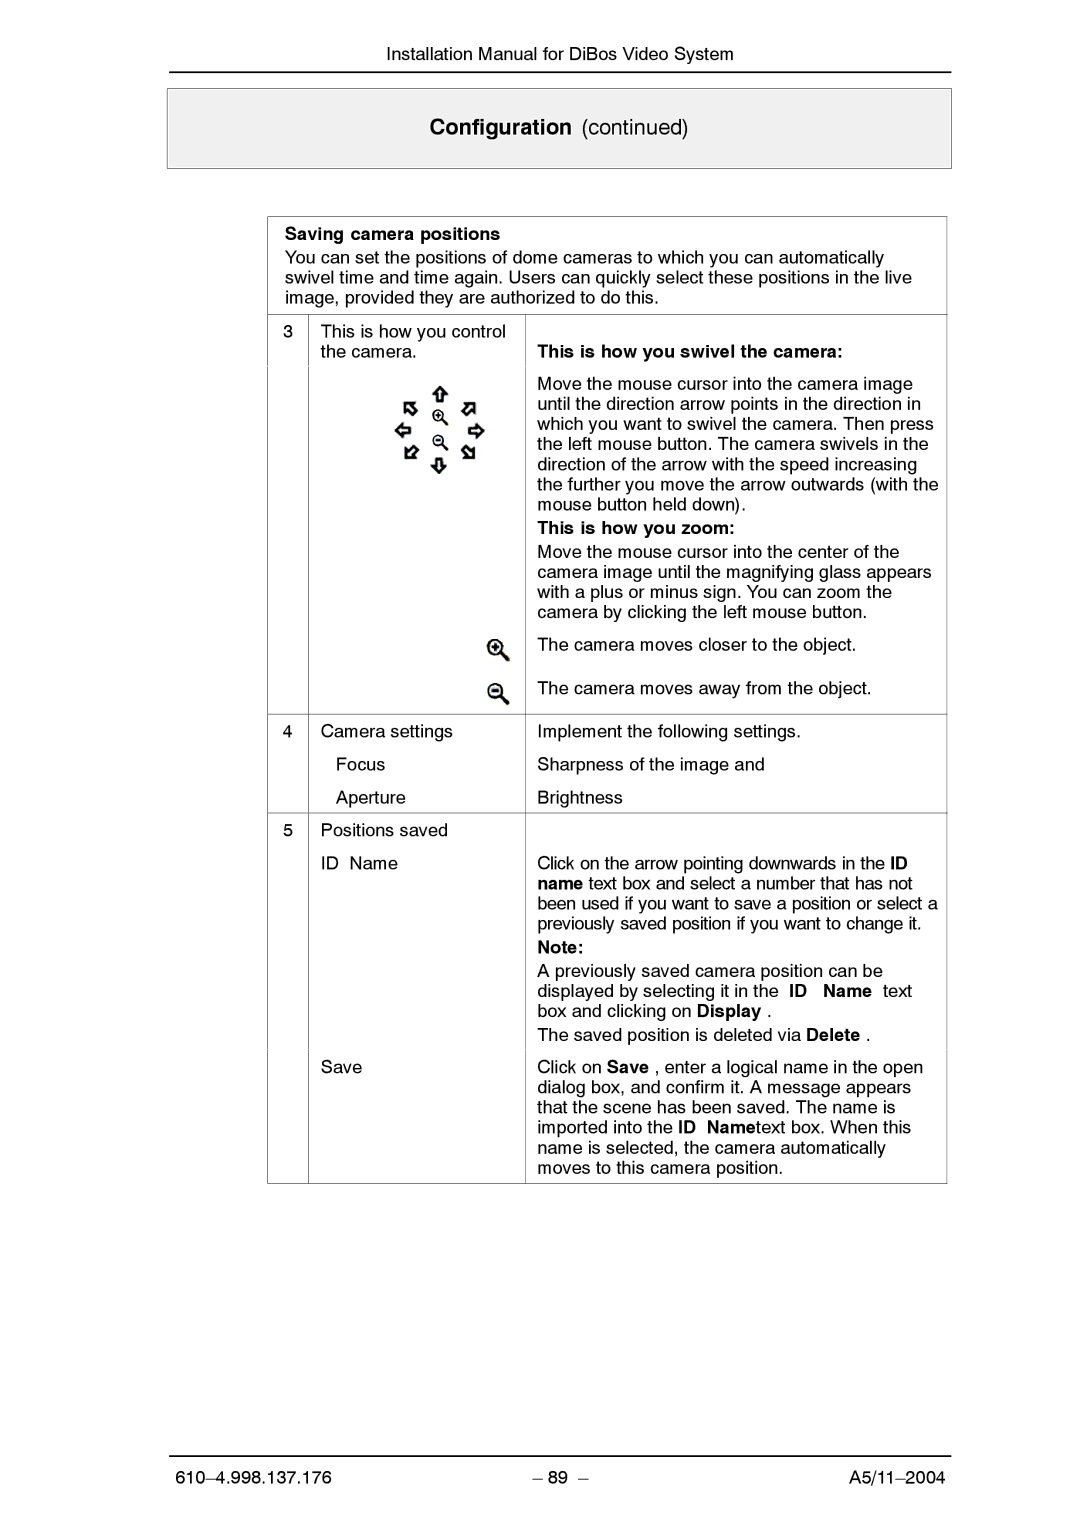
3This is how you control
the camera.This is how you swivel the camera:
|
| Move the mouse cursor into the camera image |
|
| until the direction arrow points in the direction in |
|
| which you want to swivel the camera. Then press |
|
| the left mouse button. The camera swivels in the |
|
| direction of the arrow with the speed increasing |
|
| the further you move the arrow outwards (with the |
|
| mouse button held down). |
|
| This is how you zoom: |
|
| Move the mouse cursor into the center of the |
|
| camera image until the magnifying glass appears |
|
| with a plus or minus sign. You can zoom the |
|
| camera by clicking the left mouse button. |
|
| The camera moves closer to the object. |
|
| The camera moves away from the object. |
|
|
|
4 | Camera settings | Implement the following settings. |
| Focus | Sharpness of the image and |
| Aperture | Brightness |
|
|
|
5 | Positions saved |
|
| ID Name | Click on the arrow pointing downwards in the ID |
|
| name text box and select a number that has not |
|
| been used if you want to save a position or select a |
|
| previously saved position if you want to change it. |
|
| Note: |
|
| A previously saved camera position can be |
|
| displayed by selecting it in the ID Name text |
|
| box and clicking on Display . |
|
| The saved position is deleted via Delete . |
| Save | Click on Save , enter a logical name in the open |
| ||
|
| dialog box, and confirm it. A message appears |
|
| that the scene has been saved. The name is |
|
| imported into the ID Nametext box. When this |
|
| name is selected, the camera automatically |
|
| moves to this camera position. |
|
|
|
– 89 – |