Installation Manual for DiBos Video System
Connections (continued)
4.14Connecting Radio Clock DCF 77
May only be executed by authorized trained personnel!
The connection must be made to a serial interface.
Note:
Only the radio clock NeoClock DCF 77 should be used.
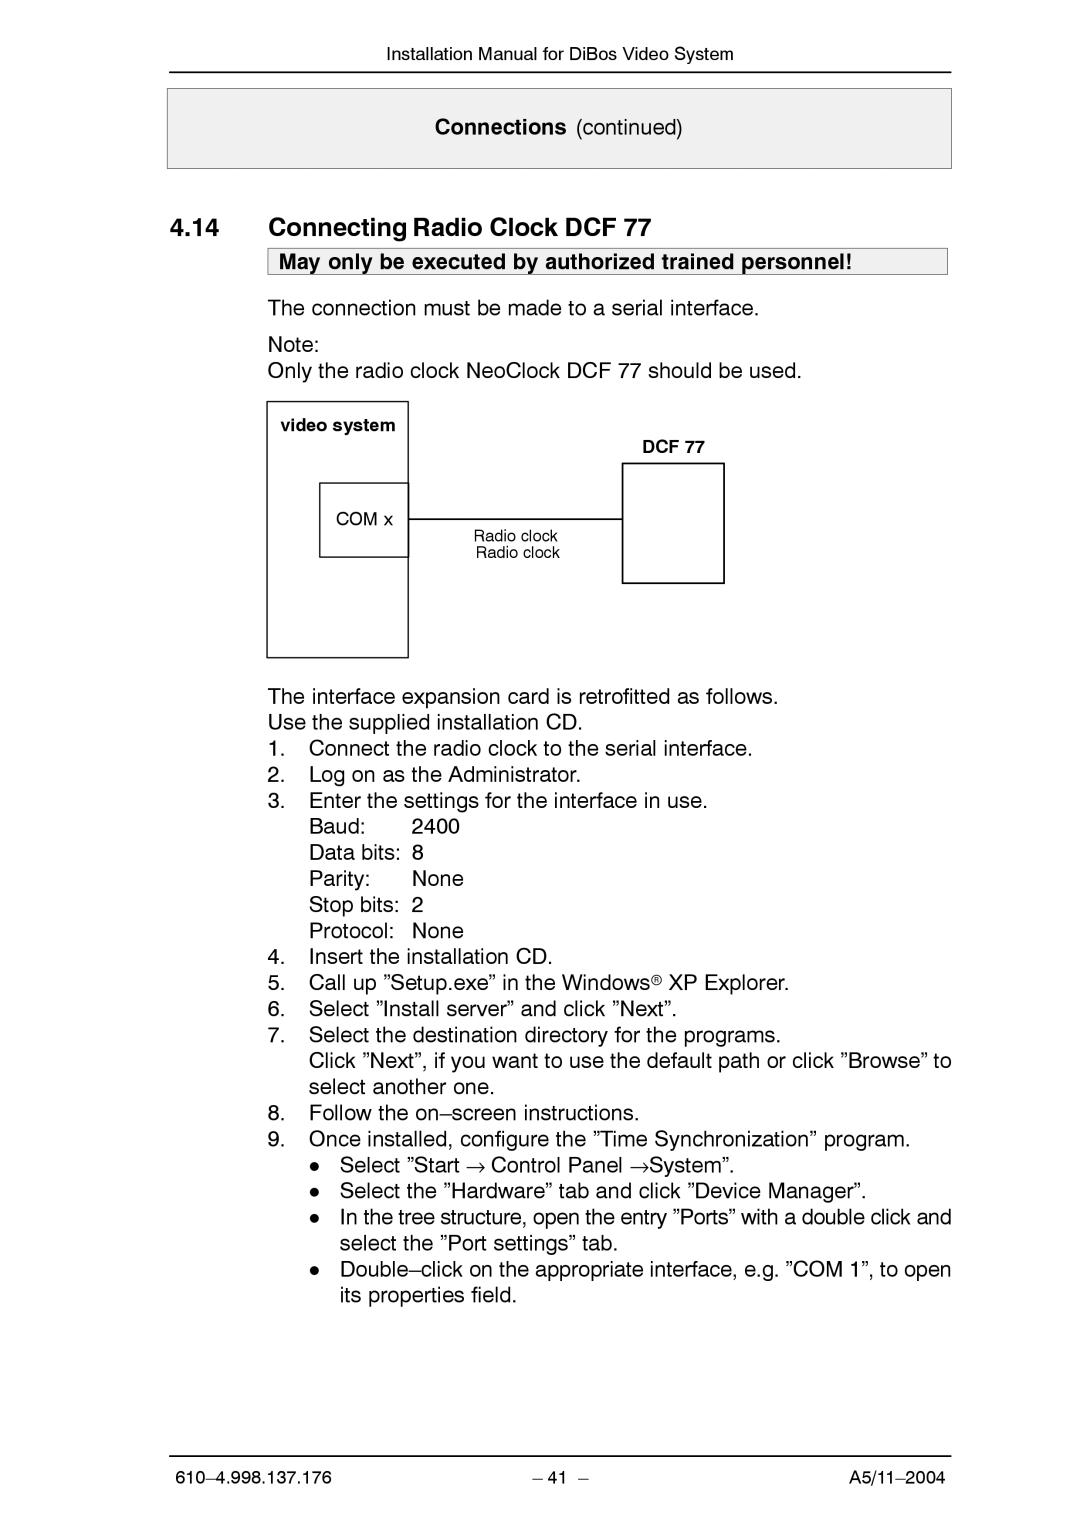
video system
COM x
DCF 77
Radio clock
Radio clock
The interface expansion card is retrofitted as follows.
Use the supplied installation CD.
1.Connect the radio clock to the serial interface.
2.Log on as the Administrator.
3.Enter the settings for the interface in use. Baud: 2400
Data bits: 8
Parity: None
Stop bits: 2
Protocol: None
4.Insert the installation CD.
5.Call up ”Setup.exe” in the Windowsr XP Explorer.
6.Select ”Install server” and click ”Next”.
7.Select the destination directory for the programs.
Click ”Next”, if you want to use the default path or click ”Browse” to select another one.
8.Follow the
9.Once installed, configure the ”Time Synchronization” program. D Select ”Start → Control Panel →System”.
D Select the ”Hardware” tab and click ”Device Manager”.
D In the tree structure, open the entry ”Ports” with a double click and select the ”Port settings” tab.
D
| – 41 – |