Chapter 3 Installing WLSE
Installation Quick Reference
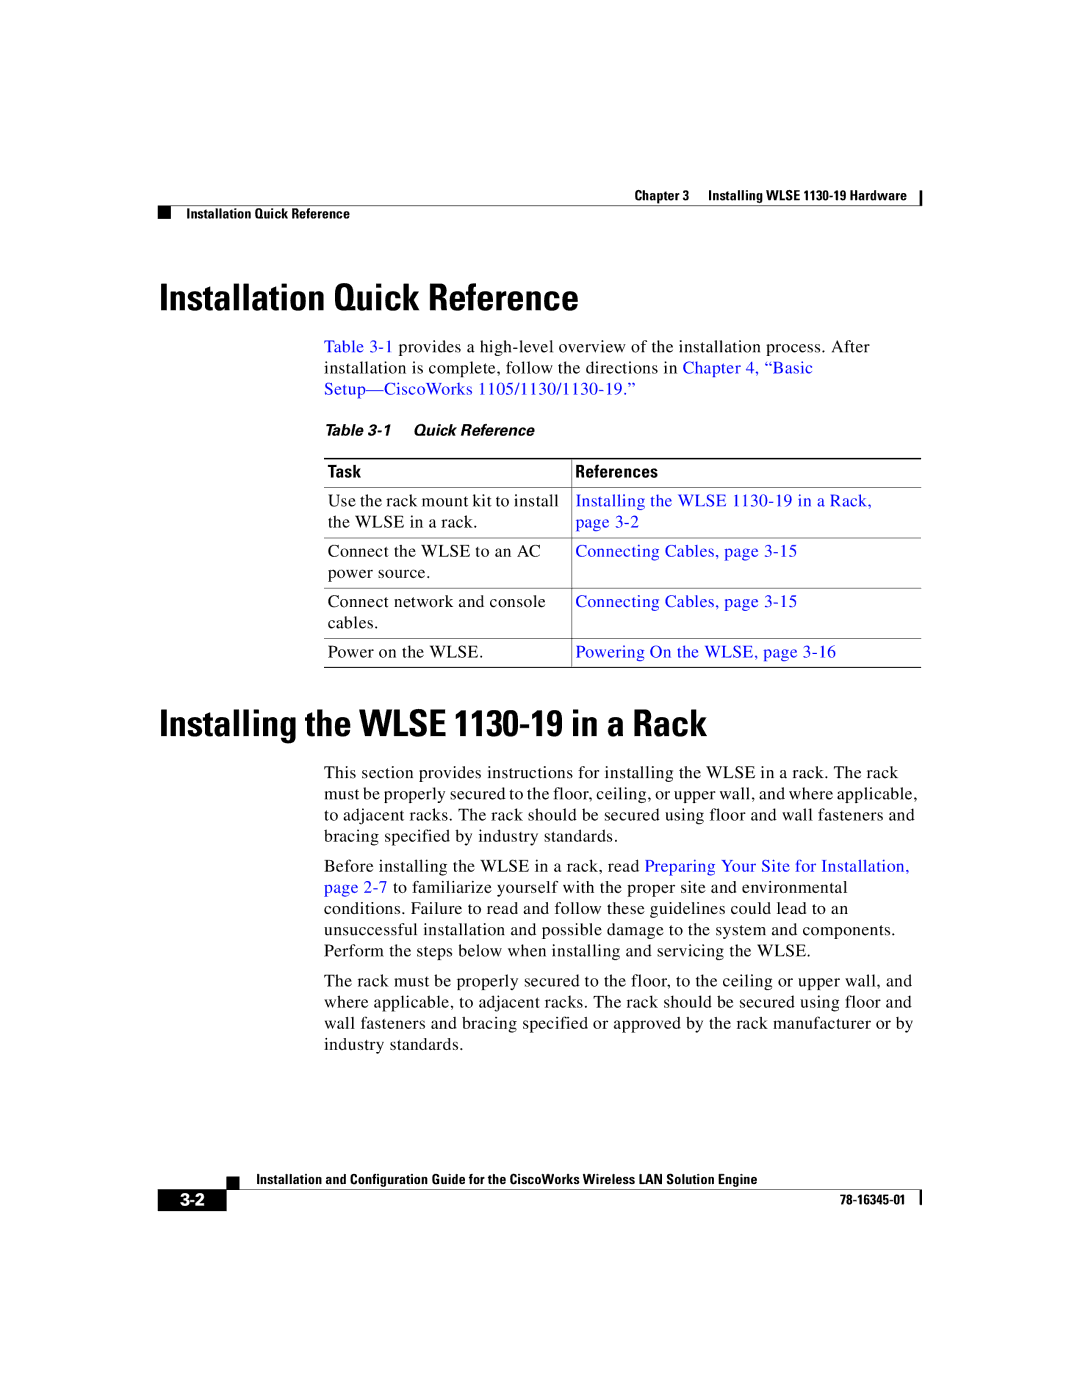
Installation Quick Reference
Table
Table
Task | References |
|
|
Use the rack mount kit to install | Installing the WLSE |
the WLSE in a rack. | page |
|
|
Connect the WLSE to an AC | Connecting Cables, page |
power source. |
|
|
|
Connect network and console | Connecting Cables, page |
cables. |
|
|
|
Power on the WLSE. | Powering On the WLSE, page |
|
|
Installing the WLSE 1130-19 in a Rack
This section provides instructions for installing the WLSE in a rack. The rack must be properly secured to the floor, ceiling, or upper wall, and where applicable, to adjacent racks. The rack should be secured using floor and wall fasteners and bracing specified by industry standards.
Before installing the WLSE in a rack, read Preparing Your Site for Installation, page
The rack must be properly secured to the floor, to the ceiling or upper wall, and where applicable, to adjacent racks. The rack should be secured using floor and wall fasteners and bracing specified or approved by the rack manufacturer or by industry standards.
| Installation and Configuration Guide for the CiscoWorks Wireless LAN Solution Engine |
