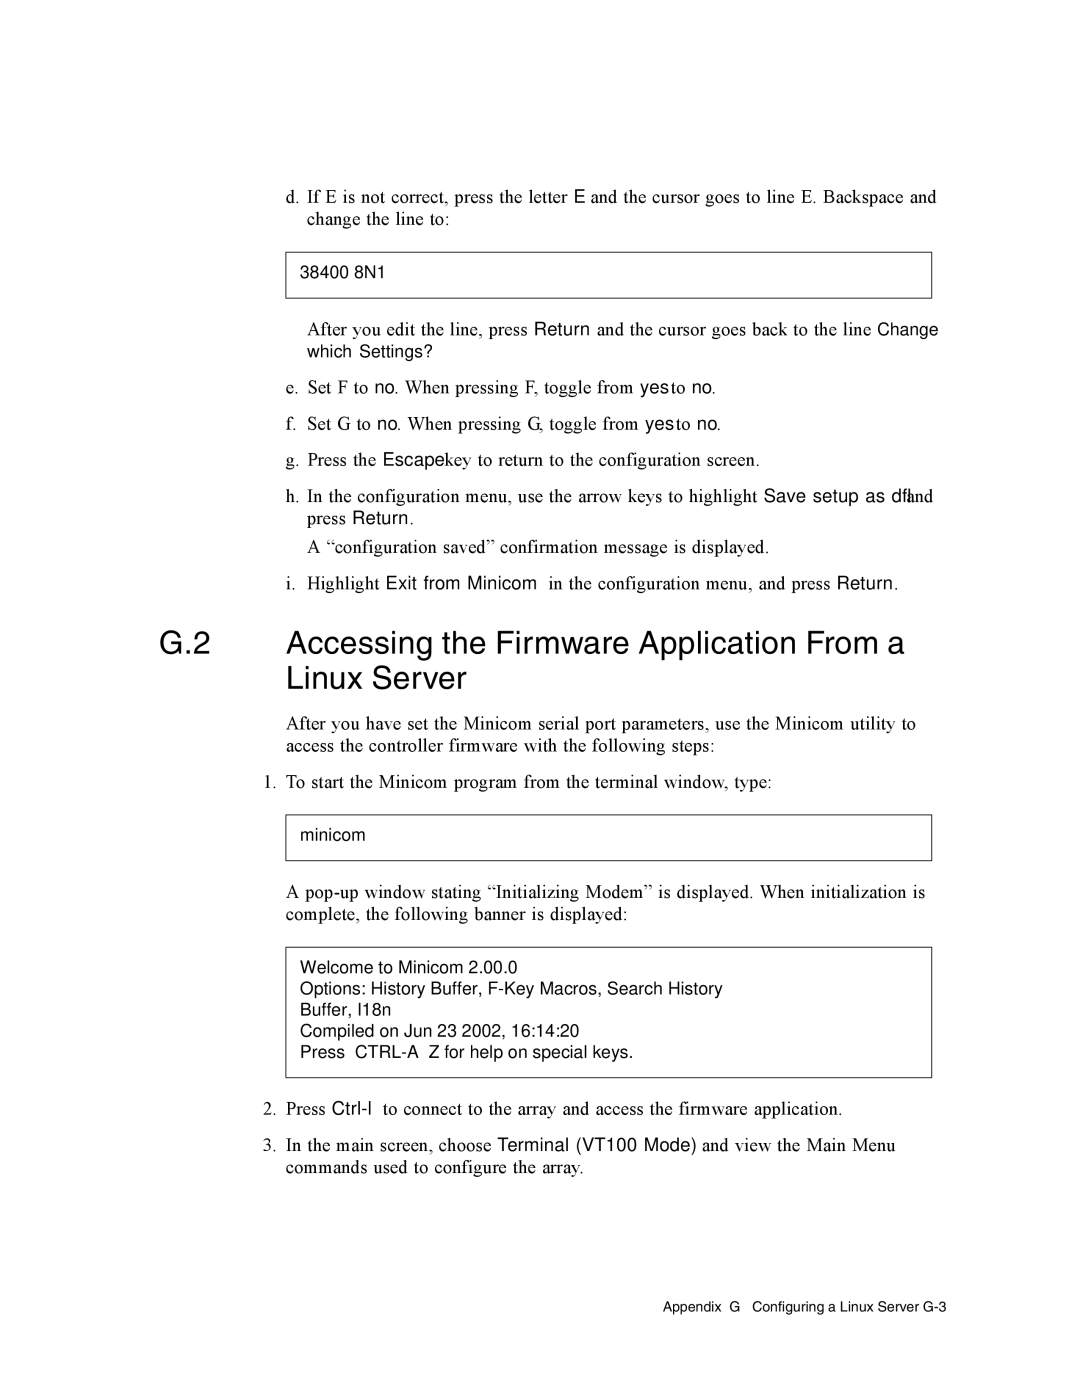
d. If E is not correct, press the letter E and the cursor goes to line E. Backspace and change the line to:
38400 8N1
After you edit the line, press Return and the cursor goes back to the line Change
which Settings?
e.Set F to no. When pressing F, toggle from yes to no.
f.Set G to no. When pressing G, toggle from yes to no.
g.Press the Escape key to return to the configuration screen.
h.In the configuration menu, use the arrow keys to highlight Save setup as dfl and press Return.
A “configuration saved” confirmation message is displayed.
i.Highlight Exit from Minicom in the configuration menu, and press Return.
G.2 Accessing the Firmware Application From a Linux Server
After you have set the Minicom serial port parameters, use the Minicom utility to access the controller firmware with the following steps:
1.To start the Minicom program from the terminal window, type:
minicom
A
Welcome to Minicom 2.00.0
Options: History Buffer,
Buffer, I18n
Compiled on Jun 23 2002, 16:14:20
Press
2.Press
3.In the main screen, choose Terminal (VT100 Mode) and view the Main Menu commands used to configure the array.
Appendix G Configuring a Linux Server
