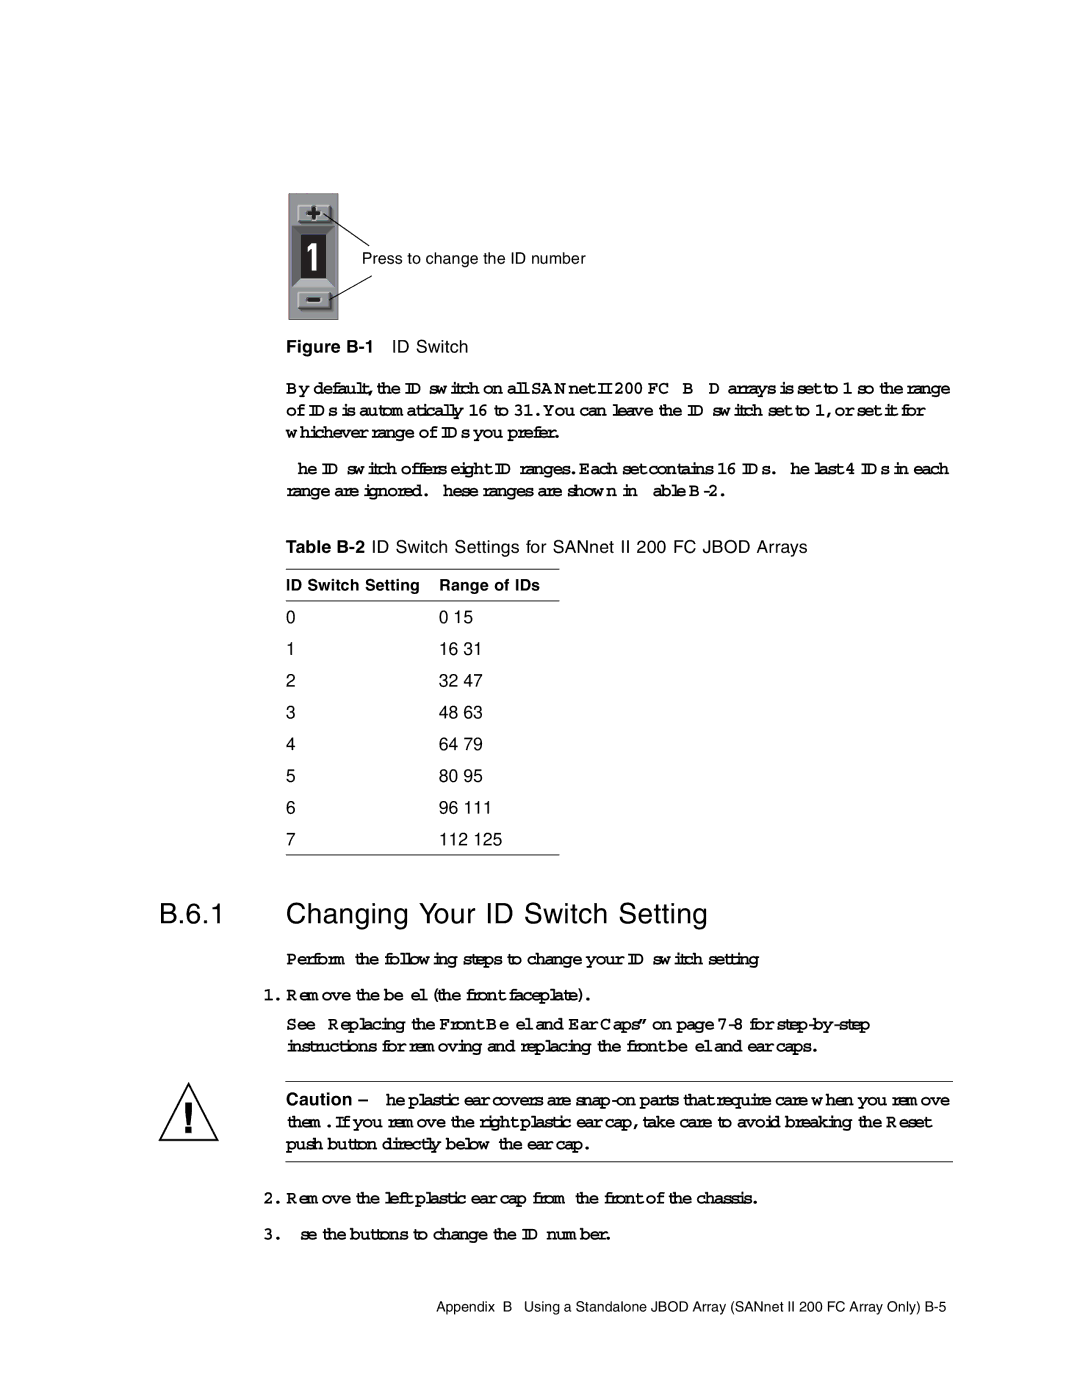
Press to change the ID number
Figure B-1 ID Switch
By default, the ID switch on all SANnet II 200 FC JBOD arrays is set to 1 so the range of IDs is automatically 16 to 31. You can leave the ID switch set to 1, or set it for whichever range of IDs you prefer.
The ID switch offers eight ID ranges. Each set contains 16 IDs. The last 4 IDs in each range are ignored. These ranges are shown in Table
Table B-2 ID Switch Settings for SANnet II 200 FC JBOD Arrays
ID Switch Setting Range of IDs
00–15
116–31
232–47
348–63
464–79
580–95
696–111
7112–125
B.6.1 Changing Your ID Switch Setting
Perform the following steps to change your ID switch setting:
1.Remove the bezel (the front faceplate).
See “Replacing the Front Bezel and Ear Caps” on page
Caution – The plastic ear covers are
2.Remove the left plastic ear cap from the front of the chassis.
3.Use the buttons to change the ID number.
Appendix B Using a Standalone JBOD Array (SANnet II 200 FC Array Only)