Finish setup
Chapter 4
The computer directly connected to the HP Photosmart acts as the host for the printer and has full software functionality. The other computer, which is referred to as a client, has access only to the print features. You must perform other functions from the host computer or from the control panel on the HP Photosmart.
To enable printer sharing on a Windows computer
▲Refer to the user guide that came with your computer or see the Windows onscreen Help.
Connect to a network
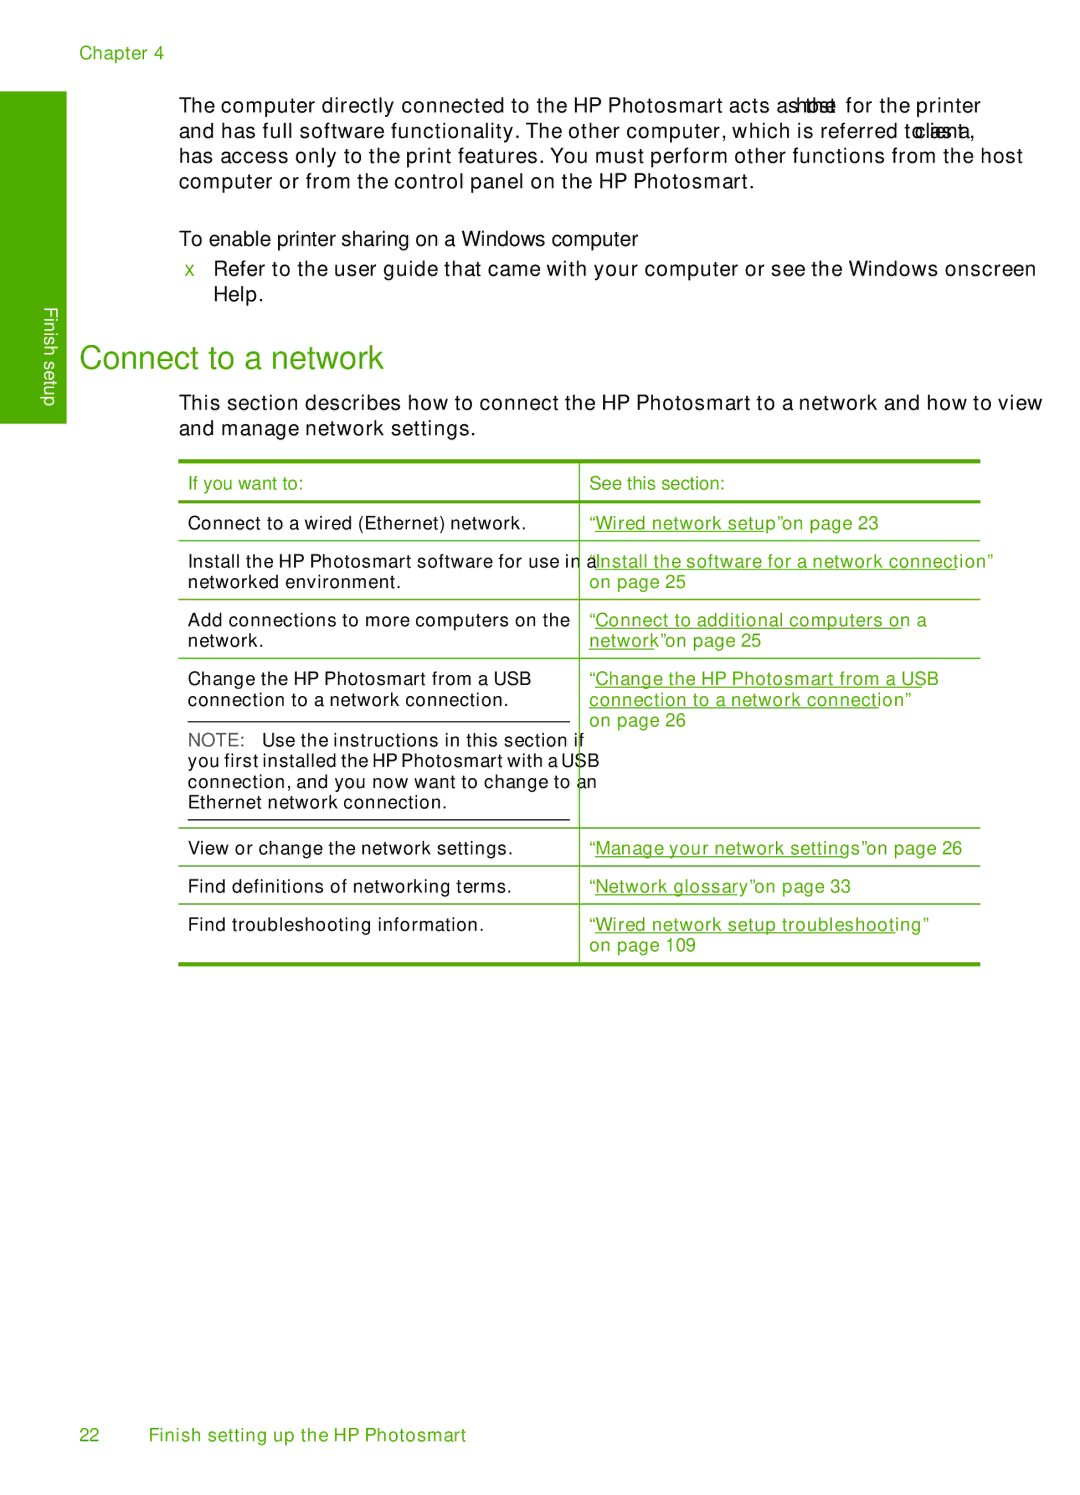
This section describes how to connect the HP Photosmart to a network and how to view and manage network settings.
If you want to:
Connect to a wired (Ethernet) network.
Install the HP Photosmart software for use in a networked environment.
Add connections to more computers on the network.
Change the HP Photosmart from a USB connection to a network connection.
NOTE: Use the instructions in this section if you first installed the HP Photosmart with a USB connection, and you now want to change to an Ethernet network connection.
View or change the network settings.
Find definitions of networking terms.
Find troubleshooting information.
See this section:
“Wired network setup” on page 23
“Install the software for a network connection” on page 25
“Connect to additional computers on a network” on page 25
“Change the HP Photosmart from a USB connection to a network connection” on page 26
“Manage your network settings” on page 26
“Network glossary” on page 33
“Wired network setup troubleshooting” on page 109
22 Finish setting up the HP Photosmart
