Attaching the external
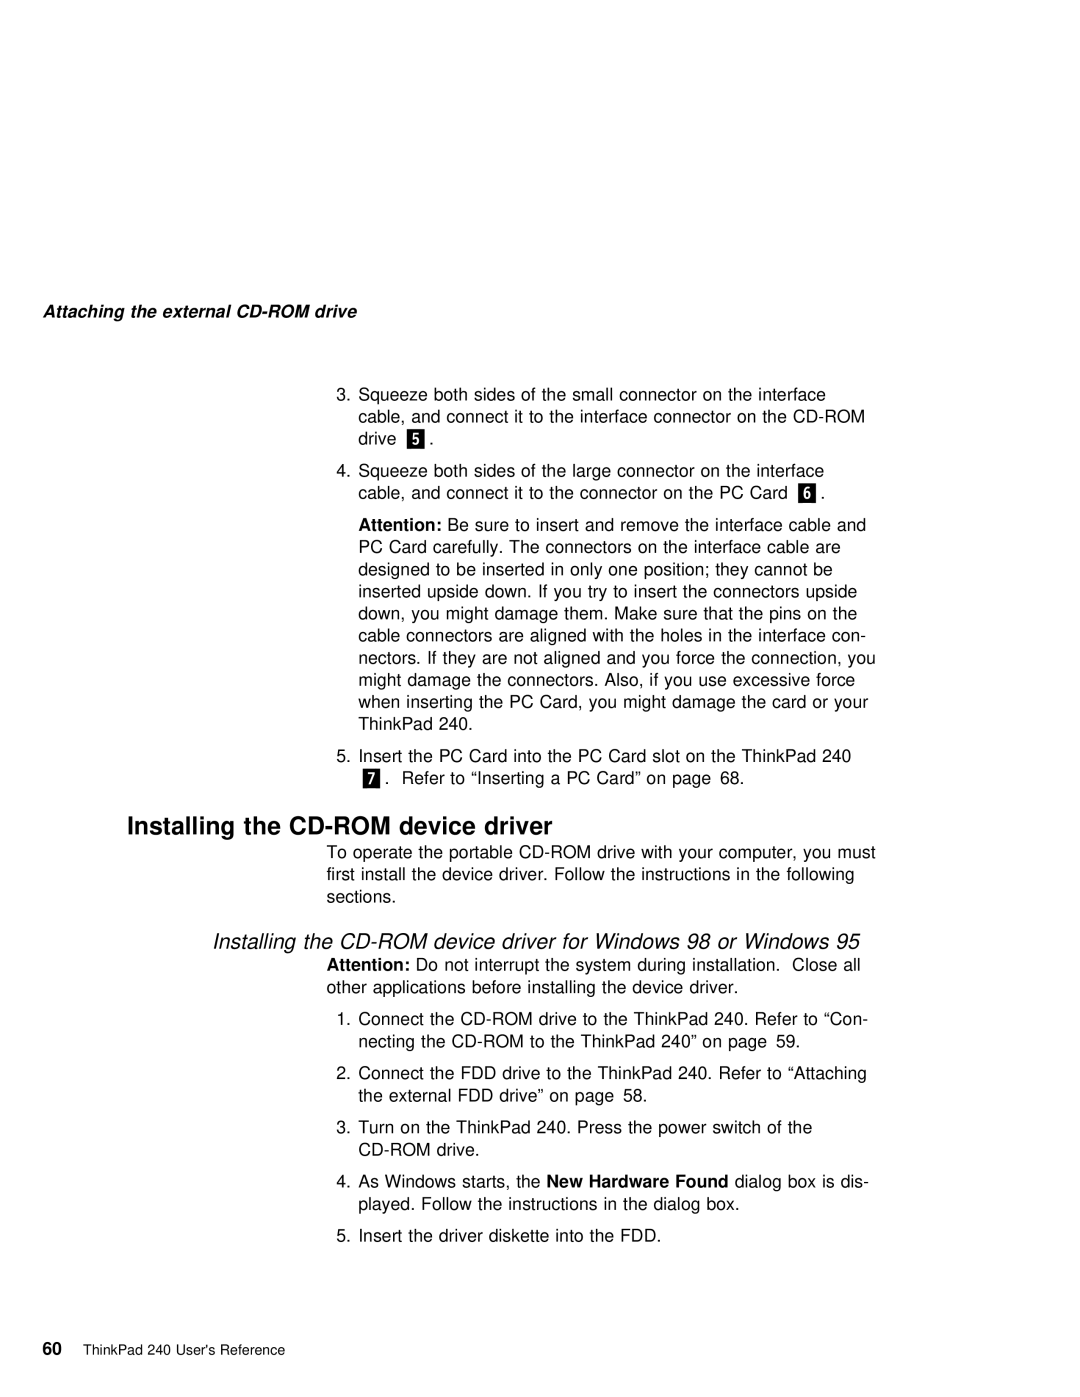
3. Squeeze both sides of the small connector on the interface cable, and connect it to the interface connector on the
4.Squeeze both sides of the large connector on the interface cable, and connect it to the connector .6/on. the PC Card
Attention: | Be | sure | to insert | and | remove | the | interface | cable | and | |||||||||
PC Card carefully. The connectors on the interface cable are |
| |||||||||||||||||
designed to be inserted in | only one position; they cannot be |
| ||||||||||||||||
inserted upside down. If you try | to | insert | the | connectors | upsi | |||||||||||||
down, you might damage them. | Make | sure | that | the | pins | on | the |
| ||||||||||
cable | connectors | are | aligned | with the holes in the interface c | ||||||||||||||
nectors. If they are not aligned and | you | force | the | connection, | ||||||||||||||
might damage | the | connectors. | Also, | if | you | use | excessive | force | ||||||||||
when inserting the PC Card, you might | damage | the card | or your | |||||||||||||||
ThinkPad | 240. |
|
|
|
|
|
|
|
|
|
|
|
|
|
|
|
|
|
5. Insert | the | PC | Card | into | the | PC | Card | slot | on | the | ThinkPad | 240 |
| |||||
.7/. Refer | to | “Inserting | a | PC | Card” | on | page 68. |
|
|
|
| |||||||
Installing the | device driver |
To | operate the portable |
first install the device driver. Follow the instructions in the follow sections.
Installing the
Attention: Do not interrupt the system during installation. Close all other applications before installing the device driver.
1. Connect | the | to the ThinkPad 240. Refer to “Con- | ||||
necting | the | ThinkPad 240” | on | page 59. | ||
2. Connect | the | FDD | drive to | the ThinkPad | 240. | Refer to “Attaching |
the external | FDD | drive” | on page 58. |
|
| |
3.Turn on the ThinkPad 240. Press the power switch of the
4. As Windows | starts,New | theHardware Found |
| dialog box is dis- | ||
played. | Follow the | instructions | in | the | dialog box. | |
5. Insert | the | driver | diskette | into | the | FDD. |
60 ThinkPad 240 User's Reference