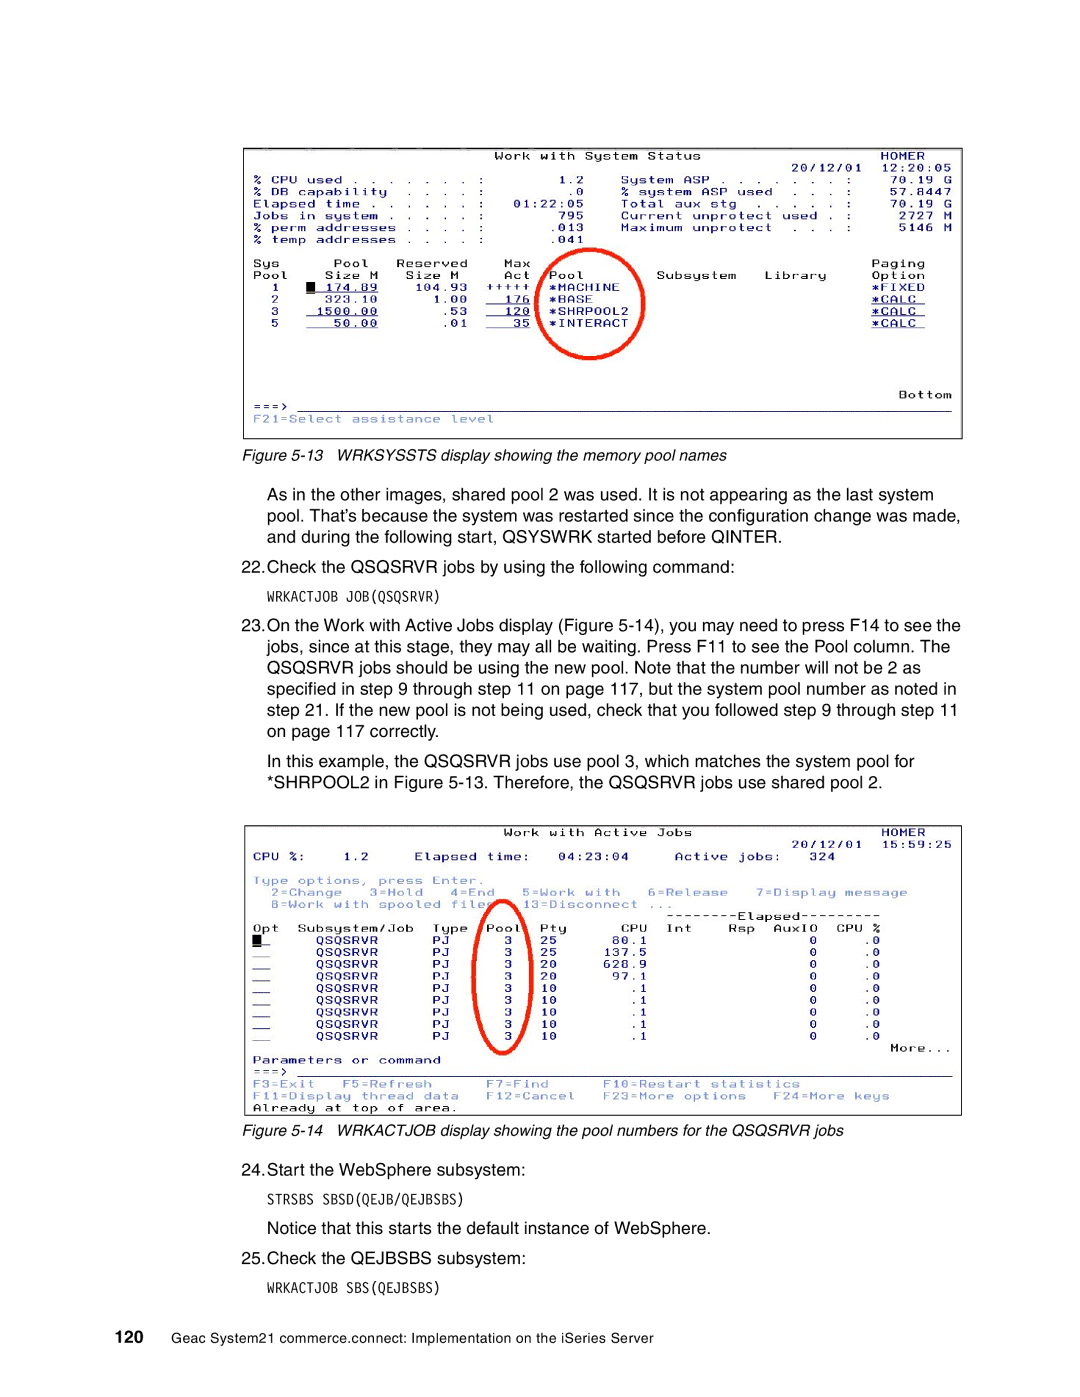
Figure 5-13 WRKSYSSTS display showing the memory pool names
As in the other images, shared pool 2 was used. It is not appearing as the last system pool. That’s because the system was restarted since the configuration change was made, and during the following start, QSYSWRK started before QINTER.
22.Check the QSQSRVR jobs by using the following command:
WRKACTJOB JOB(QSQSRVR)
23.On the Work with Active Jobs display (Figure
In this example, the QSQSRVR jobs use pool 3, which matches the system pool for *SHRPOOL2 in Figure
Figure 5-14 WRKACTJOB display showing the pool numbers for the QSQSRVR jobs
24.Start the WebSphere subsystem:
STRSBS SBSD(QEJB/QEJBSBS)
Notice that this starts the default instance of WebSphere.
25.Check the QEJBSBS subsystem:
WRKACTJOB SBS(QEJBSBS)
120Geac System21 commerce.connect: Implementation on the iSeries Server
