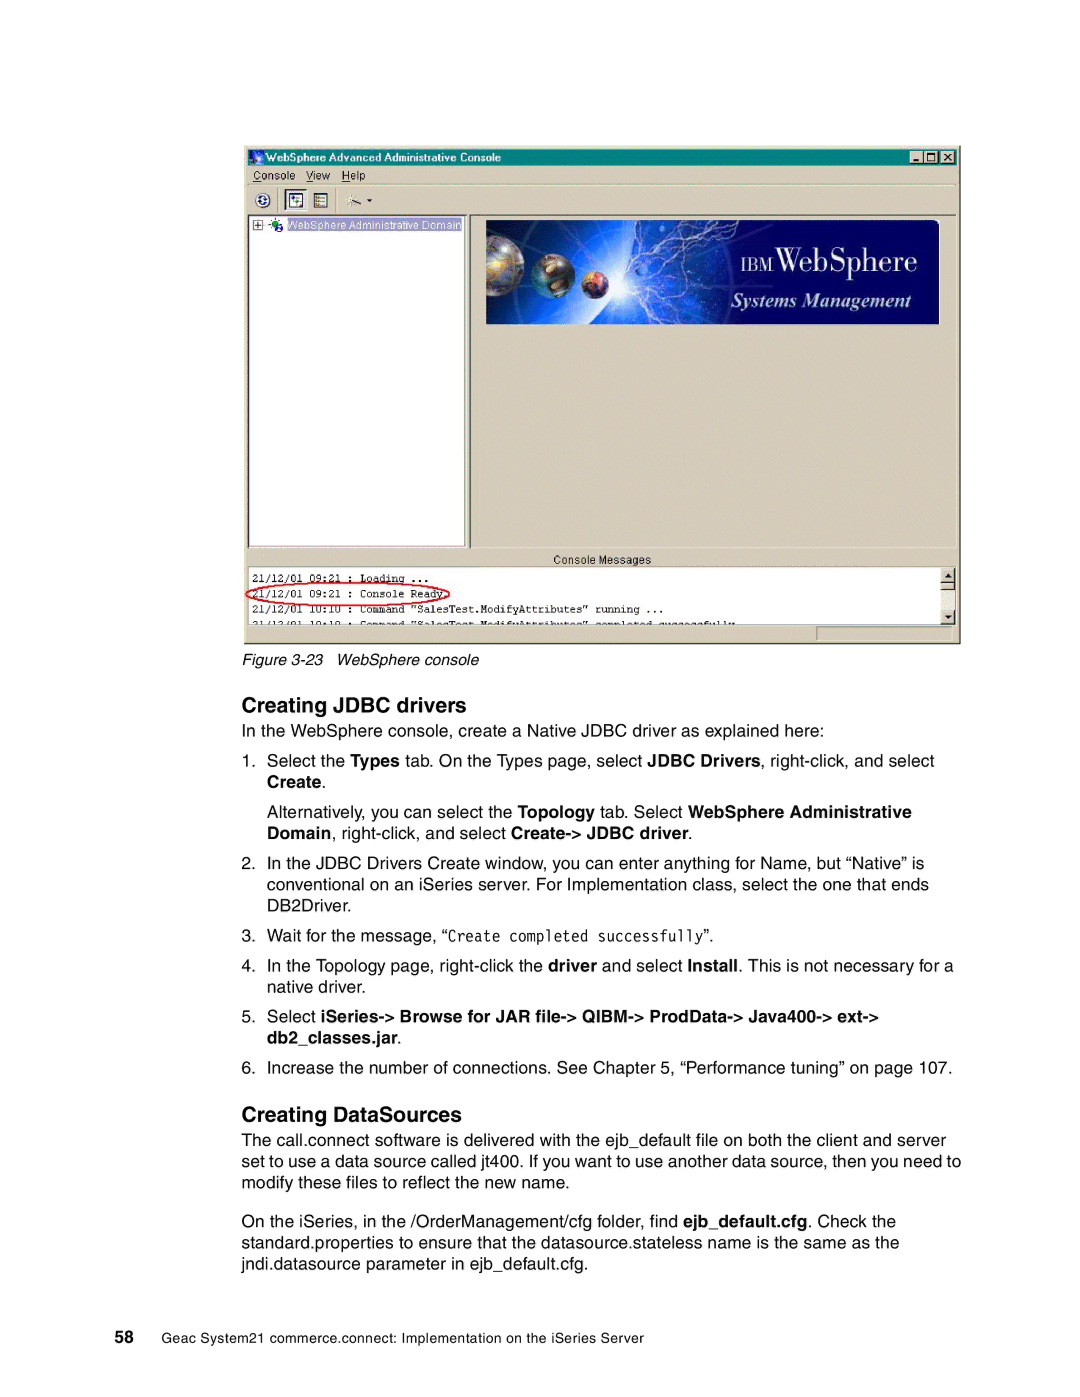
Figure 3-23 WebSphere console
Creating JDBC drivers
In the WebSphere console, create a Native JDBC driver as explained here:
1.Select the Types tab. On the Types page, select JDBC Drivers,
Alternatively, you can select the Topology tab. Select WebSphere Administrative Domain,
2.In the JDBC Drivers Create window, you can enter anything for Name, but “Native” is conventional on an iSeries server. For Implementation class, select the one that ends DB2Driver.
3.Wait for the message, “Create completed successfully”.
4.In the Topology page,
5.Select
6.Increase the number of connections. See Chapter 5, “Performance tuning” on page 107.
Creating DataSources
The call.connect software is delivered with the ejb_default file on both the client and server set to use a data source called jt400. If you want to use another data source, then you need to modify these files to reflect the new name.
On the iSeries, in the /OrderManagement/cfg folder, find ejb_default.cfg. Check the standard.properties to ensure that the datasource.stateless name is the same as the jndi.datasource parameter in ejb_default.cfg.
58Geac System21 commerce.connect: Implementation on the iSeries Server
