Import/Export
Model 200 Configuration Data Export / Import Procedure
Rev 1.0.0
This appendix defines the steps to perform a Configuration Data Export & Import from the Model 200 projector to a Host Computer. The Host Computer can be any system that has RS232 download and upload capability, including an
Note 1: The TERMINAL application setup is the same as for controlling the projector via an ANSI TERMINAL (see Model 200 User’s Guide, Section 4.11).
Note 2: Export/Import can be performed on either Port A or Port B. The Port must be configured for ANSI Terminal. Port A speed is determined by DIP SWITCH #4 on the System Controller board. DOWN is 9600 baud, UP is 19200 Baud. Port B can be configured for 2400, 9600 (default), or 19200 through the Comm Setup Menu. If both Port A and Port B are ANSI Terminals, PORT A must be used for Export/Import, so to use Port B, set Port A Device = None or Switcher, Port B Device = ANSI.
Remember to Power Off (Control+P) and HW RESET (Push RESET button
WARNING: If you use 19200 Baud, your computer must have a 16550 UART installed on the Comm Port. An unbuffered 8550 UART will lose data during EXPORT. This data loss cannot be detected until a later IMPORT is attempted. Use 9600 if you are not sure. In all cases use SOFTWARE FLFOW CONTROL (XON/XOFF).
WARNING: Laptop computer users must disable Advance Power Management (APM) during an Export. APM power pulling causes loss of data.
EXPORT
1.Make sure the Windows TERMINAL program is configured for SOFTWARE FLOW CONTROL (XON/XOFF). A corrupt Export file will result if SW flow control is not used.
2.Choose the directory and filename for saving the Export Data. The Windows TERMINAL: Transfers: Receive Text File... dialog box will default to the c:\windows directory and no file. Create a directory (like \TEMP) (or have an existing one in mind) before starting the export process.
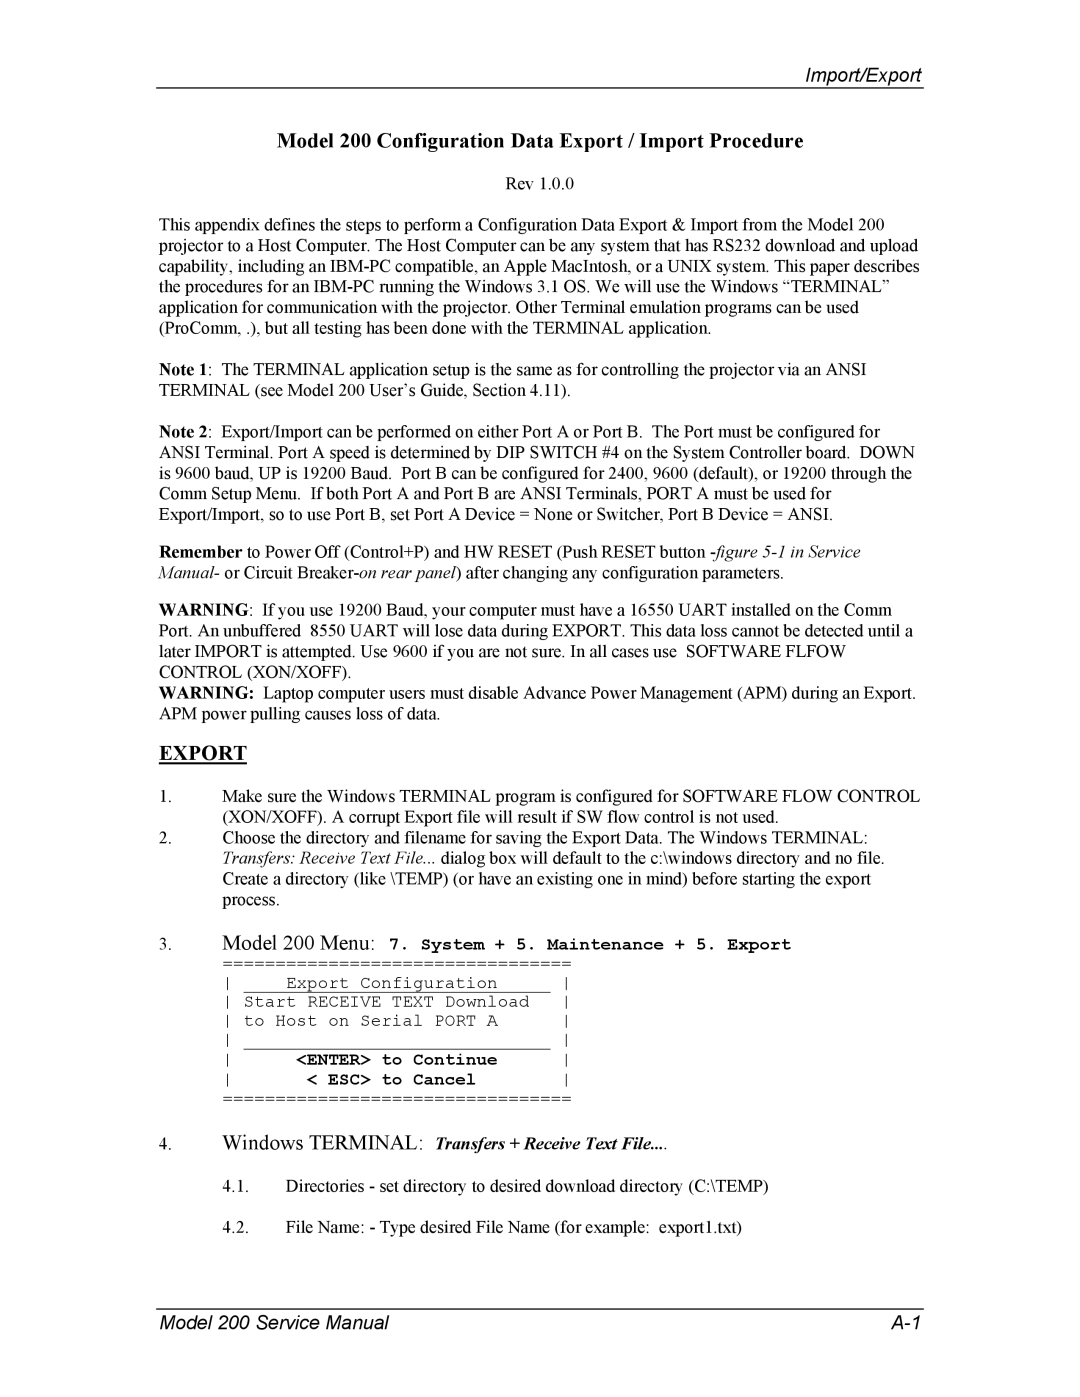
3.Model 200 Menu: 7. System + 5. Maintenance + 5. Export
=================================
Export Configuration | ||
Start RECEIVE TEXT Download | ||
to Host on Serial PORT A | ||
| ||
<ENTER> to Continue | ||
< ESC> to Cancel | ||
=================================
4.Windows TERMINAL: Transfers + Receive Text File....
4.1.Directories - set directory to desired download directory (C:\TEMP)
4.2.File Name: - Type desired File Name (for example: export1.txt)
Model 200 Service Manual |