Import/Export
4.3.Select OK with mouse or press Enter key (dialog will be removed)
4.4.Verify TERMINAL screen shows status line at bottom:
Stop, Pause, Bytes: 0, Receiving: EXPORT1.TXT
5.Model 200 Menu:
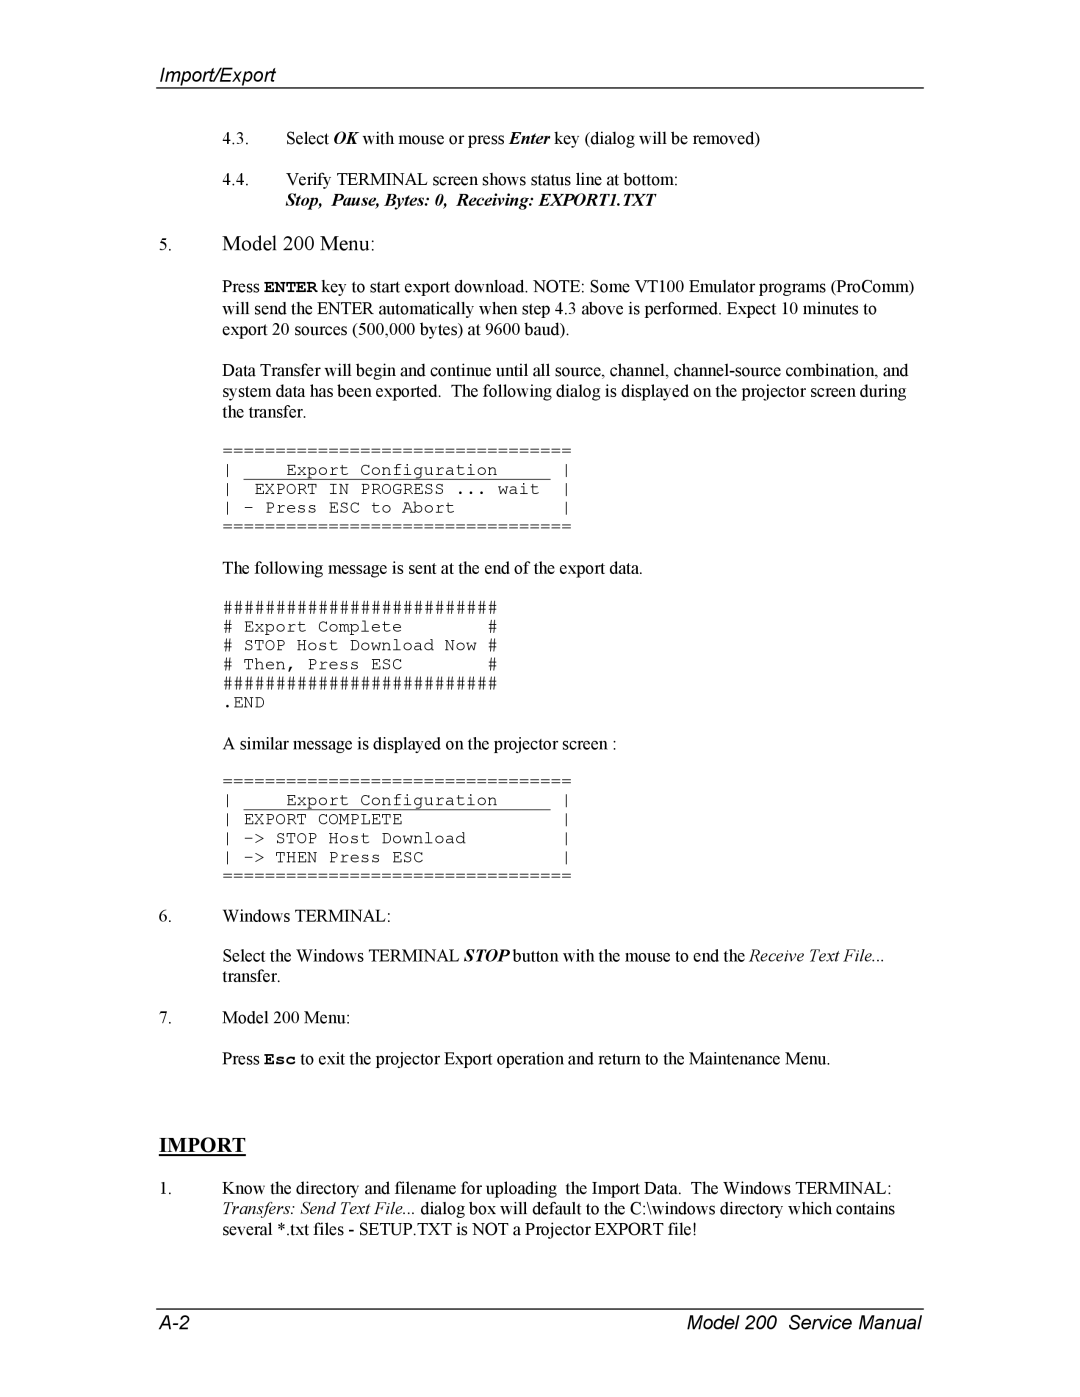
Press ENTER key to start export download. NOTE: Some VT100 Emulator programs (ProComm) will send the ENTER automatically when step 4.3 above is performed. Expect 10 minutes to export 20 sources (500,000 bytes) at 9600 baud).
Data Transfer will begin and continue until all source, channel,
=================================
Export Configuration | ||
EXPORT IN PROGRESS ... wait | ||
- Press ESC to Abort | ||
=================================
The following message is sent at the end of the export data.
##########################
# Export Complete | # |
# STOP Host Download Now # | |
# Then, Press ESC | # |
##########################
.END
A similar message is displayed on the projector screen :
=================================
Export Configuration | ||
EXPORT COMPLETE | ||
| ||
| ||
=================================
6.Windows TERMINAL:
Select the Windows TERMINAL STOP button with the mouse to end the Receive Text File...
transfer.
7.Model 200 Menu:
Press Esc to exit the projector Export operation and return to the Maintenance Menu.
IMPORT
1.Know the directory and filename for uploading the Import Data. The Windows TERMINAL: Transfers: Send Text File... dialog box will default to the C:\windows directory which contains several *.txt files - SETUP.TXT is NOT a Projector EXPORT file!
Model 200 Service Manual |
