Import/Export
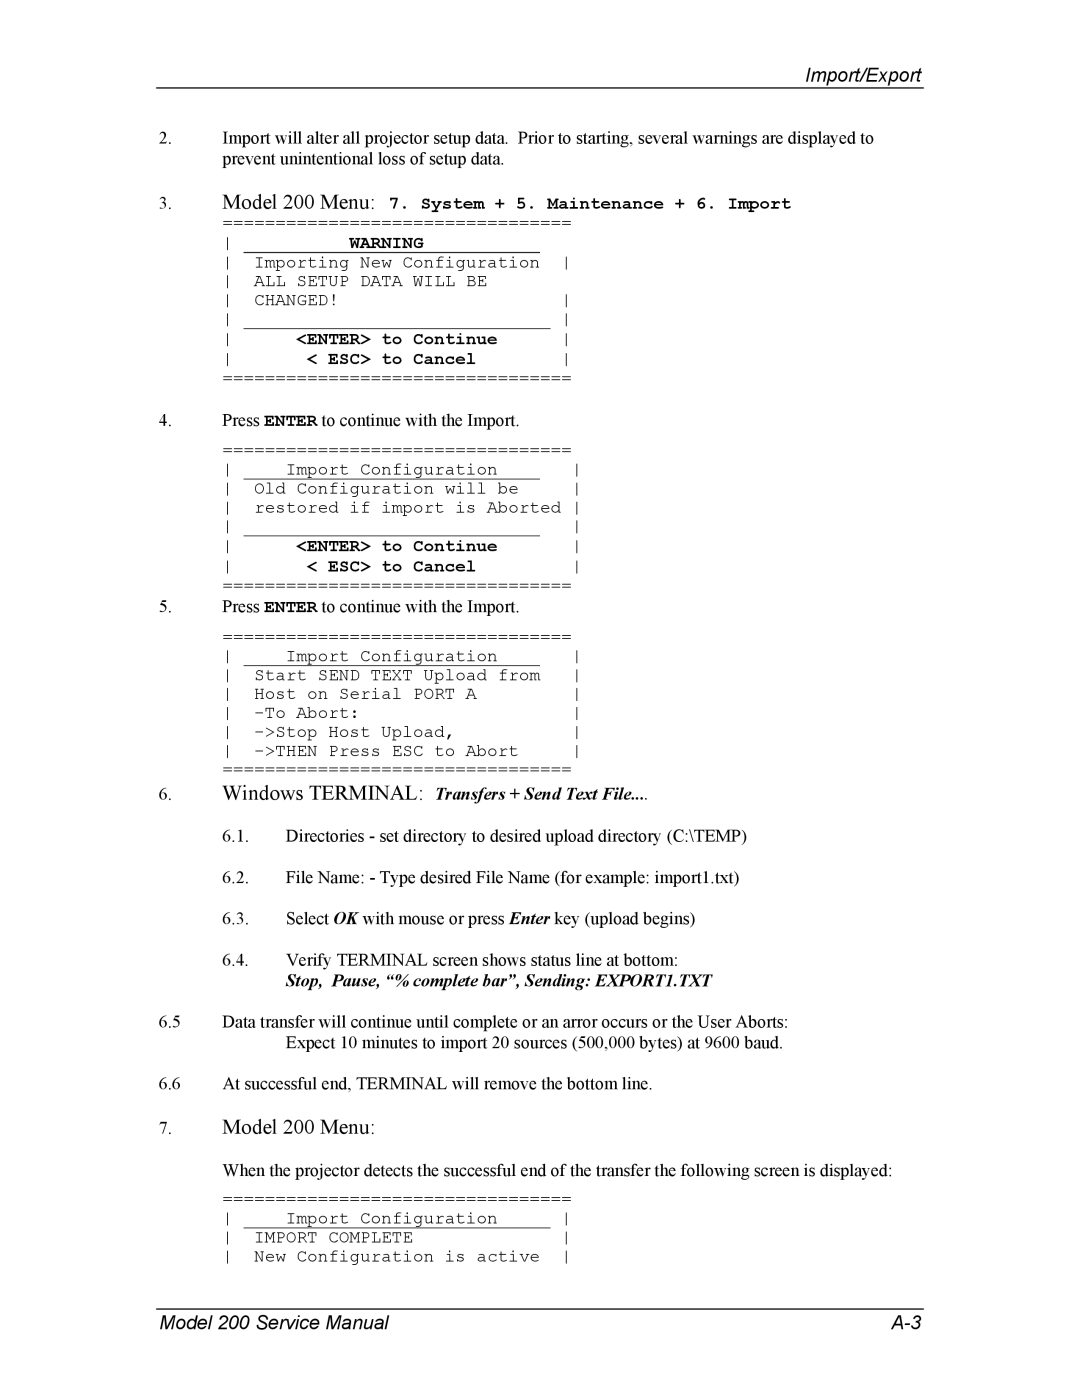
2.Import will alter all projector setup data. Prior to starting, several warnings are displayed to prevent unintentional loss of setup data.
3.Model 200 Menu: 7. System + 5. Maintenance + 6. Import
=================================
WARNING |
|
| |
Importing New Configuration | |||
ALL SETUP DATA WILL BE | |||
CHANGED! | |||
| |||
<ENTER> to Continue |
| ||
< ESC> to Cancel | |||
=================================
4.Press ENTER to continue with the Import.
=================================
Import Configuration | ||
Old Configuration will be | ||
restored if import is Aborted | ||
| ||
<ENTER> to Continue | ||
< ESC> to Cancel | ||
=================================
5.Press ENTER to continue with the Import.
=================================
Import Configuration | ||
Start SEND TEXT Upload from | ||
Host on Serial PORT A | ||
=================================
6.Windows TERMINAL: Transfers + Send Text File....
6.1.Directories - set directory to desired upload directory (C:\TEMP)
6.2.File Name: - Type desired File Name (for example: import1.txt)
6.3.Select OK with mouse or press Enter key (upload begins)
6.4.Verify TERMINAL screen shows status line at bottom:
Stop, Pause, “% complete bar”, Sending: EXPORT1.TXT
6.5Data transfer will continue until complete or an arror occurs or the User Aborts: Expect 10 minutes to import 20 sources (500,000 bytes) at 9600 baud.
6.6At successful end, TERMINAL will remove the bottom line.
7.Model 200 Menu:
When the projector detects the successful end of the transfer the following screen is displayed:
=================================
Import Configuration | ||
IMPORT COMPLETE | ||
New Configuration is active |
Model 200 Service Manual |
