Installing another language control panel
These instructions apply only if you received one or more additional language control panels with the printer.
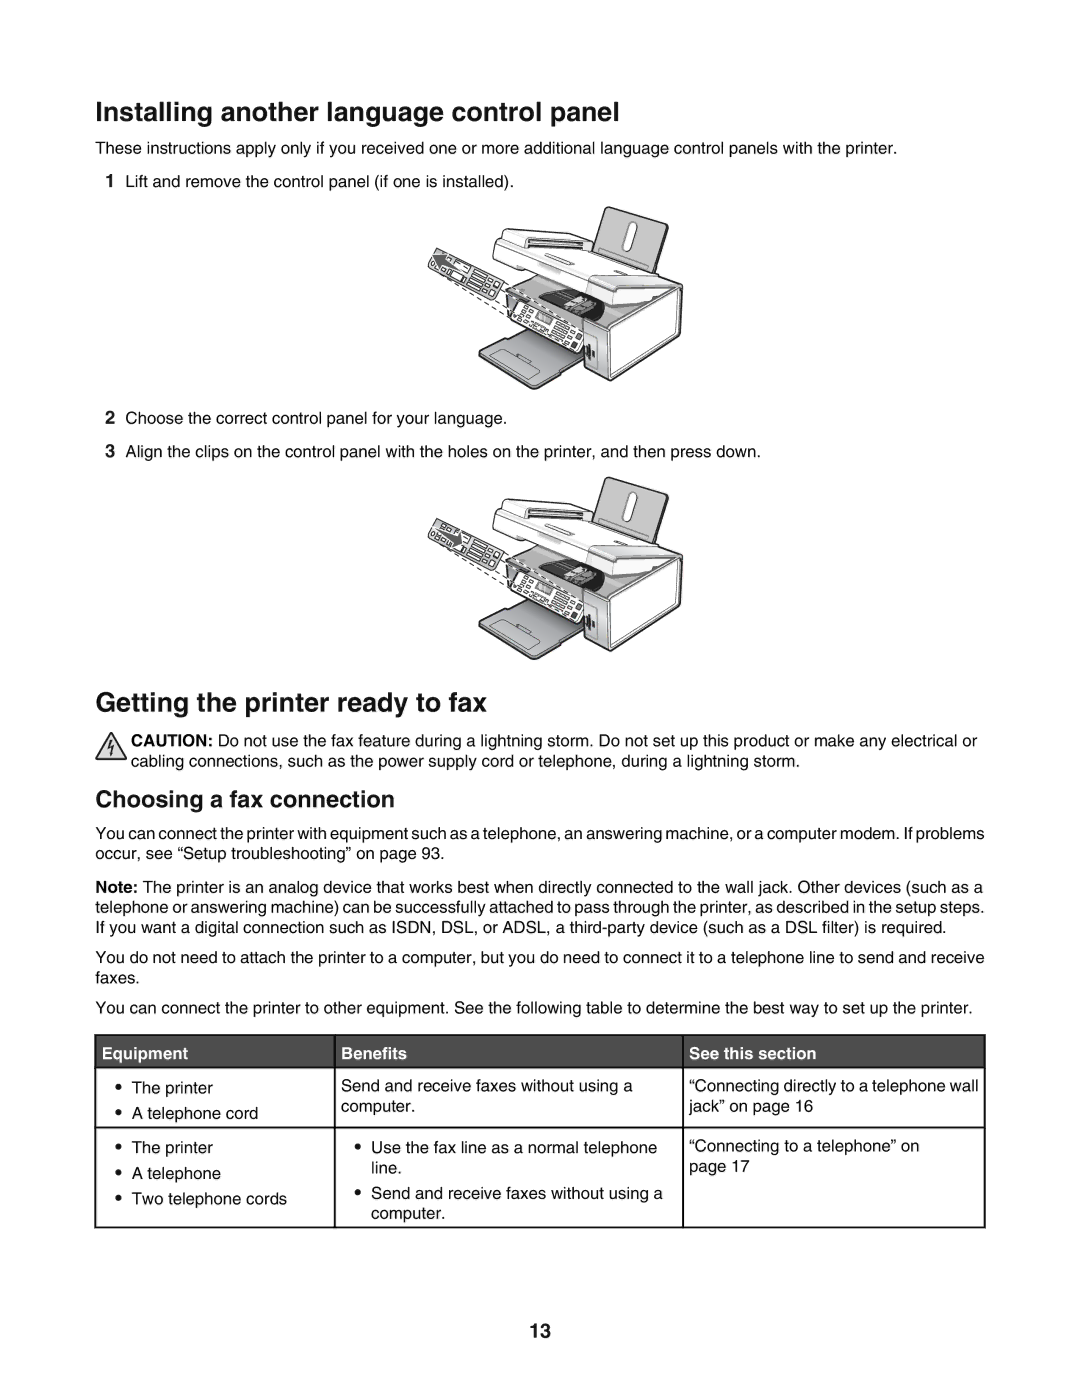
1Lift and remove the control panel (if one is installed).
2Choose the correct control panel for your language.
3Align the clips on the control panel with the holes on the printer, and then press down.
Getting the printer ready to fax
CAUTION: Do not use the fax feature during a lightning storm. Do not set up this product or make any electrical or cabling connections, such as the power supply cord or telephone, during a lightning storm.
Choosing a fax connection
You can connect the printer with equipment such as a telephone, an answering machine, or a computer modem. If problems occur, see “Setup troubleshooting” on page 93.
Note: The printer is an analog device that works best when directly connected to the wall jack. Other devices (such as a telephone or answering machine) can be successfully attached to pass through the printer, as described in the setup steps. If you want a digital connection such as ISDN, DSL, or ADSL, a
You do not need to attach the printer to a computer, but you do need to connect it to a telephone line to send and receive faxes.
You can connect the printer to other equipment. See the following table to determine the best way to set up the printer.
Equipment |
| Benefits |
| See this section | |||
|
|
|
|
|
|
|
|
• | The printer |
| Send and receive faxes without using a |
| “Connecting directly to a telephone wall | ||
• | A telephone cord |
| computer. |
| jack” on page 16 | ||
|
|
|
|
|
| ||
|
|
|
|
|
|
|
|
• | The printer |
| • | Use the fax line as a normal telephone |
| “Connecting to a telephone” on | |
• | A telephone |
| • | line. |
| page 17 | |
• | Two telephone cords |
| Send and receive faxes without using a |
|
|
| |
|
| computer. |
|
|
| ||
|
|
|
|
|
|
| |
|
|
|
|
|
|
|
|
13