7Press ![]() .
.
Note: Pressing ![]() selects a setting. An * appears next to the selected setting.
selects a setting. An * appears next to the selected setting.
8To go into additional submenus and settings, repeat step 6 and step 7 as needed.
9If needed, press ![]() repeatedly to return to the previous menus and make other setting selections.
repeatedly to return to the previous menus and make other setting selections.
10Press Start Color or Start Black.
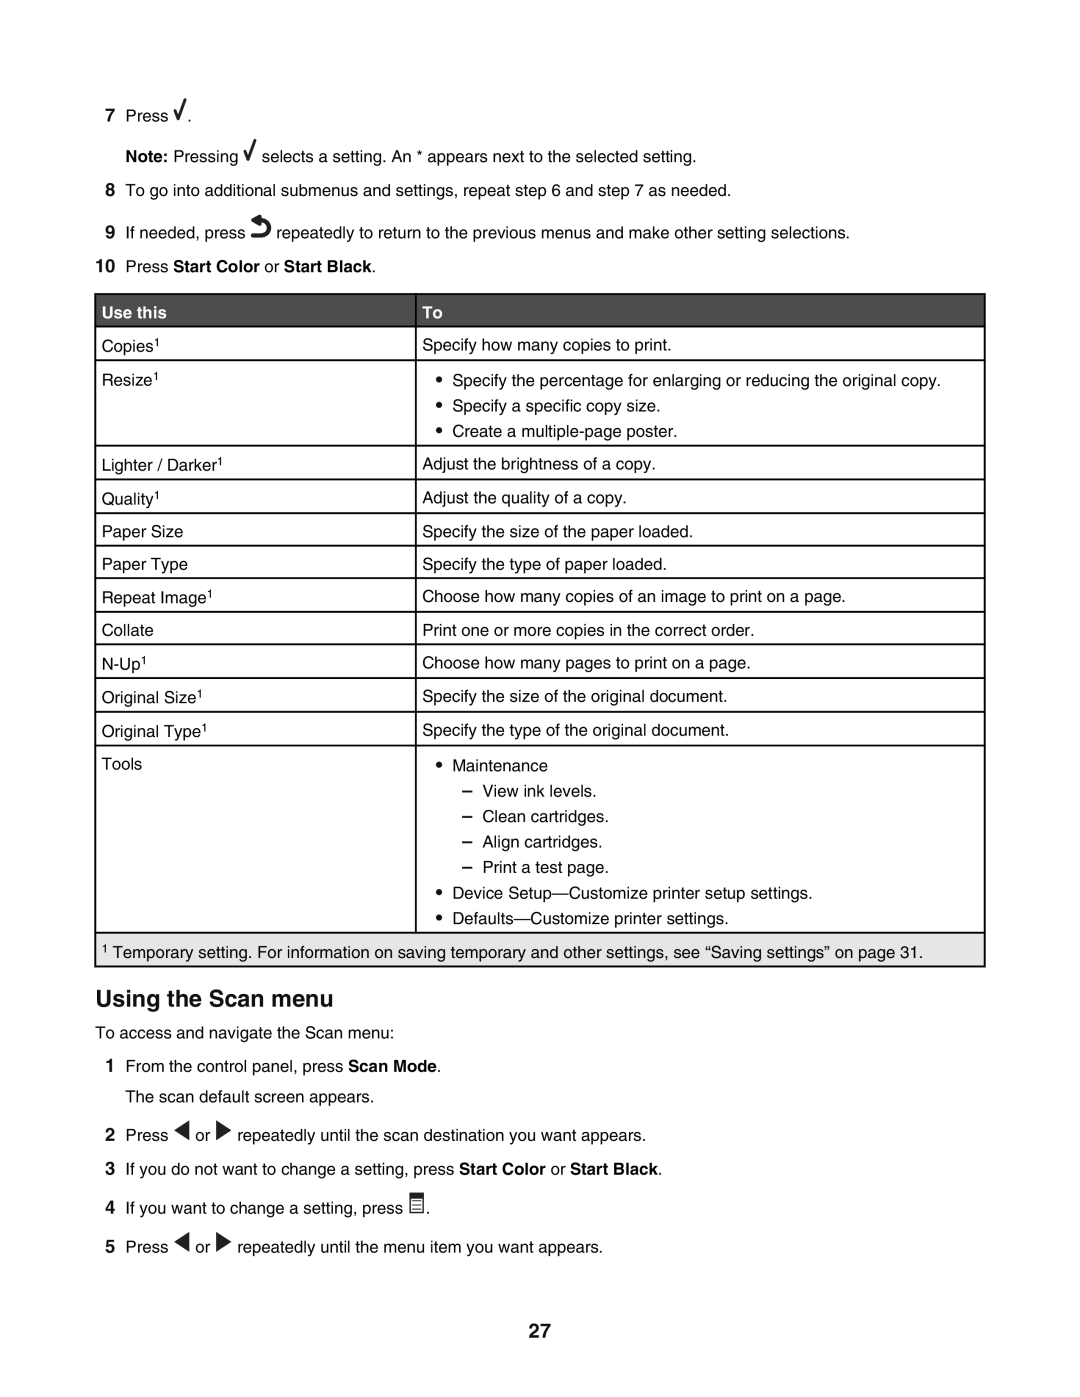
Use this
Copies1
Resize1
Lighter / Darker1
Quality1
Paper Size
Paper Type
Repeat Image1
Collate
Original Size1
Original Type1
Tools
To
Specify how many copies to print.
•Specify the percentage for enlarging or reducing the original copy.
•Specify a specific copy size.
•Create a
Adjust the brightness of a copy.
Adjust the quality of a copy.
Specify the size of the paper loaded.
Specify the type of paper loaded.
Choose how many copies of an image to print on a page.
Print one or more copies in the correct order.
Choose how many pages to print on a page.
Specify the size of the original document.
Specify the type of the original document.
•Maintenance
–View ink levels.
–Clean cartridges.
–Align cartridges.
–Print a test page.
•Device
•
1Temporary setting. For information on saving temporary and other settings, see “Saving settings” on page 31.
Using the Scan menu
To access and navigate the Scan menu:
1From the control panel, press Scan Mode. The scan default screen appears.
2Press ![]() or
or ![]() repeatedly until the scan destination you want appears.
repeatedly until the scan destination you want appears.
3If you do not want to change a setting, press Start Color or Start Black.
4If you want to change a setting, press ![]()
![]()
![]() .
.
5Press ![]() or
or ![]() repeatedly until the menu item you want appears.
repeatedly until the menu item you want appears.
27
