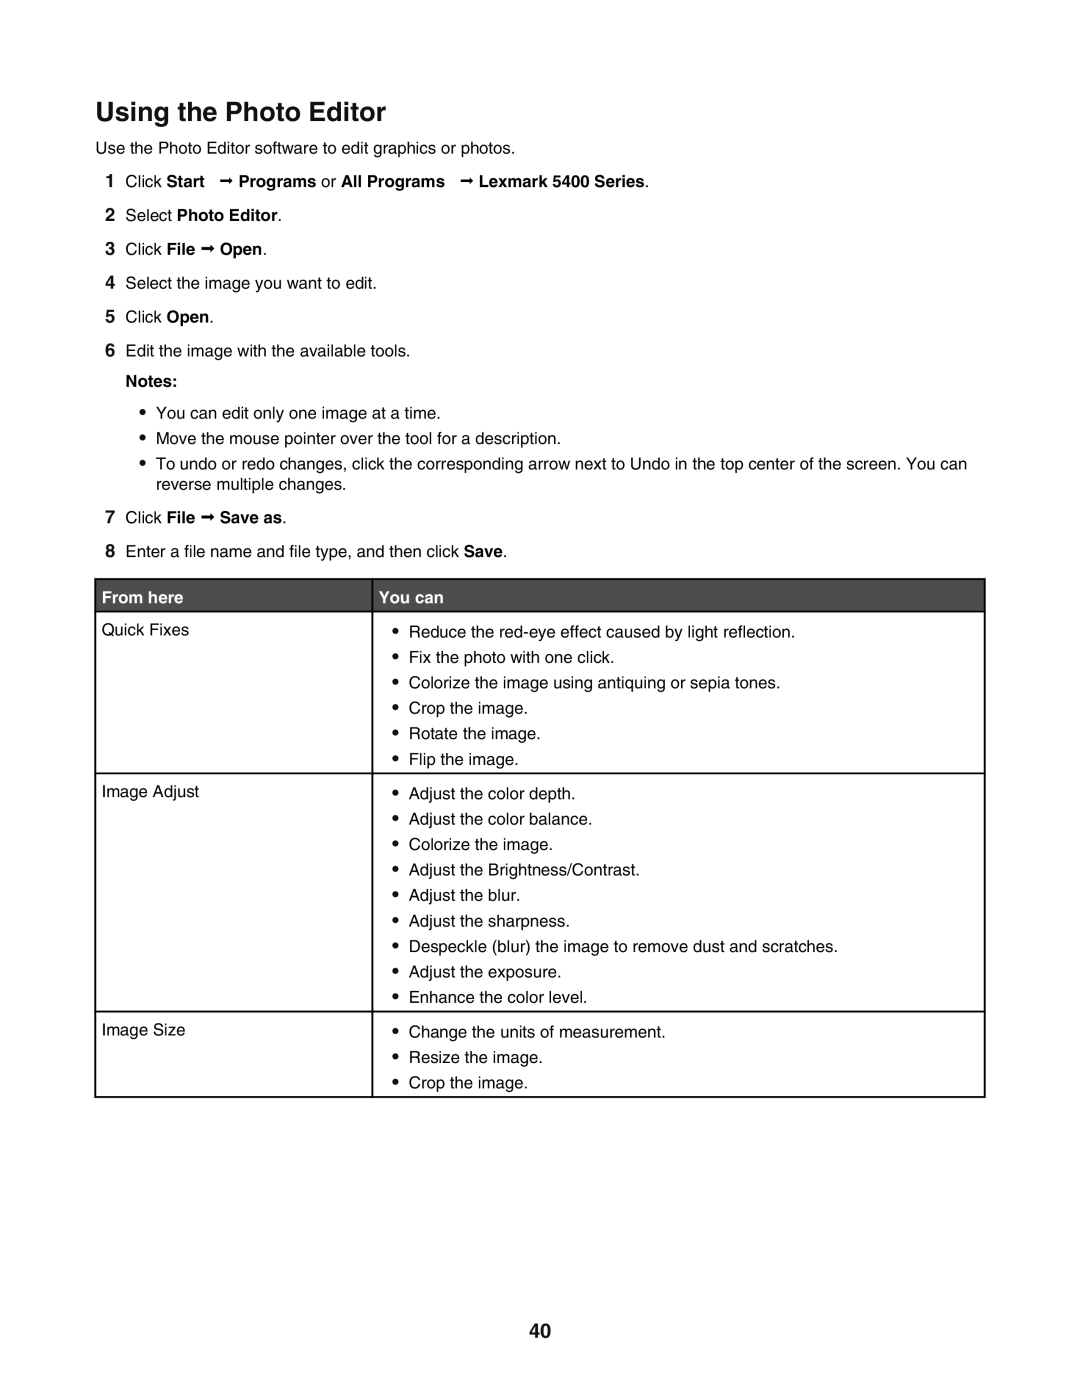
Using the Photo Editor
Use the Photo Editor software to edit graphics or photos.
1Click Start Programs or All Programs Lexmark 5400 Series.
2Select Photo Editor.
3Click File Open.
4Select the image you want to edit.
5Click Open.
6Edit the image with the available tools.
Notes:
•You can edit only one image at a time.
•Move the mouse pointer over the tool for a description.
•To undo or redo changes, click the corresponding arrow next to Undo in the top center of the screen. You can reverse multiple changes.
7Click File Save as.
8Enter a file name and file type, and then click Save.
From here | You can | ||
Quick Fixes | • | Reduce the |
|
| • | Fix the photo with one click. | |
| • | Colorize the image using antiquing or sepia tones. | |
| • | Crop the image. | |
| • | Rotate the image. | |
| • | Flip the image. | |
|
|
|
|
Image Adjust | • | Adjust the color depth. | |
| • | Adjust the color balance. | |
| • | Colorize the image. | |
| • | Adjust the Brightness/Contrast. | |
| • | Adjust the blur. | |
| • | Adjust the sharpness. | |
| • | Despeckle (blur) the image to remove dust and scratches. | |
| • | Adjust the exposure. | |
| • | Enhance the color level. | |
|
|
|
|
Image Size | • | Change the units of measurement. | |
| • | Resize the image. | |
| • | Crop the image. | |
|
|
|
|
40
