Installing and Removing SIMMs
Installing SIMMs
To install a SIMM, follow these steps:
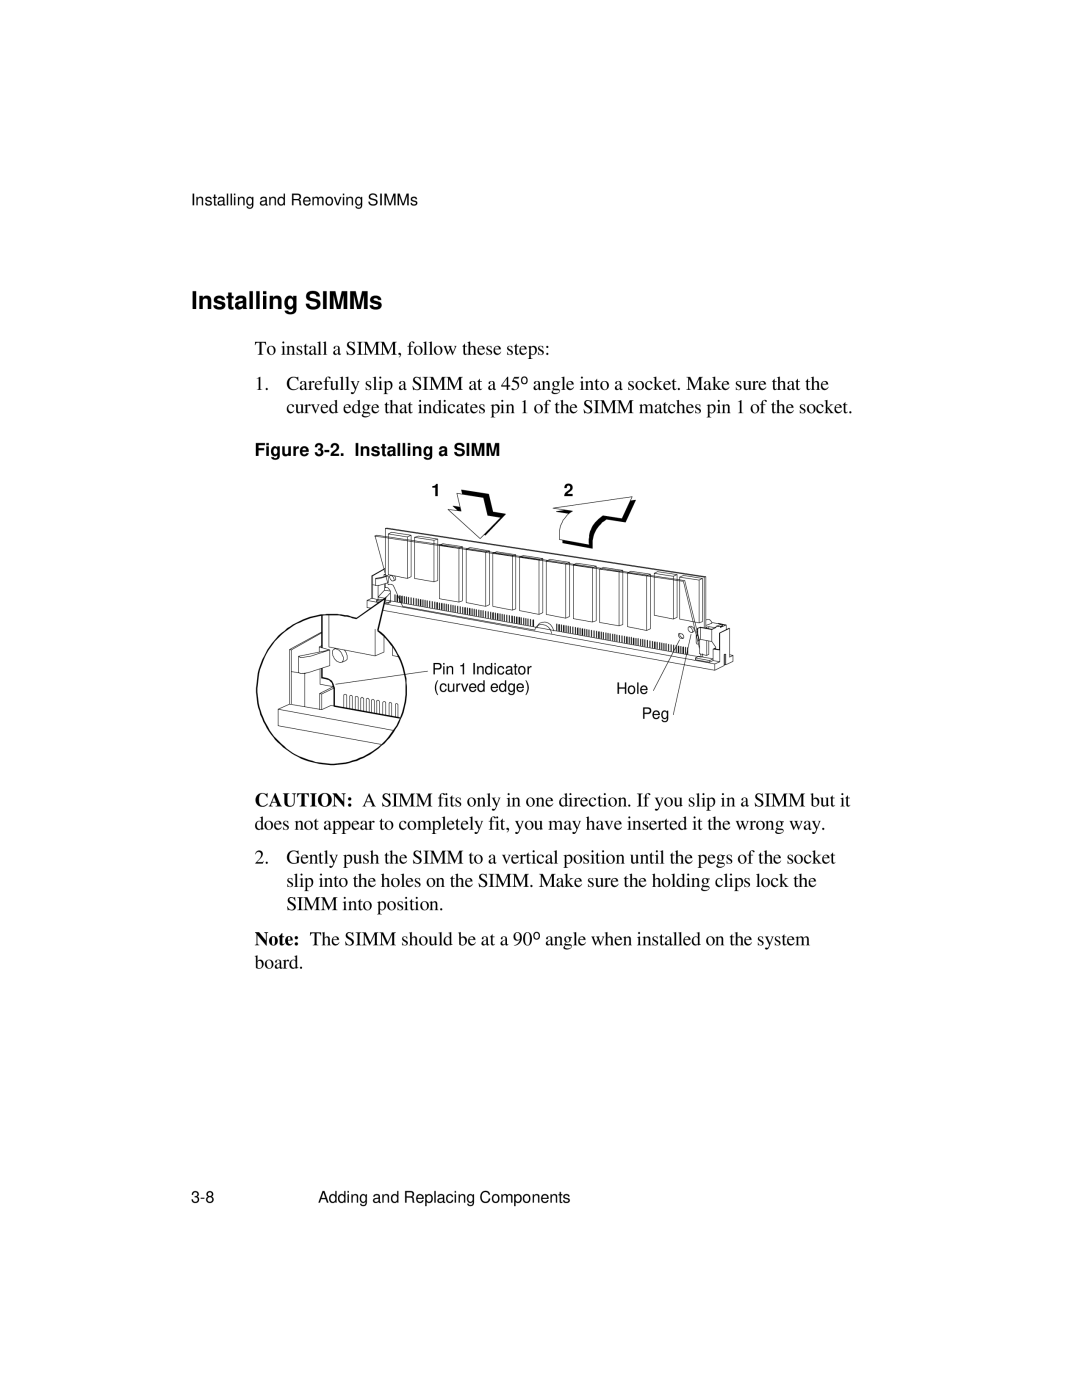
1.Carefully slip a SIMM at a 45o angle into a socket. Make sure that the curved edge that indicates pin 1 of the SIMM matches pin 1 of the socket.
Figure 3-2. Installing a SIMM
12
Pin 1 Indicator |
|
(curved edge) | Hole |
| Peg |
CAUTION: A SIMM fits only in one direction. If you slip in a SIMM but it does not appear to completely fit, you may have inserted it the wrong way.
2.Gently push the SIMM to a vertical position until the pegs of the socket slip into the holes on the SIMM. Make sure the holding clips lock the SIMM into position.
Note: The SIMM should be at a 90o angle when installed on the system board.
Adding and Replacing Components |