Installing and Removing Expansion Boards
A PCI board has a single row of tightly spaced contacts along its connectors. There is usually a single notch in the connector.
Installing an Expansion Board
To install an expansion board, follow these steps:
1.Study the documentation that came with your expansion board, and configure any jumpers or switches on the board as directed.
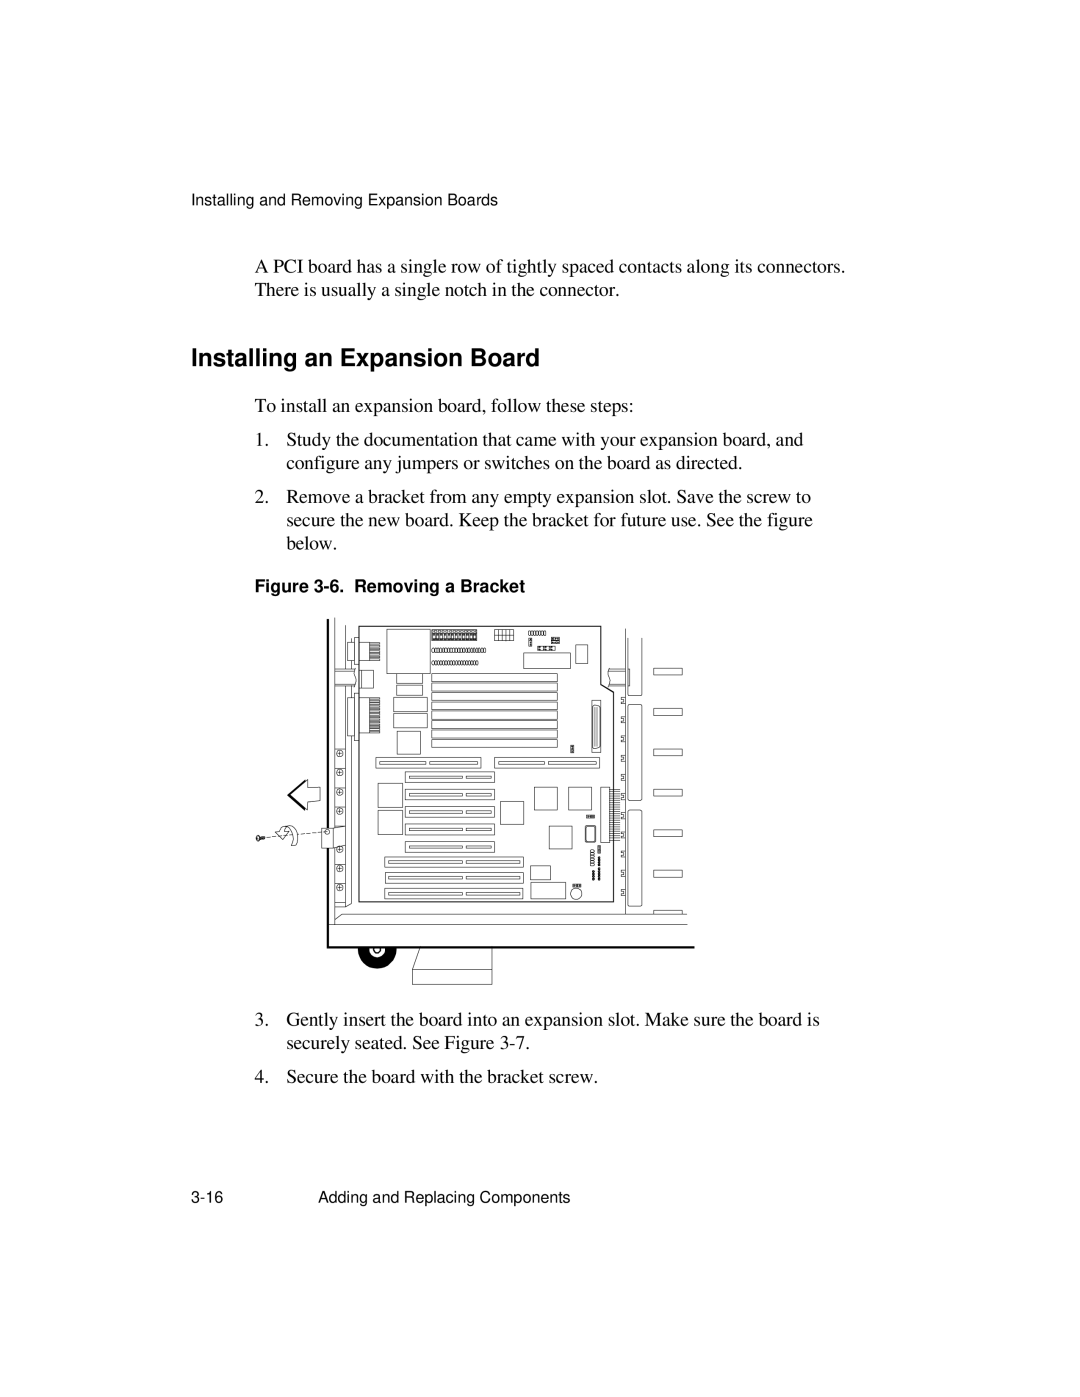
2.Remove a bracket from any empty expansion slot. Save the screw to secure the new board. Keep the bracket for future use. See the figure below.
Figure 3-6. Removing a Bracket
3.Gently insert the board into an expansion slot. Make sure the board is securely seated. See Figure
4.Secure the board with the bracket screw.
Adding and Replacing Components |