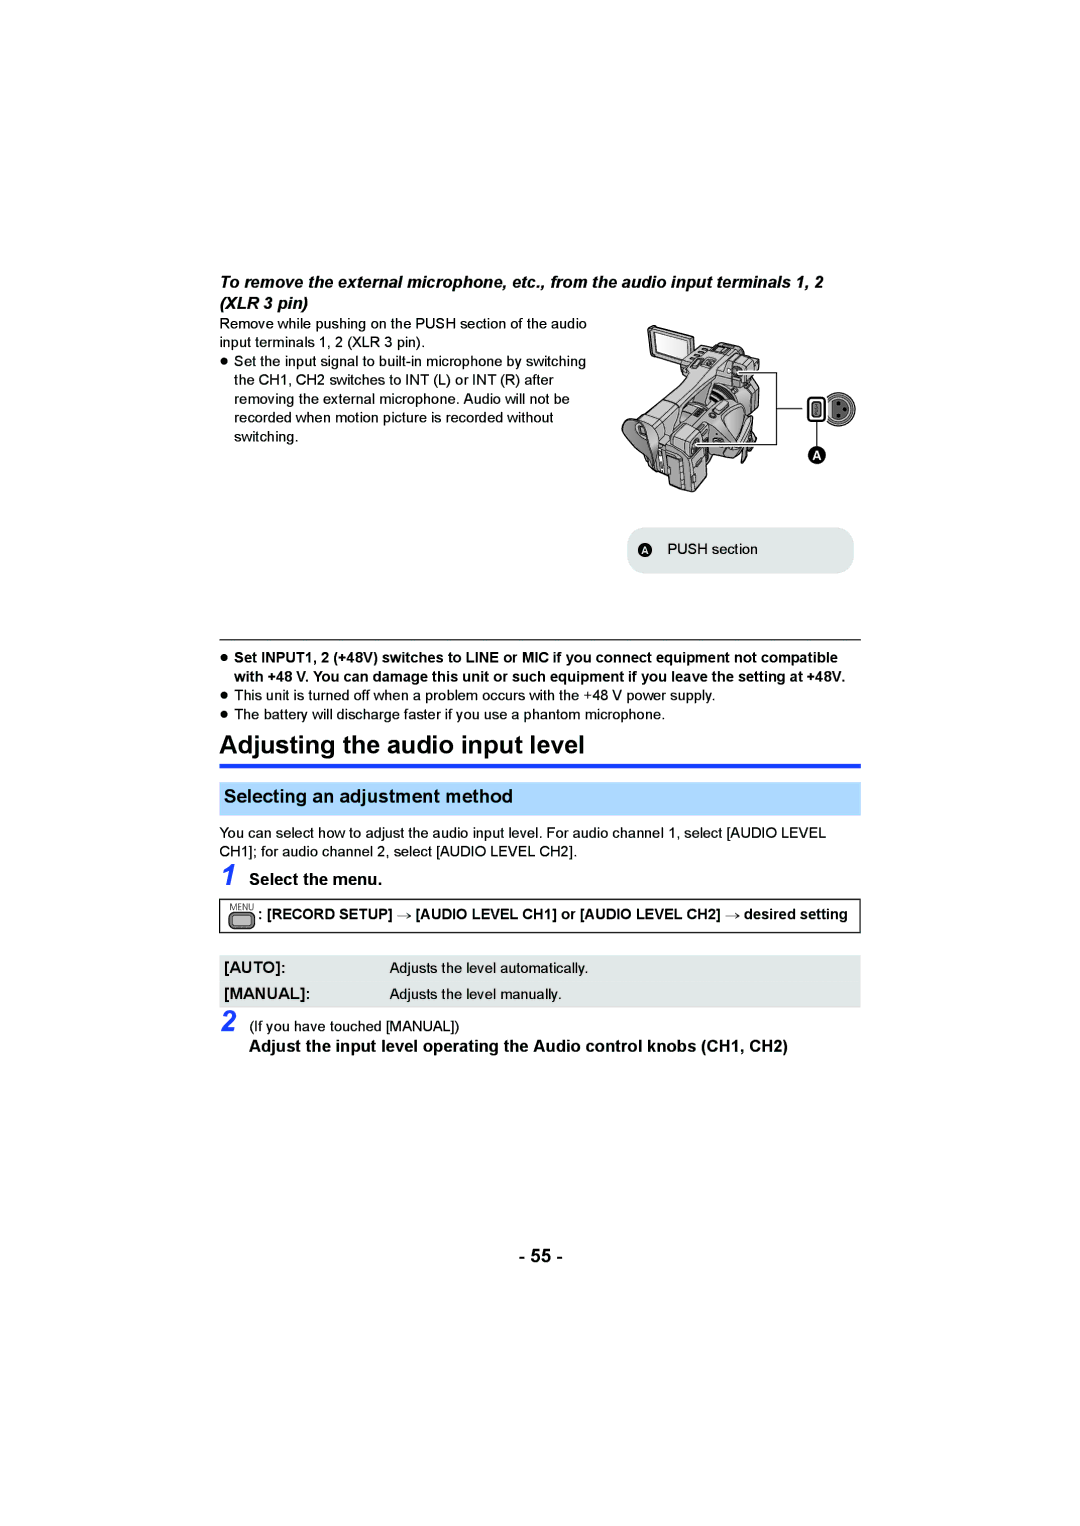
To remove the external microphone, etc., from the audio input terminals 1, 2 (XLR 3 pin)
Remove while pushing on the PUSH section of the audio input terminals 1, 2 (XLR 3 pin).
≥Set the input signal to
ヱヶヴラ![]()
![]()
A PUSH section
≥Set INPUT1, 2 (+48V) switches to LINE or MIC if you connect equipment not compatible with +48 V. You can damage this unit or such equipment if you leave the setting at +48V.
≥This unit is turned off when a problem occurs with the +48 V power supply.
≥The battery will discharge faster if you use a phantom microphone.
Adjusting the audio input level
Selecting an adjustment method
You can select how to adjust the audio input level. For audio channel 1, select [AUDIO LEVEL CH1]; for audio channel 2, select [AUDIO LEVEL CH2].
1 Select the menu.
MENU : [RECORD SETUP] # [AUDIO LEVEL CH1] or [AUDIO LEVEL CH2] # desired setting
[AUTO]:Adjusts the level automatically.
[MANUAL]: Adjusts the level manually. 2 (If you have touched [MANUAL])
Adjust the input level operating the Audio control knobs (CH1, CH2)
- 55 -