System Administration
Setting Up the Access Control List
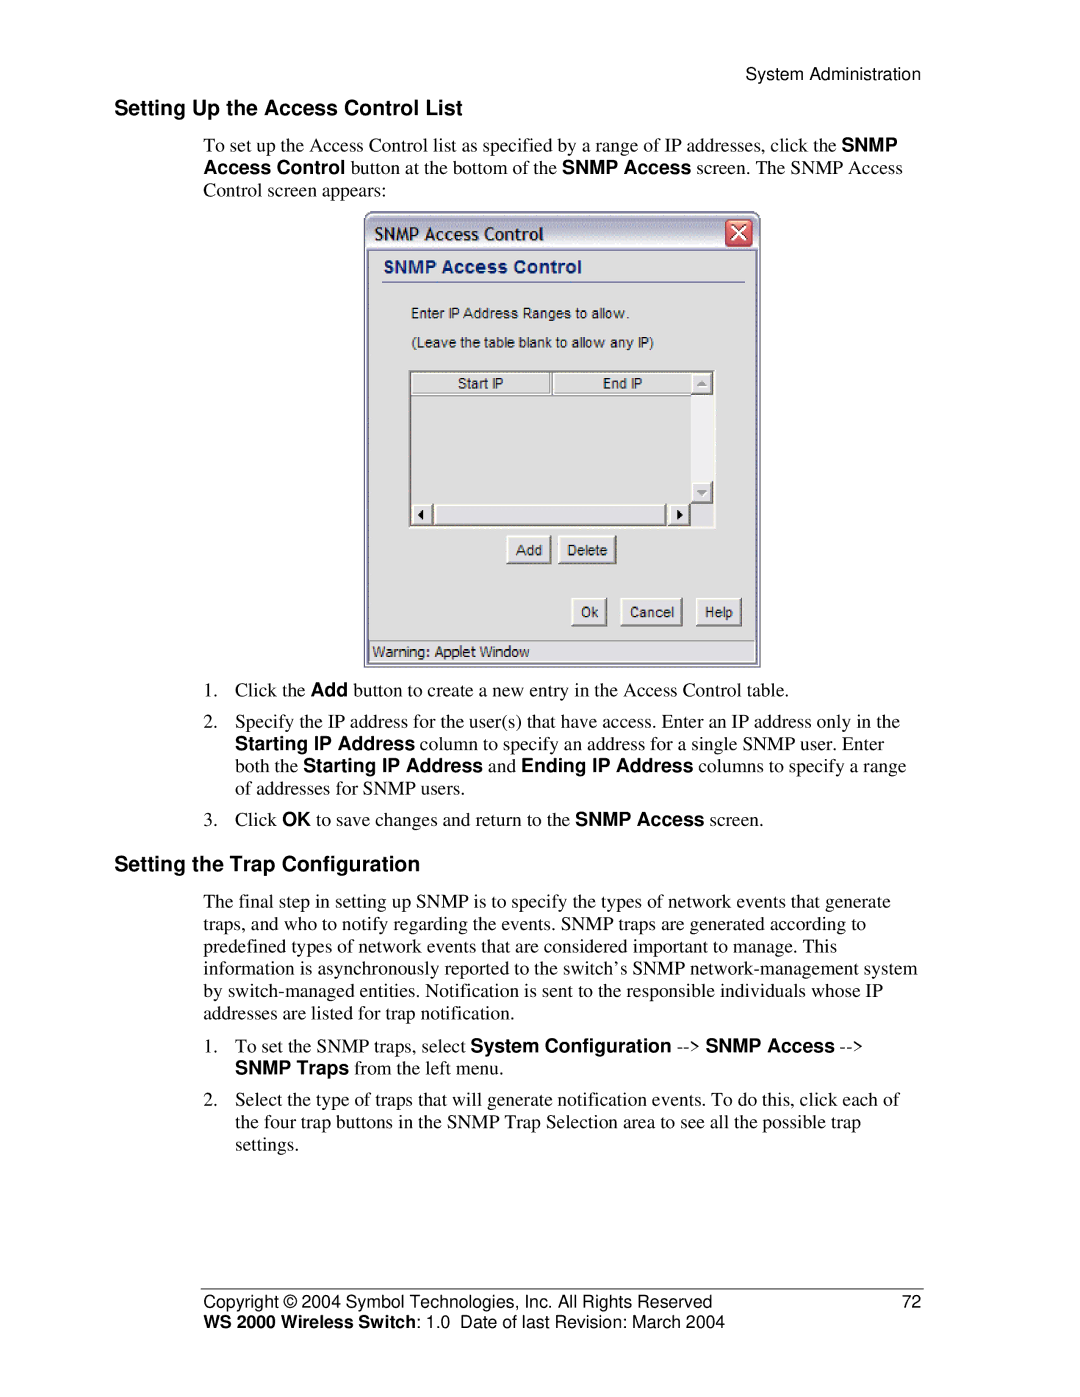
To set up the Access Control list as specified by a range of IP addresses, click the SNMP Access Control button at the bottom of the SNMP Access screen. The SNMP Access Control screen appears:
1.Click the Add button to create a new entry in the Access Control table.
2.Specify the IP address for the user(s) that have access. Enter an IP address only in the Starting IP Address column to specify an address for a single SNMP user. Enter both the Starting IP Address and Ending IP Address columns to specify a range of addresses for SNMP users.
3.Click OK to save changes and return to the SNMP Access screen.
Setting the Trap Configuration
The final step in setting up SNMP is to specify the types of network events that generate traps, and who to notify regarding the events. SNMP traps are generated according to predefined types of network events that are considered important to manage. This information is asynchronously reported to the switch’s SNMP
1.To set the SNMP traps, select System Configuration
2.Select the type of traps that will generate notification events. To do this, click each of the four trap buttons in the SNMP Trap Selection area to see all the possible trap settings.
Copyright © 2004 Symbol Technologies, Inc. All Rights Reserved | 72 |
WS 2000 Wireless Switch: 1.0 Date of last Revision: March 2004 |
|