9 Scanning to the Network (Scan Mode)
9.Gently move your document forward until the Scan System’s feed rolls engage the document’s leading edge.
10.If prompted to do so, enter the desired scanning width and press Enter.
11.As your document is automatically fed into the Scan System, the resulting image is stored as a file in the Scan Directory on the system Controller’s hard drive. The image can be retrieved at your workstation using the Document Retrieve Tool of the FreeFlow Accxes Client Tools.
NOTE: You may have to press the Start button if the configuration (for Auto Scan) has been changed from the factory default.
Clearing the scanned images
The C/CA key enables you to remove scanned images from the Wide Format Copy System hard disk.
To clear scanned images:
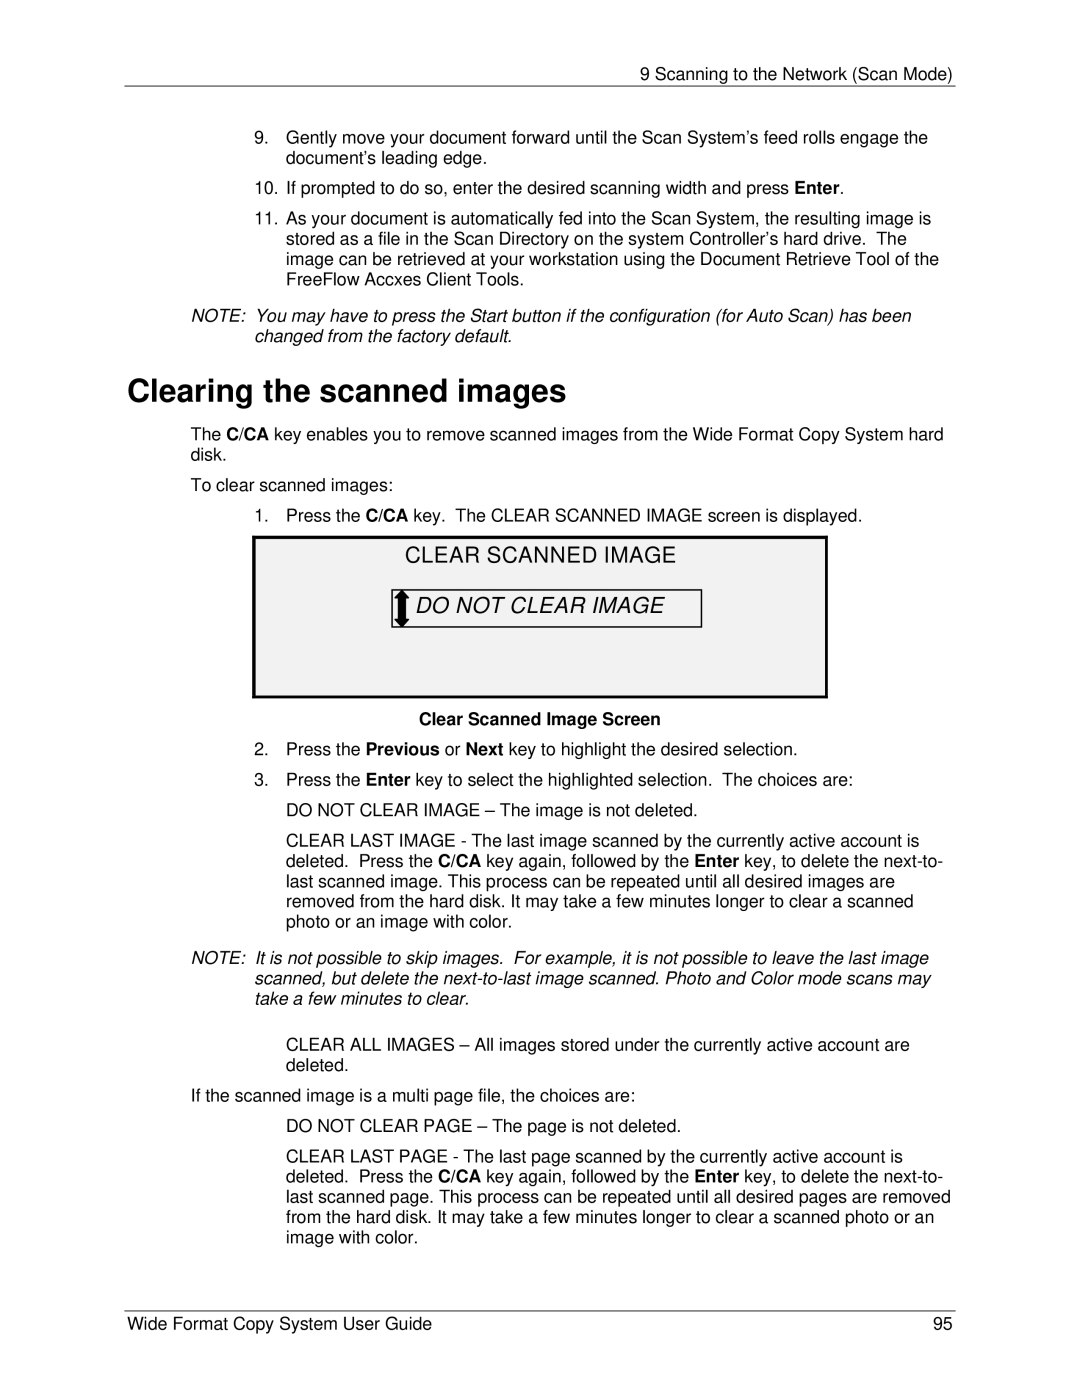
1. Press the C/CA key. The CLEAR SCANNED IMAGE screen is displayed.
CLEAR SCANNED IMAGE

 DO NOT CLEAR IMAGE
Clear Scanned Image Screen
2.Press the Previous or Next key to highlight the desired selection.
3.Press the Enter key to select the highlighted selection. The choices are: DO NOT CLEAR IMAGE – The image is not deleted.
CLEAR LAST IMAGE - The last image scanned by the currently active account is deleted. Press the C/CA key again, followed by the Enter key, to delete the
NOTE: It is not possible to skip images. For example, it is not possible to leave the last image scanned, but delete the
CLEAR ALL IMAGES – All images stored under the currently active account are deleted.
If the scanned image is a multi page file, the choices are:
DO NOT CLEAR PAGE – The page is not deleted.
CLEAR LAST PAGE - The last page scanned by the currently active account is deleted. Press the C/CA key again, followed by the Enter key, to delete the
Wide Format Copy System User Guide | 95 |