10 Main Menu
may also display as NO RESPONSE FROM SCANNER if the Scan System does not process the request within the timeout period.
11. Press the Enter key to return to the COMPONENT TESTS menu screen.
Sensors
Select the SENSORS option to display the current state of the Scan System optical paper sensors, calibration home sensor, and the thick document sensor.
To display the status of the sensors:
1.Press the Menu key. The MAIN MENU screen is displayed.
2.Press the Next key until DIAGNOSTICS is highlighted.
3.Press the Enter key to select DIAGNOSTICS. The DIAGNOSTICS menu screen is displayed.
4.Press the Next key until SCANNER DIAGNOSTICS is displayed.
5.Press the Enter key to select SCANNER DIAGNOSTICS. The SCANNER DIAGNOSTICS menu screen is displayed.
6.Press the Next key until COMPONENT TESTS is highlighted.
7.Press the Enter key to select COMPONENT TESTS. The COMPONENTS TESTS menu screen is displayed.
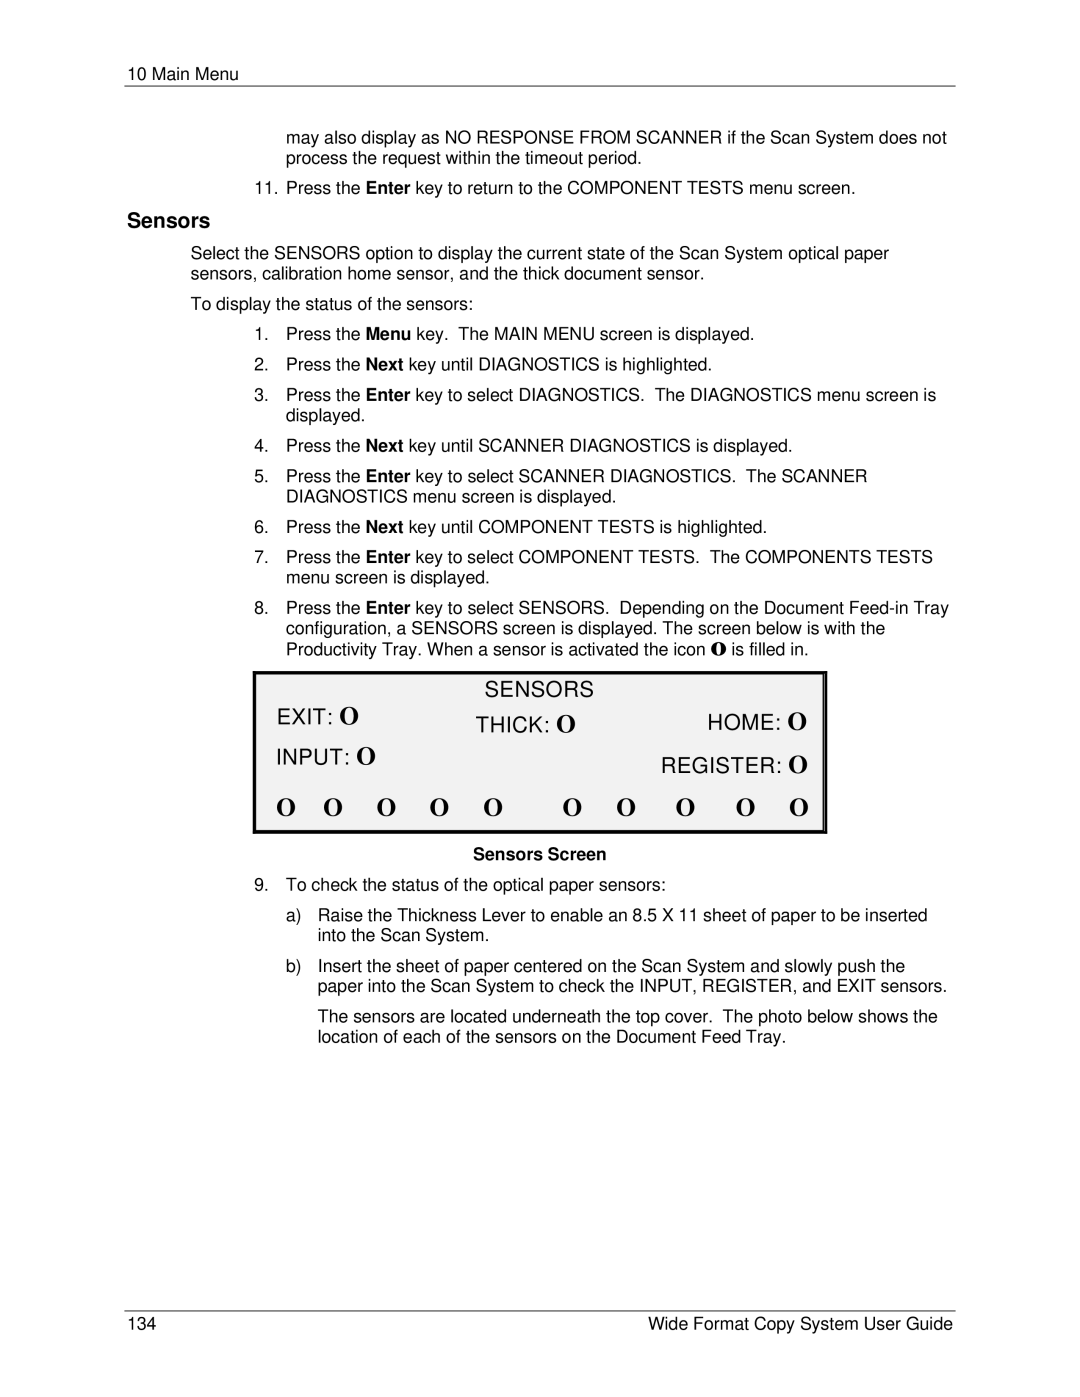
8.Press the Enter key to select SENSORS. Depending on the Document
EXIT: O | SENSORS | HOME: O | |
THICK: O | |||
INPUT: O |
|
| REGISTER: O |
|
|
| |
O O O | O O | O O | O O O |
|
|
|
|
Sensors Screen
9.To check the status of the optical paper sensors:
a)Raise the Thickness Lever to enable an 8.5 X 11 sheet of paper to be inserted into the Scan System.
b)Insert the sheet of paper centered on the Scan System and slowly push the paper into the Scan System to check the INPUT, REGISTER, and EXIT sensors.
The sensors are located underneath the top cover. The photo below shows the location of each of the sensors on the Document Feed Tray.
134 | Wide Format Copy System User Guide |