10 Main Menu
Scanner Faults (Count)
Select the SCANNER FAULTS (COUNT) option to view the last cleared faults.
To run the SCANNER FAULTS (COUNTS) diagnostic:
1.Press the Menu key. The MAIN MENU screen is displayed.
2.Press the Next key until DIAGNOSTICS is highlighted.
3.Press the Enter key to select DIAGNOSTICS. The DIAGNOSTICS menu screen is displayed.
4.Press the Next key until SCANNER DIAGNOSTICS is displayed.
5.Press the Enter key to select SCANNER DIAGNOSTICS. The SCANNER DIAGNOSTICS menu screen is displayed.
6.Press the Next key until SCANNER FAULTS (COUNTS) is highlighted.
7.Press the Enter key to select SCANNER FAULTS (COUNTS). The SCANNER FAULTS (COUNTS) screen is displayed.
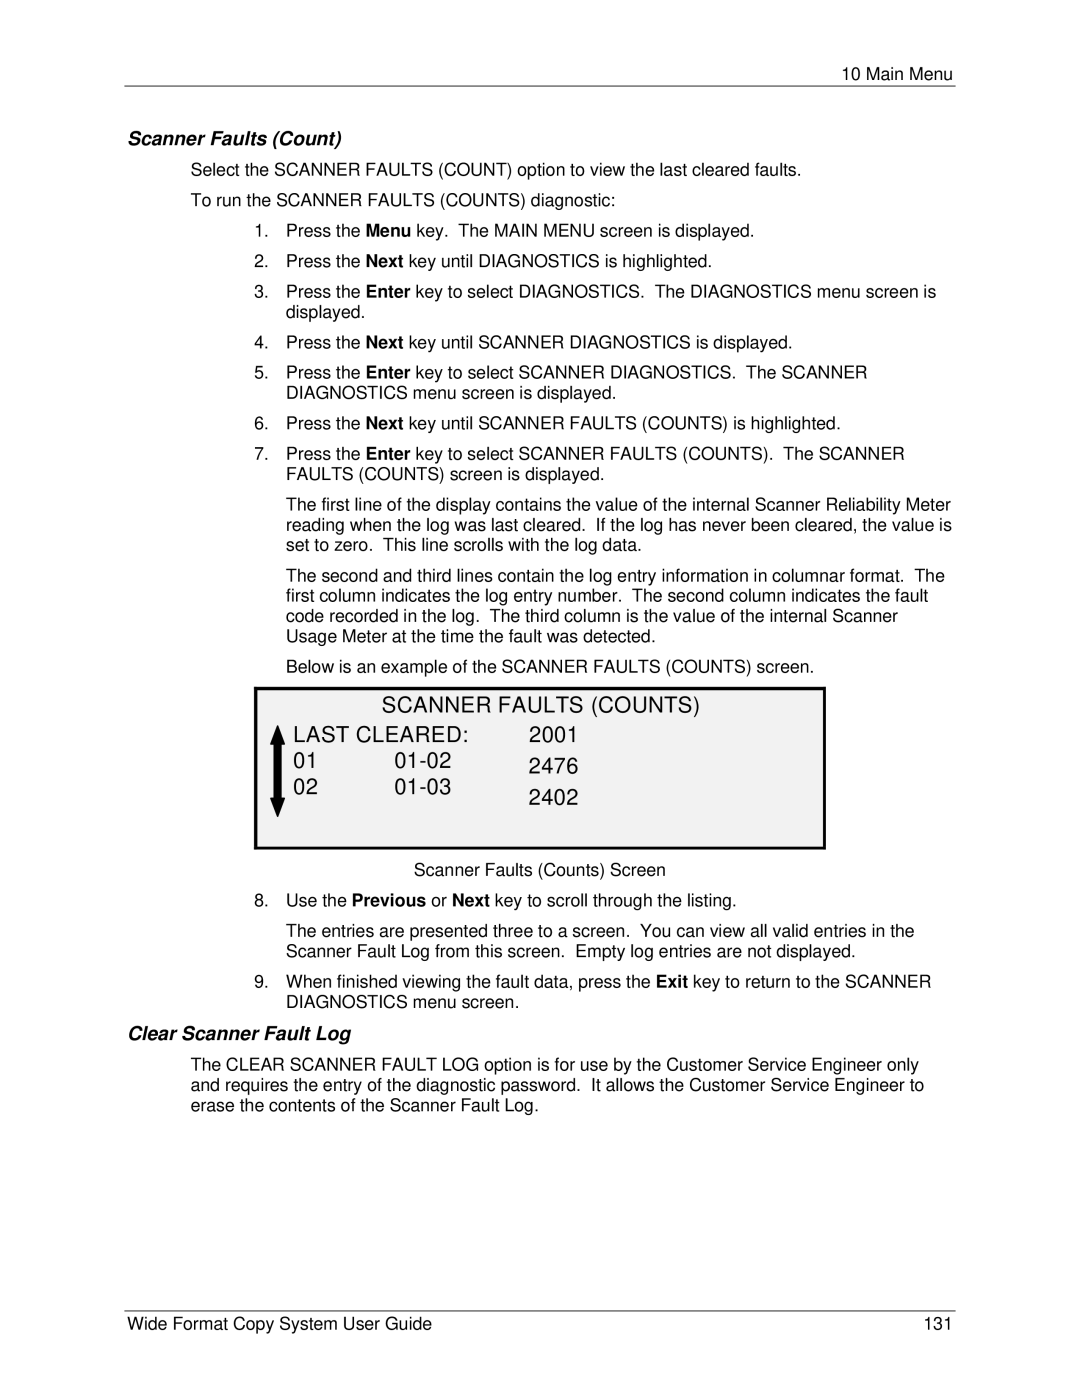
The first line of the display contains the value of the internal Scanner Reliability Meter reading when the log was last cleared. If the log has never been cleared, the value is set to zero. This line scrolls with the log data.
The second and third lines contain the log entry information in columnar format. The first column indicates the log entry number. The second column indicates the fault code recorded in the log. The third column is the value of the internal Scanner Usage Meter at the time the fault was detected.
Below is an example of the SCANNER FAULTS (COUNTS) screen.
SCANNER FAULTS (COUNTS)
LAST CLEARED: | 2001 | |
01 |
| 2476 |
02 | 2402 | |
|
| |
Scanner Faults (Counts) Screen
8.Use the Previous or Next key to scroll through the listing.
The entries are presented three to a screen. You can view all valid entries in the Scanner Fault Log from this screen. Empty log entries are not displayed.
9.When finished viewing the fault data, press the Exit key to return to the SCANNER DIAGNOSTICS menu screen.
Clear Scanner Fault Log
The CLEAR SCANNER FAULT LOG option is for use by the Customer Service Engineer only and requires the entry of the diagnostic password. It allows the Customer Service Engineer to erase the contents of the Scanner Fault Log.
Wide Format Copy System User Guide | 131 |
