8 Special Feature Keys
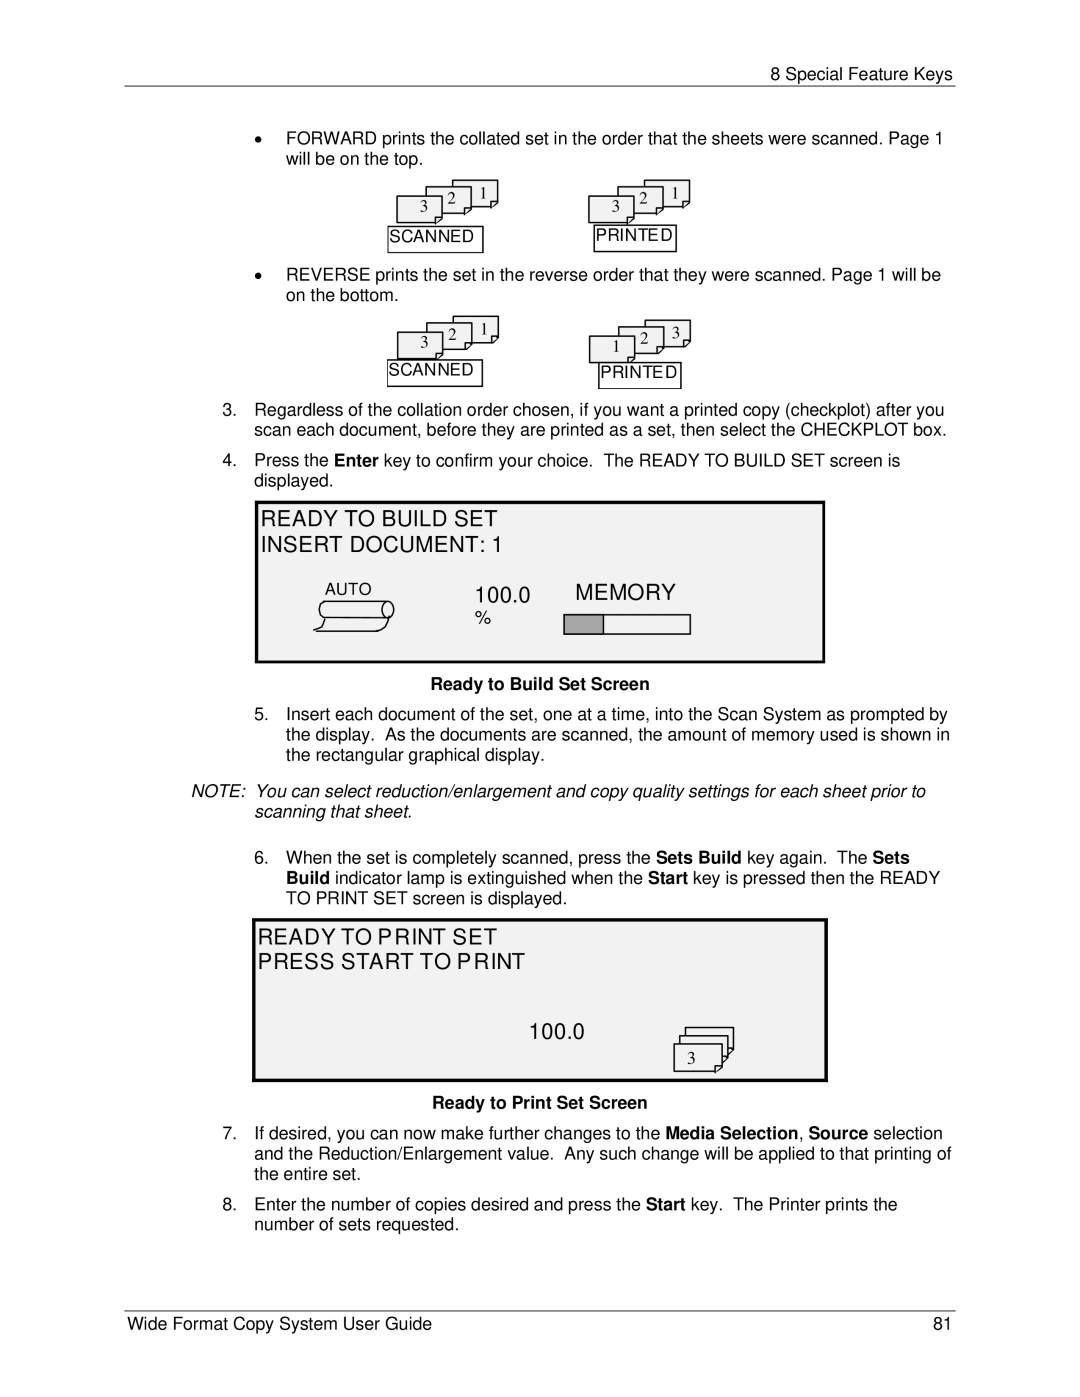
•FORWARD prints the collated set in the order that the sheets were scanned. Page 1 will be on the top.
32 ![]() 1
1![]()
SCANNED
32 ![]() 1
1 ![]()
PRINTED
•REVERSE prints the set in the reverse order that they were scanned. Page 1 will be on the bottom.
3 2 1 ![]()
SCANNED |
1 2 3 ![]()
PRINTE D |
3.Regardless of the collation order chosen, if you want a printed copy (checkplot) after you scan each document, before they are printed as a set, then select the CHECKPLOT box.
4.Press the Enter key to confirm your choice. The READY TO BUILD SET screen is displayed.
READY TO BUILD SET
INSERT DOCUMENT: 1
AUTO | 100.0 MEMORY |
| % |
Ready to Build Set Screen
5.Insert each document of the set, one at a time, into the Scan System as prompted by the display. As the documents are scanned, the amount of memory used is shown in the rectangular graphical display.
NOTE: You can select reduction/enlargement and copy quality settings for each sheet prior to scanning that sheet.
6.When the set is completely scanned, press the Sets Build key again. The Sets Build indicator lamp is extinguished when the Start key is pressed then the READY TO PRINT SET screen is displayed.
READY TO PRINT SET
PRESS START TO PRINT
100.0
3
Ready to Print Set Screen
7.If desired, you can now make further changes to the Media Selection, Source selection and the Reduction/Enlargement value. Any such change will be applied to that printing of the entire set.
8.Enter the number of copies desired and press the Start key. The Printer prints the number of sets requested.
Wide Format Copy System User Guide | 81 |
