Chapter 19: Virtual LANs
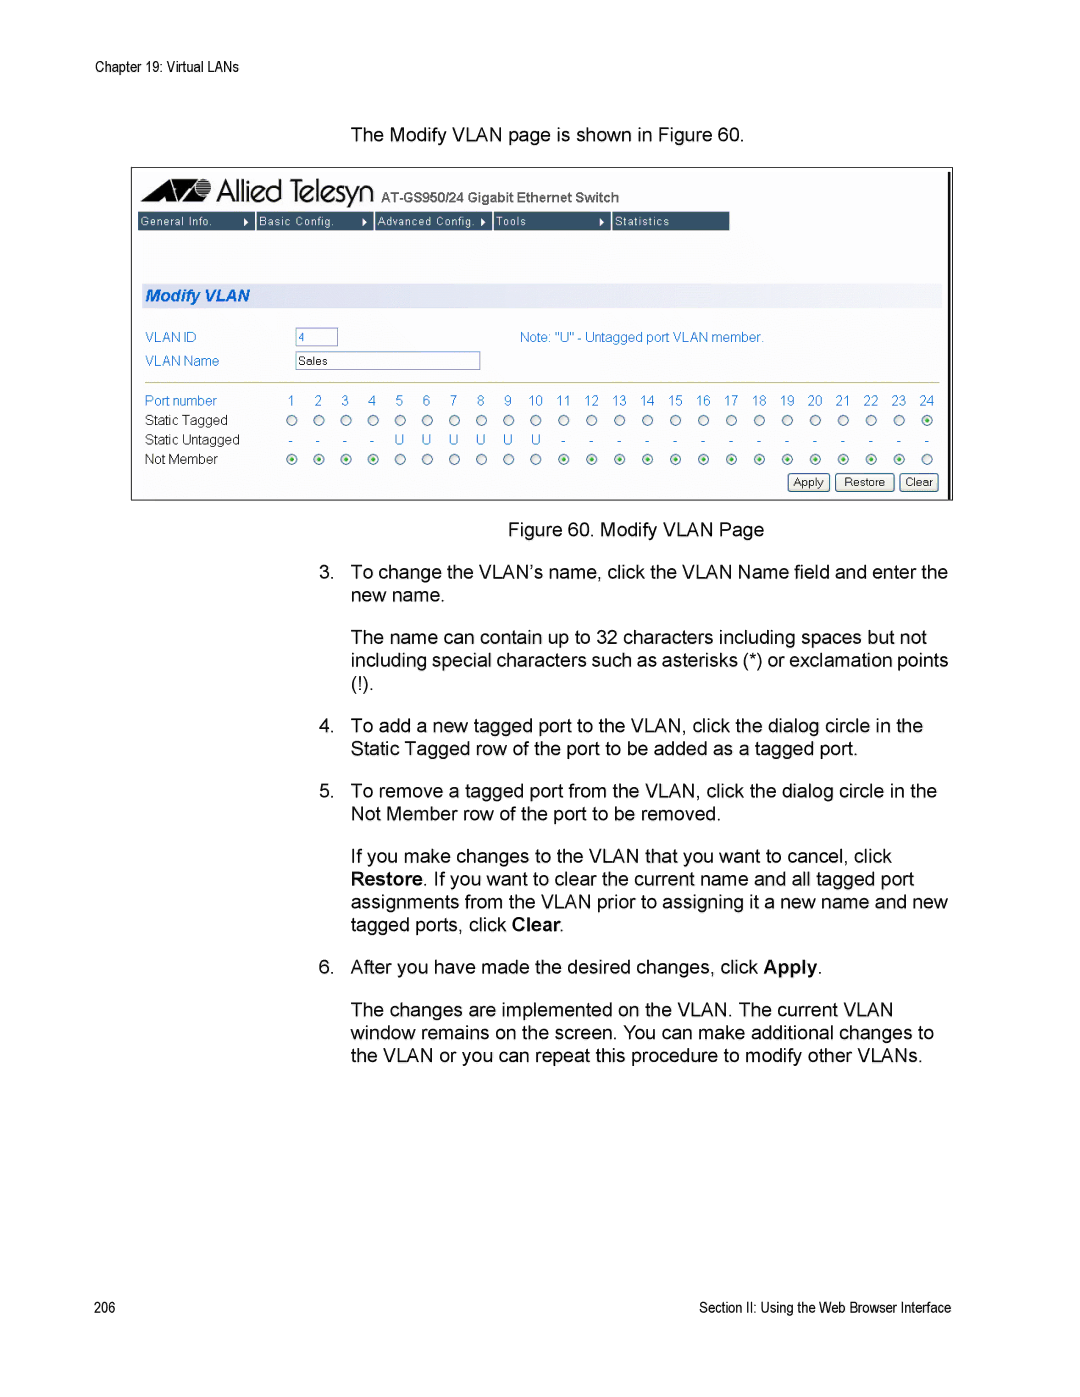
The Modify VLAN page is shown in Figure 60.
Figure 60. Modify VLAN Page
3.To change the VLAN’s name, click the VLAN Name field and enter the new name.
The name can contain up to 32 characters including spaces but not including special characters such as asterisks (*) or exclamation points
(!).
4.To add a new tagged port to the VLAN, click the dialog circle in the Static Tagged row of the port to be added as a tagged port.
5.To remove a tagged port from the VLAN, click the dialog circle in the Not Member row of the port to be removed.
If you make changes to the VLAN that you want to cancel, click Restore. If you want to clear the current name and all tagged port assignments from the VLAN prior to assigning it a new name and new tagged ports, click Clear.
6.After you have made the desired changes, click Apply.
The changes are implemented on the VLAN. The current VLAN window remains on the screen. You can make additional changes to the VLAN or you can repeat this procedure to modify other VLANs.
206 | Section II: Using the Web Browser Interface |