20 | C H A P T E R T W O |
|
11Press 1 on the dial pad for each colour, as prompted (for initial setup only) within 1 minute. The MFC will enter a cleaning cycle for approximately 6 minutes. The screen alternately displays CLEANING BLACK and PLEASE WAIT. The ink dot counter will be set automatically for each colour, so the MFC can warn you with an error message when ink is running low.
Make sure paper is loaded in the cassette, then press Start within 1 minute.
When the MFC completes the cleaning cycle, the MFC starts printing the test sheet.
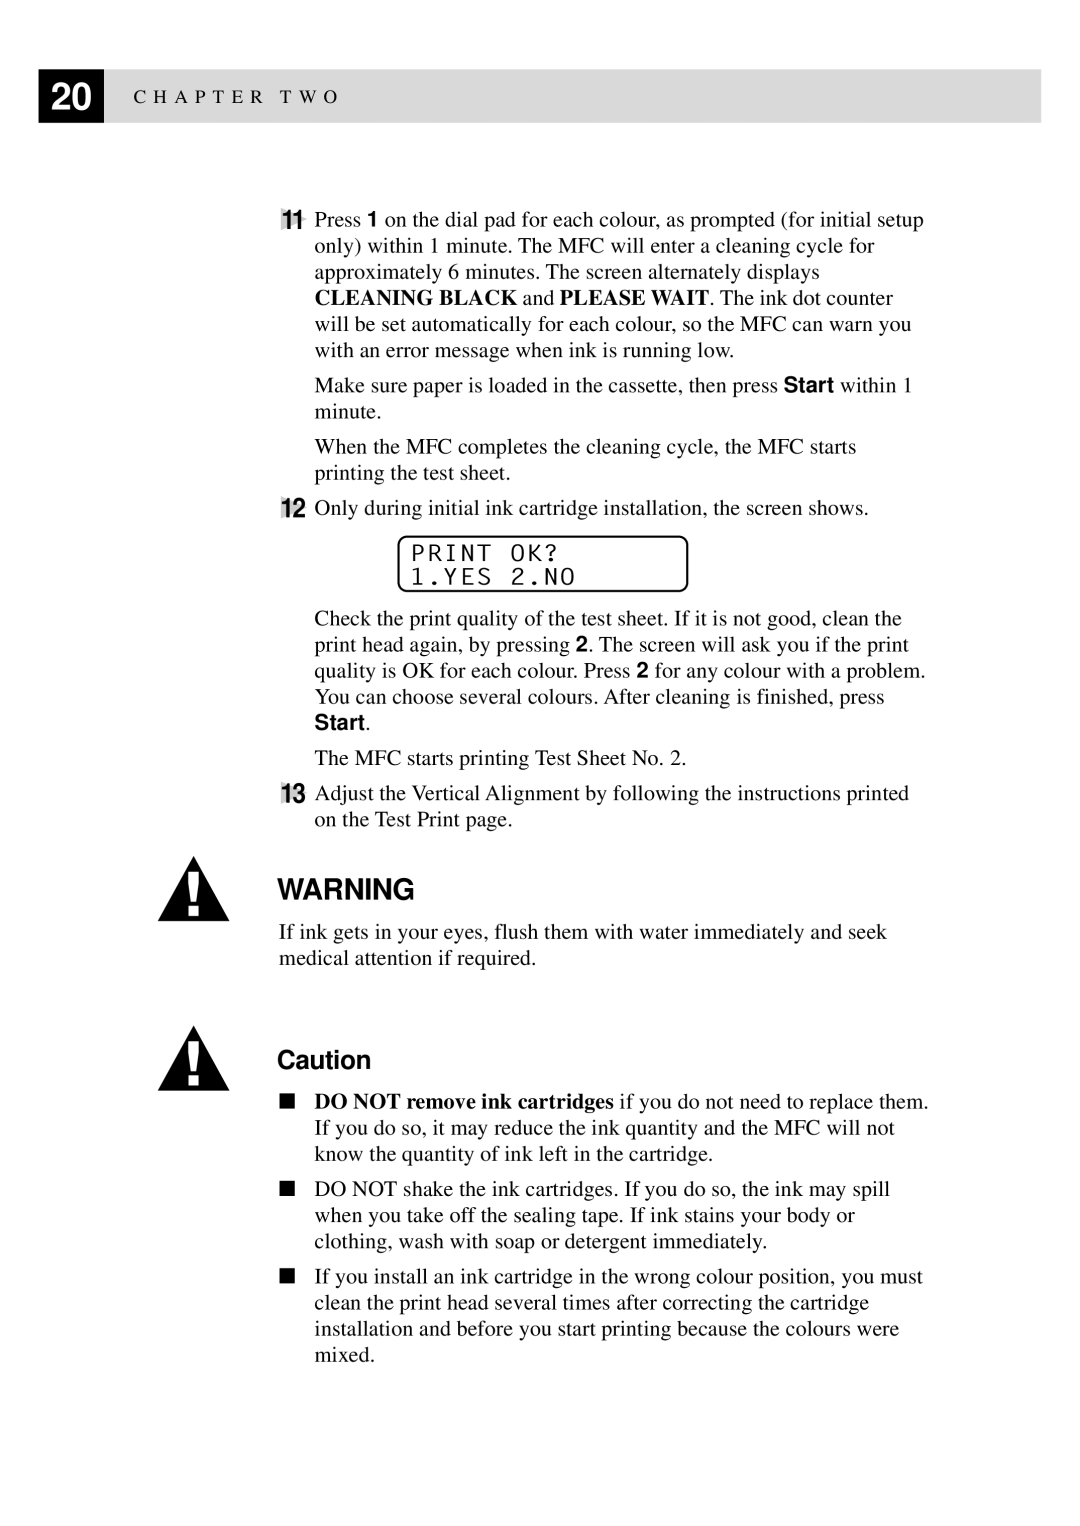
12Only during initial ink cartridge installation, the screen shows.
PRINT OK? 1.YES 2.NO
Check the print quality of the test sheet. If it is not good, clean the print head again, by pressing 2. The screen will ask you if the print quality is OK for each colour. Press 2 for any colour with a problem. You can choose several colours. After cleaning is finished, press Start.
The MFC starts printing Test Sheet No. 2.
13Adjust the Vertical Alignment by following the instructions printed on the Test Print page.
WARNING
If ink gets in your eyes, flush them with water immediately and seek medical attention if required.
Caution
■DO NOT remove ink cartridges if you do not need to replace them. If you do so, it may reduce the ink quantity and the MFC will not know the quantity of ink left in the cartridge.
■DO NOT shake the ink cartridges. If you do so, the ink may spill when you take off the sealing tape. If ink stains your body or clothing, wash with soap or detergent immediately.
■If you install an ink cartridge in the wrong colour position, you must clean the print head several times after correcting the cartridge installation and before you start printing because the colours were mixed.