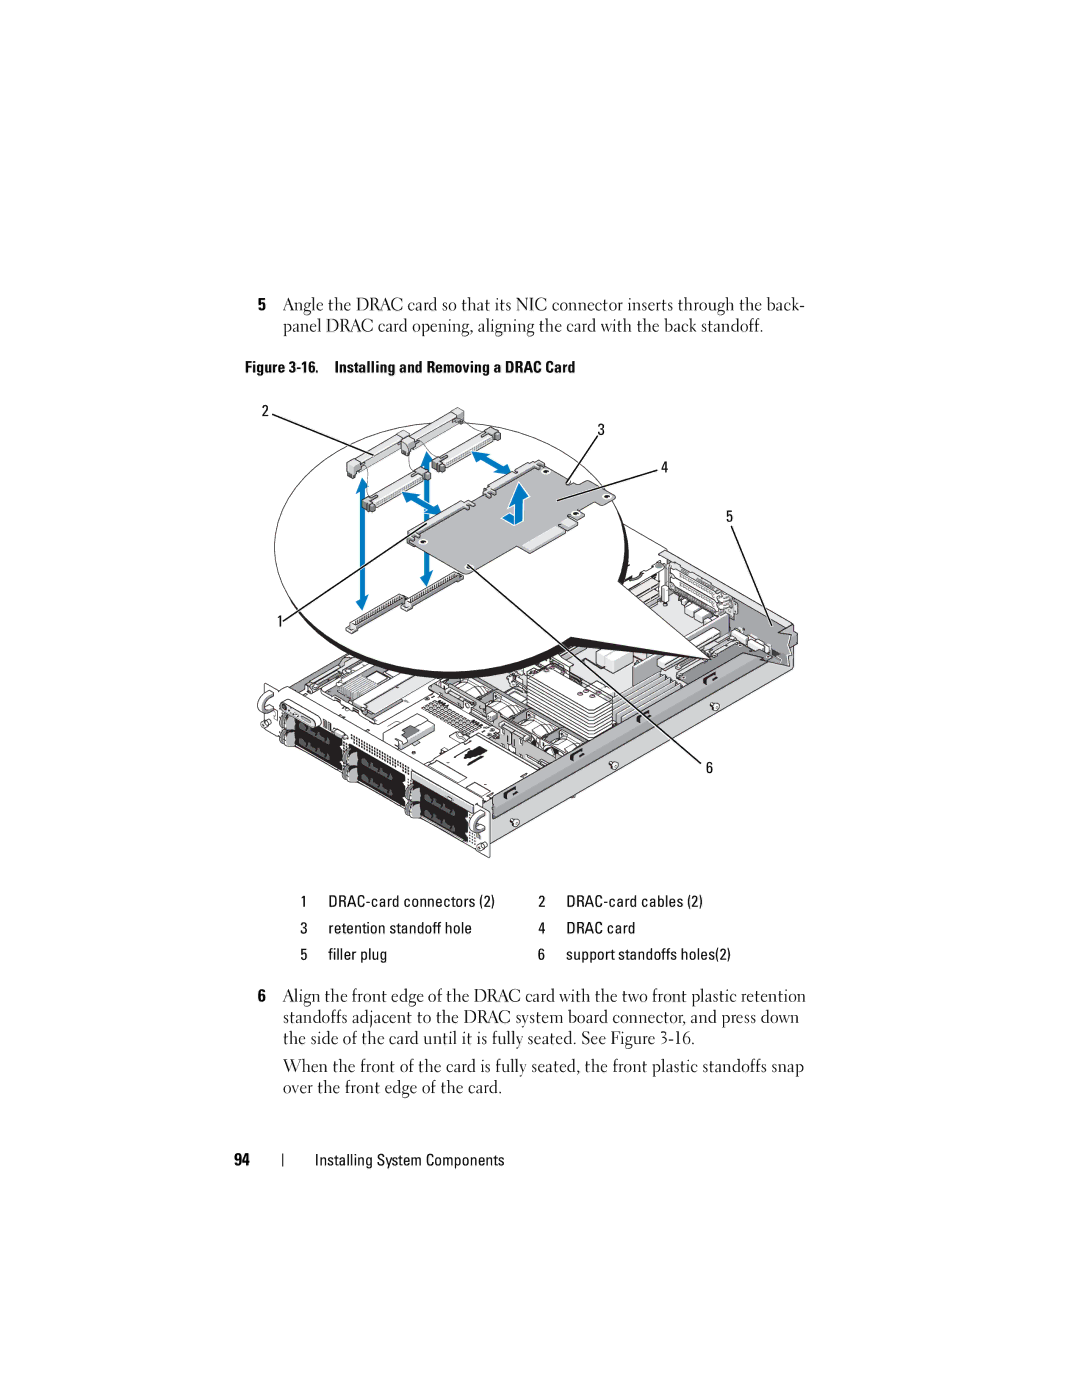
5Angle the DRAC card so that its NIC connector inserts through the back- panel DRAC card opening, aligning the card with the back standoff.
Figure 3-16. Installing and Removing a DRAC Card
2
3
4
5
1![]()
6
1 | 2 |
| |
3 | retention standoff hole | 4 | DRAC card |
5 | filler plug | 6 | support standoffs holes(2) |
6Align the front edge of the DRAC card with the two front plastic retention standoffs adjacent to the DRAC system board connector, and press down the side of the card until it is fully seated. See Figure
When the front of the card is fully seated, the front plastic standoffs snap over the front edge of the card.
94