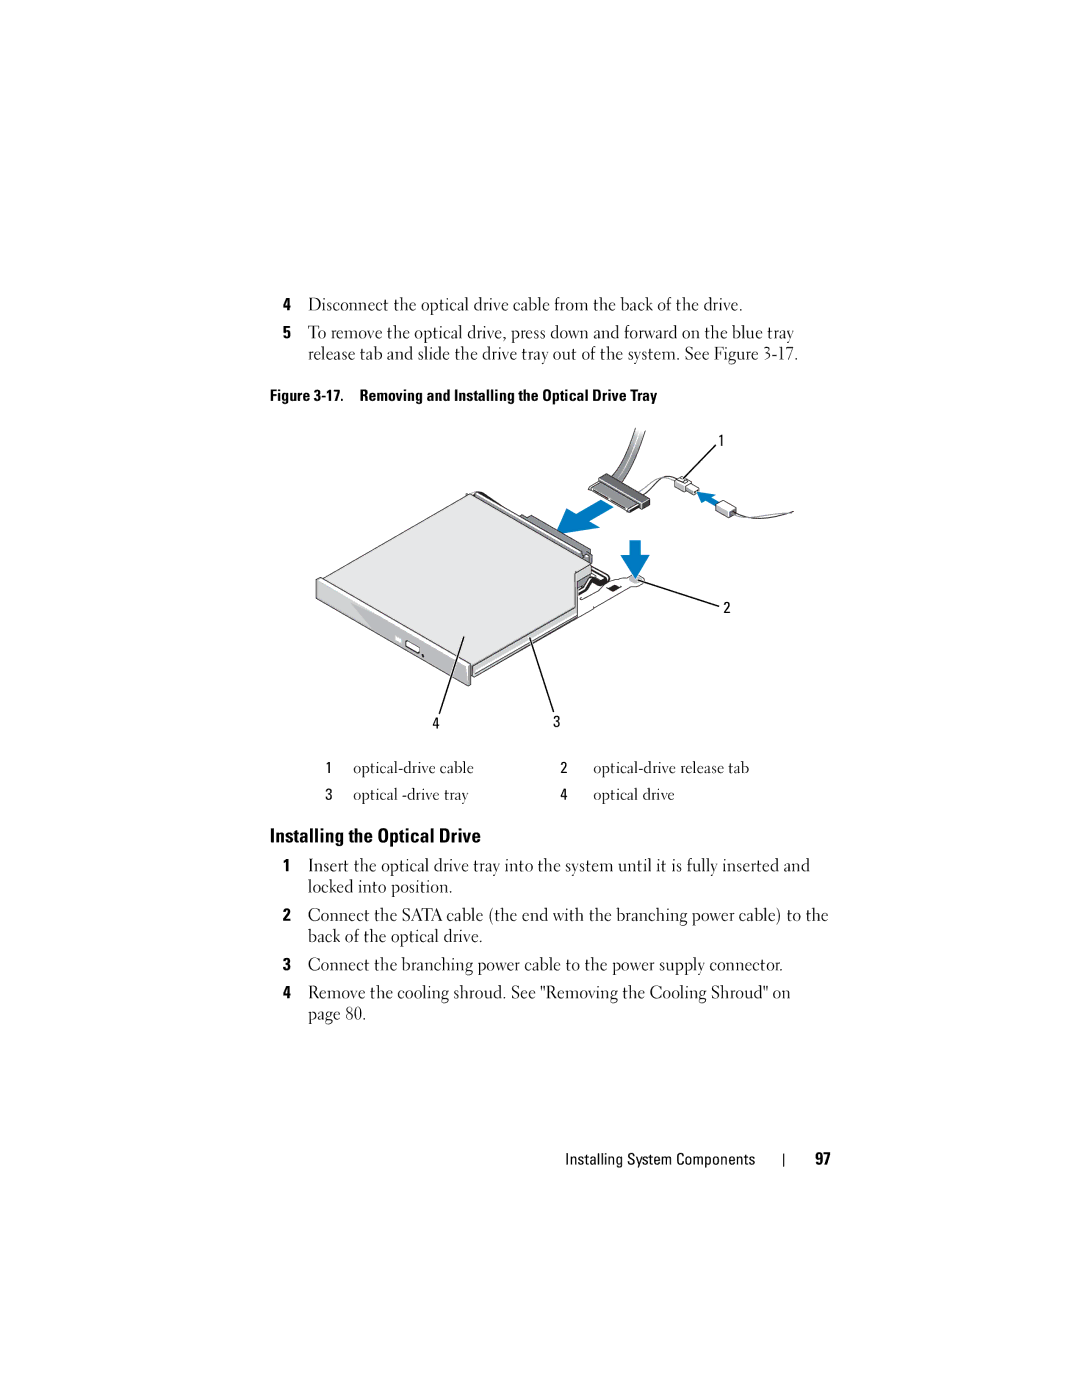
4Disconnect the optical drive cable from the back of the drive.
5To remove the optical drive, press down and forward on the blue tray release tab and slide the drive tray out of the system. See Figure
Figure 3-17. Removing and Installing the Optical Drive Tray
1
2
| 4 | 3 |
|
1 |
| 2 | |
3 | optical | 4 | optical drive |
Installing the Optical Drive
1Insert the optical drive tray into the system until it is fully inserted and locked into position.
2Connect the SATA cable (the end with the branching power cable) to the back of the optical drive.
3Connect the branching power cable to the power supply connector.
4Remove the cooling shroud. See "Removing the Cooling Shroud" on page 80.
Installing System Components
97