DISASSEMBLY AND ASSEMBLY
3.2.4.4 C204 DRV-B and C204 DRV Board Units Removal
Step 1: Remove the bottom panel assembly. (Refer to Section 3.2.4.1)
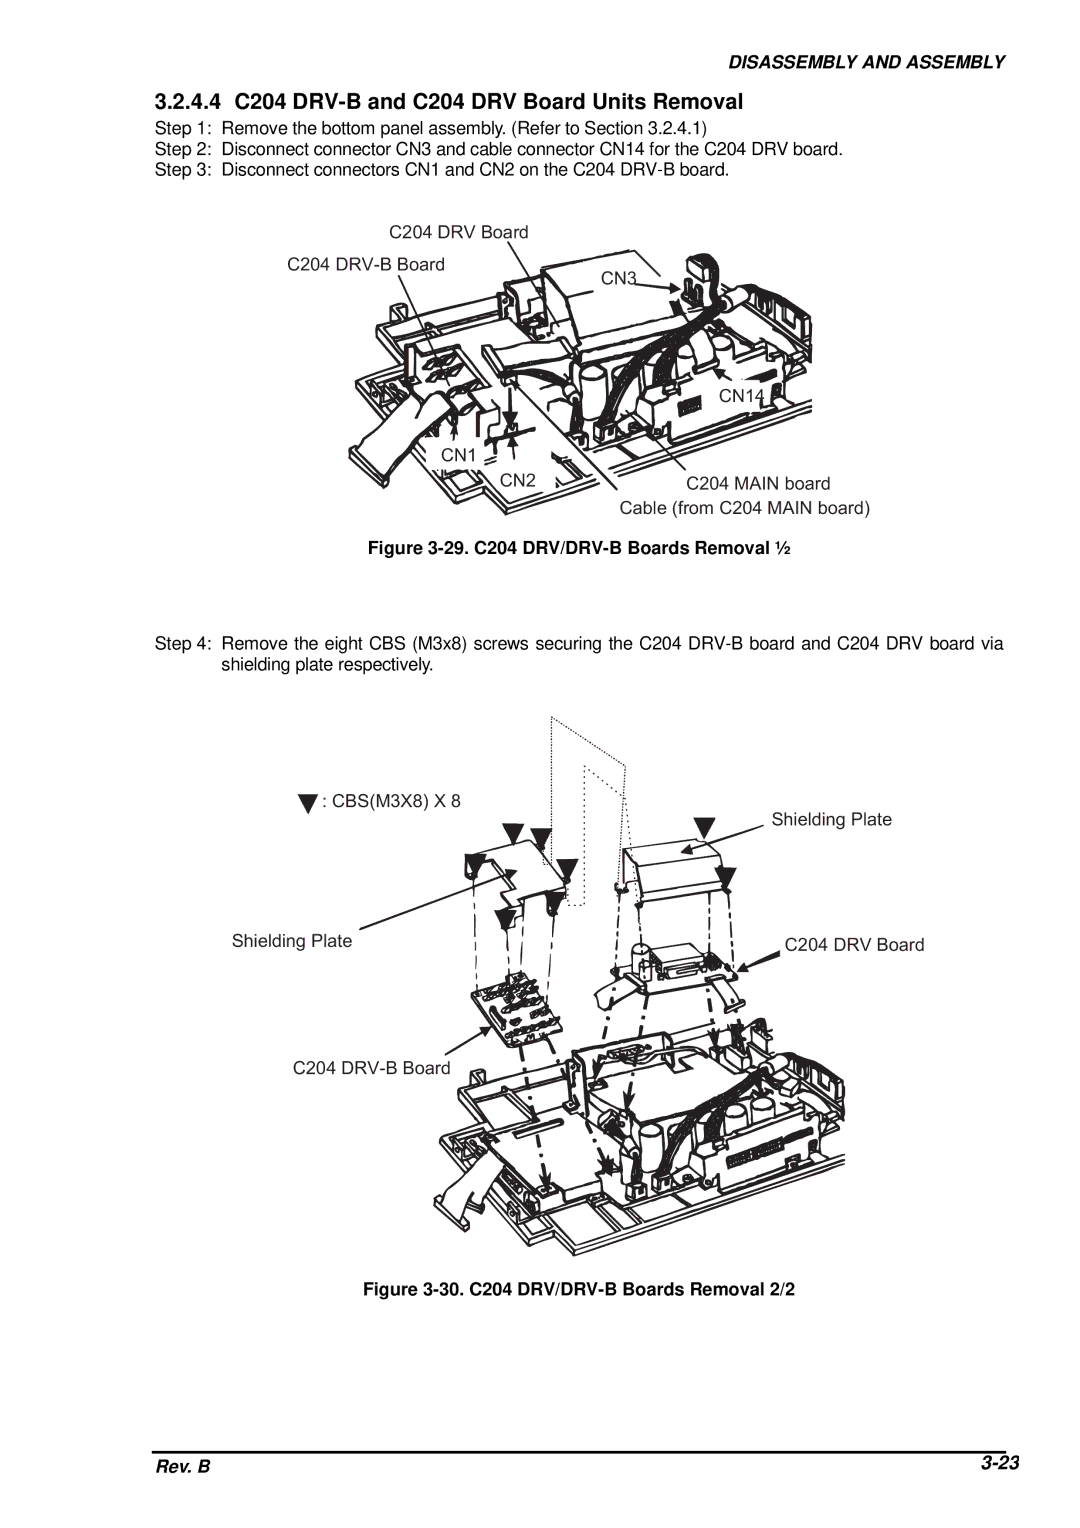
Step 2: Disconnect connector CN3 and cable connector CN14 for the C204 DRV board.
Step 3: Disconnect connectors CN1 and CN2 on the C204
C 2 0 4 D R V B o a r d
C 2 0 4 D R V - B B o a r d
C N 3
| C N 1 4 |
C N 1 |
|
C N 2 | C 2 0 4 M A I N b o a r d |
| C a b le ( f r o m C 2 0 4 M |
Figure 3-29. C204 DRV/DRV-B Boards Removal ½
Step 4: Remove the eight CBS (M3x8) screws securing the C204
: C B S ( M 3 X 8 ) X 8
S h ie ld in g P l
S h ie ld in g P la t e | C 2 0 4 D R V B o |
C 2 0 4 D R V - B![]() B
B ![]() o a r d
o a r d![]()
![]()
![]()
![]()
![]()
Figure 3-30. C204 DRV/DRV-B Boards Removal 2/2
|
|
|
Rev. B | ||