4.10 Preparing the Hardware for CP6000BL Systems
Use the management processor (MP) to perform the following tasks on each server blade in the hardware configuration after the head node is installed and the switches are discovered:
•Clear all event logs
•Enable IPMI over LAN
•Create an MP login ID and password that matches all other devices
•Add a boot entry for the string DVD boot on the head node, and add a boot entry for the string Netboot on all other nodes.
•Move the DVD boot and Netboot boot entries to top of the boot order
•Set the primary console
•Set the console baud rate to 115200
Procedure
Perform the following procedure on each HP Integrity server blade. All nodes must be seated in an enclosure, plugged in, and power turned off.
1.Connect the local IO cable (also called the SUV cable) to the server blade. The local cable is shipped with the enclosure and connects to the server blade at one end and is divided into VGA, USB, and Serial ports at the other end.
2.Connect a serial terminal or laptop serial port to the serial port of the local IO cable.
3.Use a terminal emulator, such as HyperTerminal, to open a terminal window.
4.Press the Enter key to access the MP. If there is no response, press the MP reset pin on the back of the MP and try again.
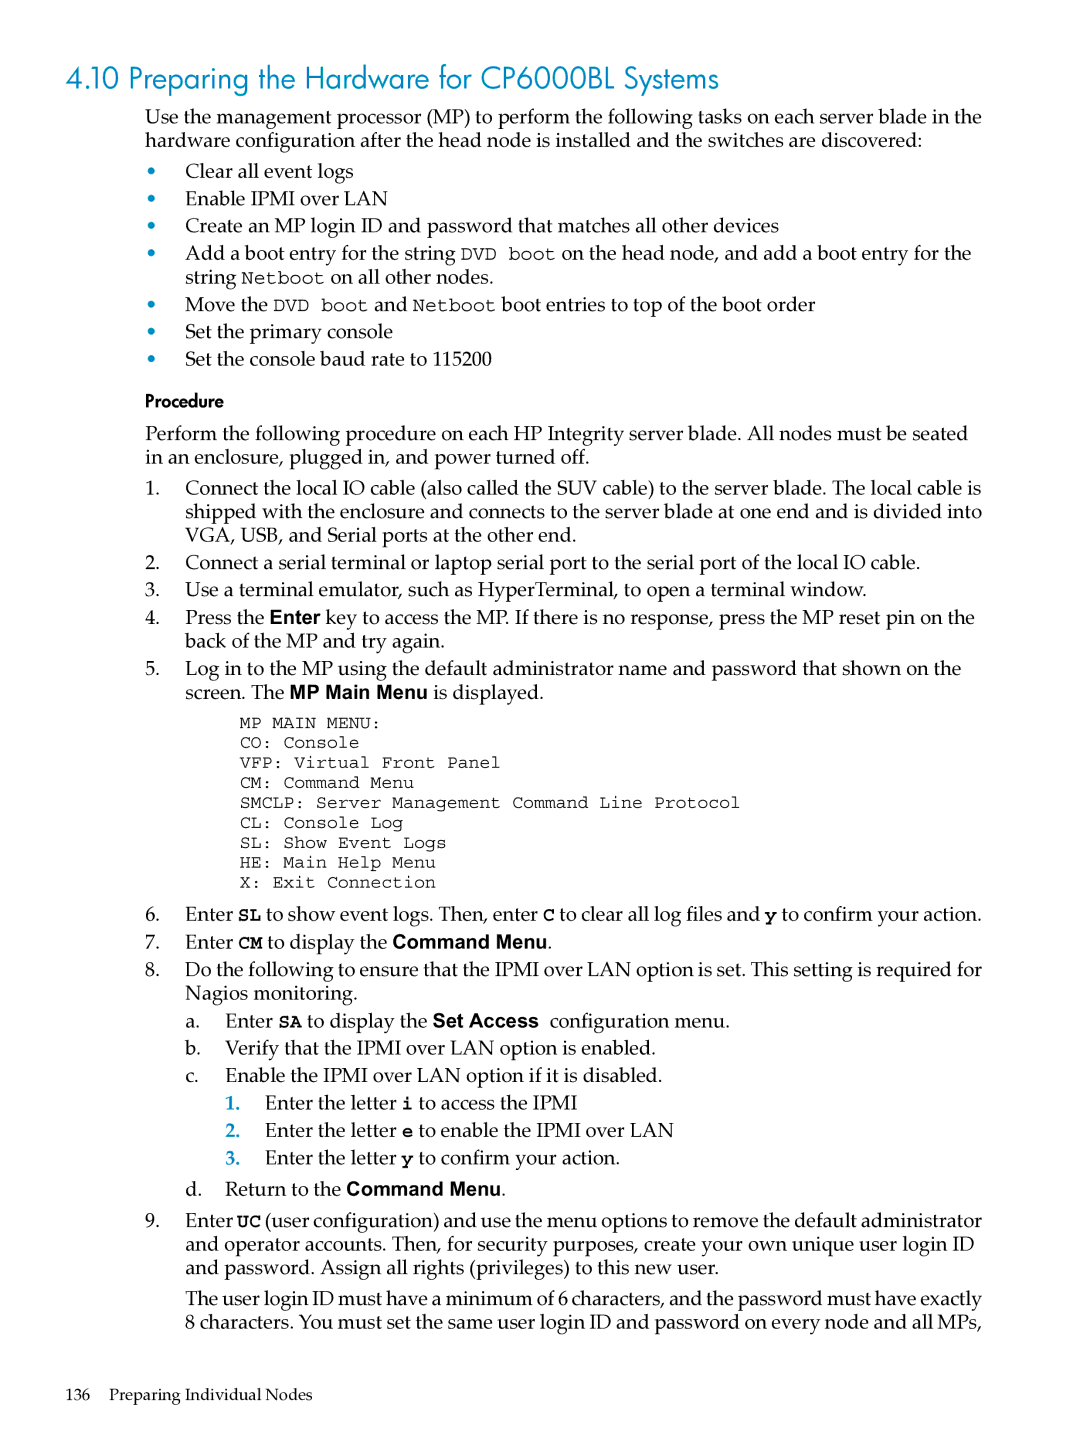
5.Log in to the MP using the default administrator name and password that shown on the screen. The MP Main Menu is displayed.
MP MAIN MENU:
CO: Console
VFP: Virtual Front Panel
CM: Command Menu
SMCLP: Server Management Command Line Protocol
CL: Console Log
SL: Show Event Logs
HE: Main Help Menu
X:Exit Connection
6.Enter SL to show event logs. Then, enter C to clear all log files and y to confirm your action.
7.Enter CM to display the Command Menu.
8.Do the following to ensure that the IPMI over LAN option is set. This setting is required for Nagios monitoring.
a.Enter SA to display the Set Access configuration menu.
b.Verify that the IPMI over LAN option is enabled.
c.Enable the IPMI over LAN option if it is disabled.
1.Enter the letter i to access the IPMI
2.Enter the letter e to enable the IPMI over LAN
3.Enter the letter y to confirm your action.
d.Return to the Command Menu.
9.Enter UC (user configuration) and use the menu options to remove the default administrator and operator accounts. Then, for security purposes, create your own unique user login ID and password. Assign all rights (privileges) to this new user.
The user login ID must have a minimum of 6 characters, and the password must have exactly 8 characters. You must set the same user login ID and password on every node and all MPs,
