Replacing Fan Trays
Installing the Fan Tray
To install the fan tray:
Caution: Do not use the fan tray handle to carry the fan tray assembly. Use the handle only to push the tray into the chassis.
1Hold the tray horizontally
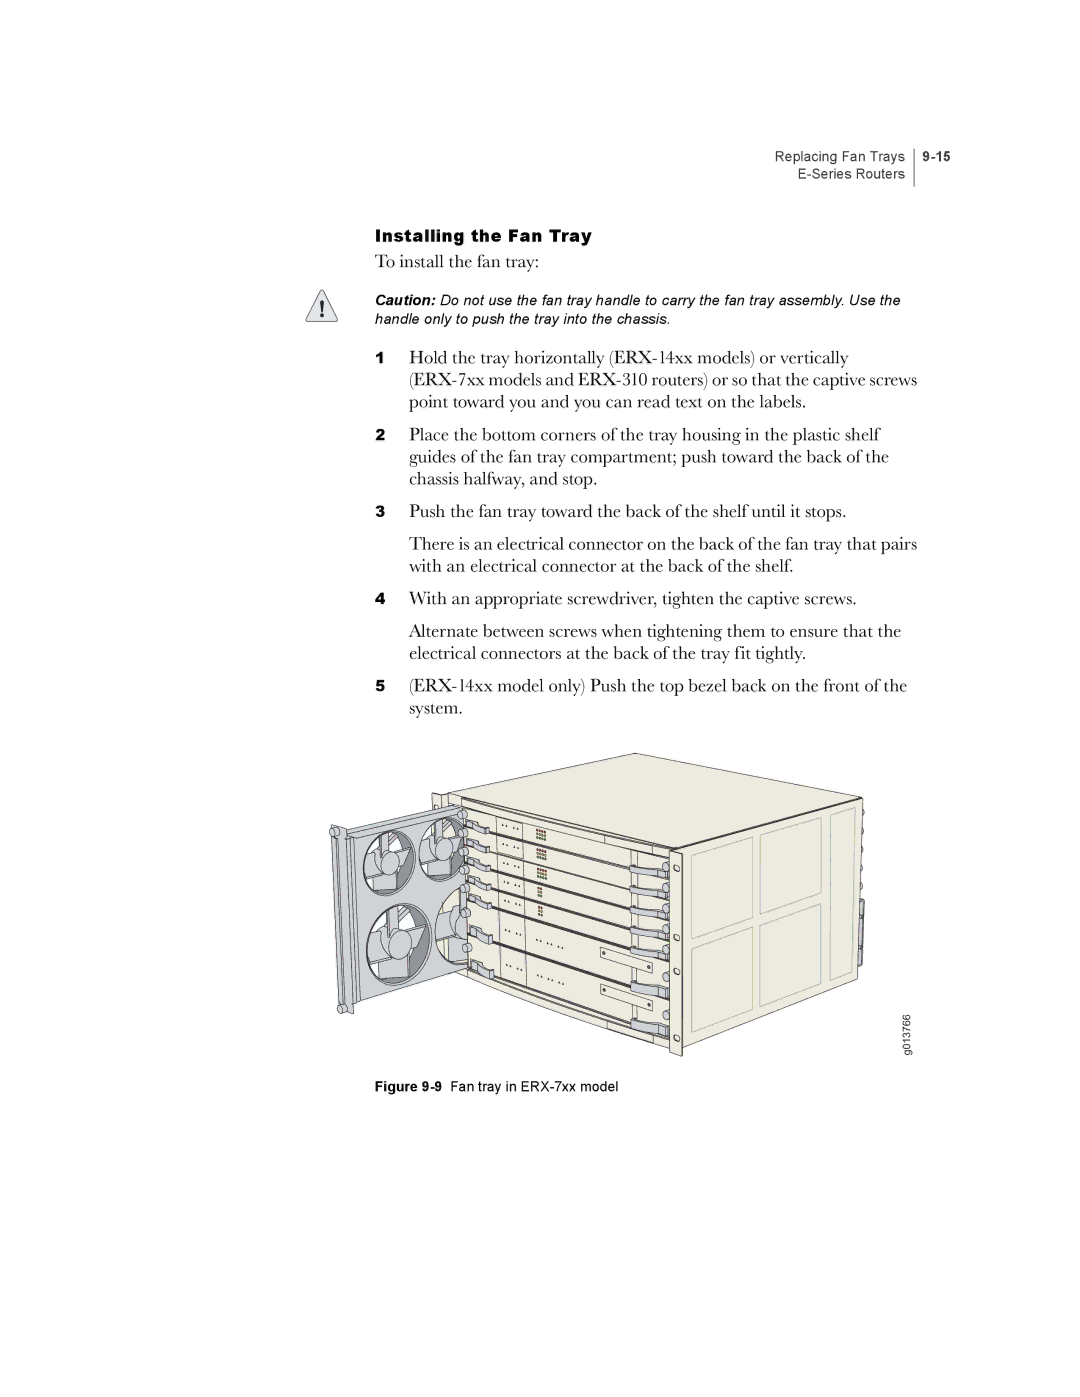
2Place the bottom corners of the tray housing in the plastic shelf guides of the fan tray compartment; push toward the back of the chassis halfway, and stop.
3Push the fan tray toward the back of the shelf until it stops.
There is an electrical connector on the back of the fan tray that pairs with an electrical connector at the back of the shelf.
4With an appropriate screwdriver, tighten the captive screws.
Alternate between screws when tightening them to ensure that the electrical connectors at the back of the tray fit tightly.
5
g013766