9-6 User’s Reference Guide
initiating a tunnel connection.
■You can specify a Receive Host Name which is used with the Receive Secret for authenticating a remote PPTP client.
■
■
You must specify a Receive Secret, used for authenticating the remote PPTP client.
You can specify that this router will Initiate Connections (acting as a PAC) or only answer them (acting as a PNS).
■Tunnels are normally initiated On Demand; however, you can disable this feature. When disabled, the tunnel must be manually established via the call management screens or may be scheduled using the scheduled connections feature. See “Scheduled Connections” in the User’s Reference Guide.
■You can specify the Idle Timeout, an inactivity timer, whose expiration will terminate the tunnel. A value of zero disables the timer. Because tunnels are subject to abrupt termination when the underlying datalink is torn down, use of the Idle Timeout is strongly encouraged.
An alternate way to force a tunnel to stay up is to define a forced up scheduled connection for the profile. For more information, see “Scheduled connections” on page
■Return to the Connection Profile screen by pressing Escape.
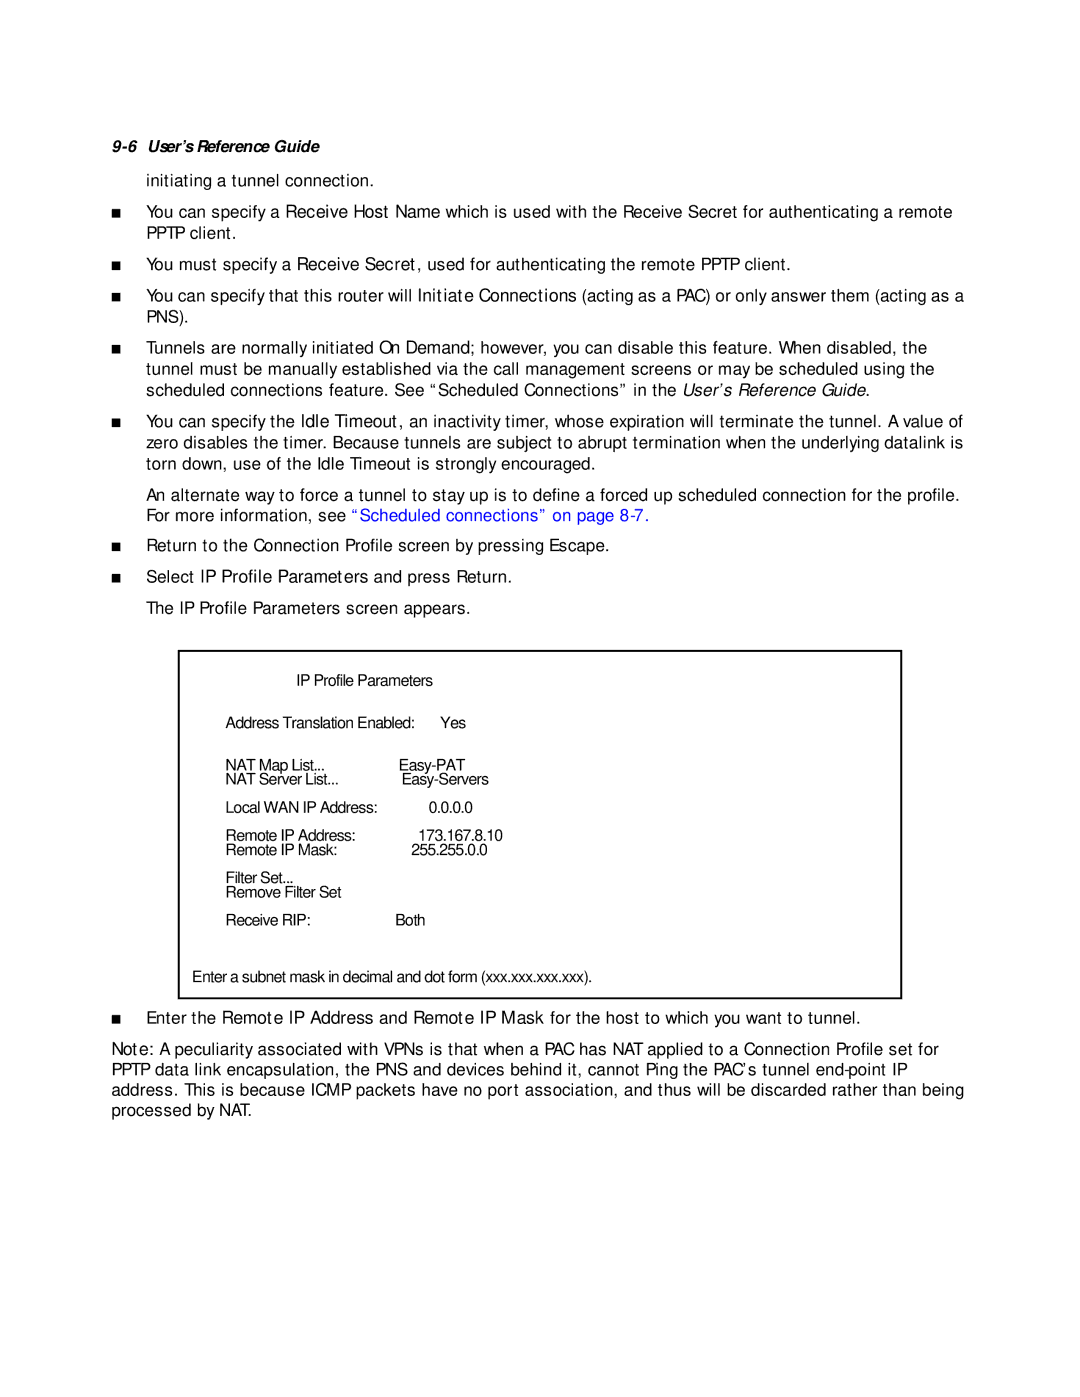
■Select IP Profile Parameters and press Return. The IP Profile Parameters screen appears.
IP Profile Parameters
Address Translation Enabled: | Yes |
NAT Map List... | |
NAT Server List... | |
Local WAN IP Address: | 0.0.0.0 |
Remote IP Address: | 173.167.8.10 |
Remote IP Mask: | 255.255.0.0 |
Filter Set... |
|
Remove Filter Set |
|
Receive RIP: | Both |
Enter a subnet mask in decimal and dot form (xxx.xxx.xxx.xxx).
■Enter the Remote IP Address and Remote IP Mask for the host to which you want to tunnel.
Note: A peculiarity associated with VPNs is that when a PAC has NAT applied to a Connection Profile set for PPTP data link encapsulation, the PNS and devices behind it, cannot Ping the PAC’s tunnel
