3-6 User’s Reference Guide
with:
■Your
■Your Login name and Password. (These are
Note: Your ISP may provide you with additional values such as “Remote IP Gateway” or “Subnet Mask.” These entries are not required for the SmartStart Wizard to configure your router.
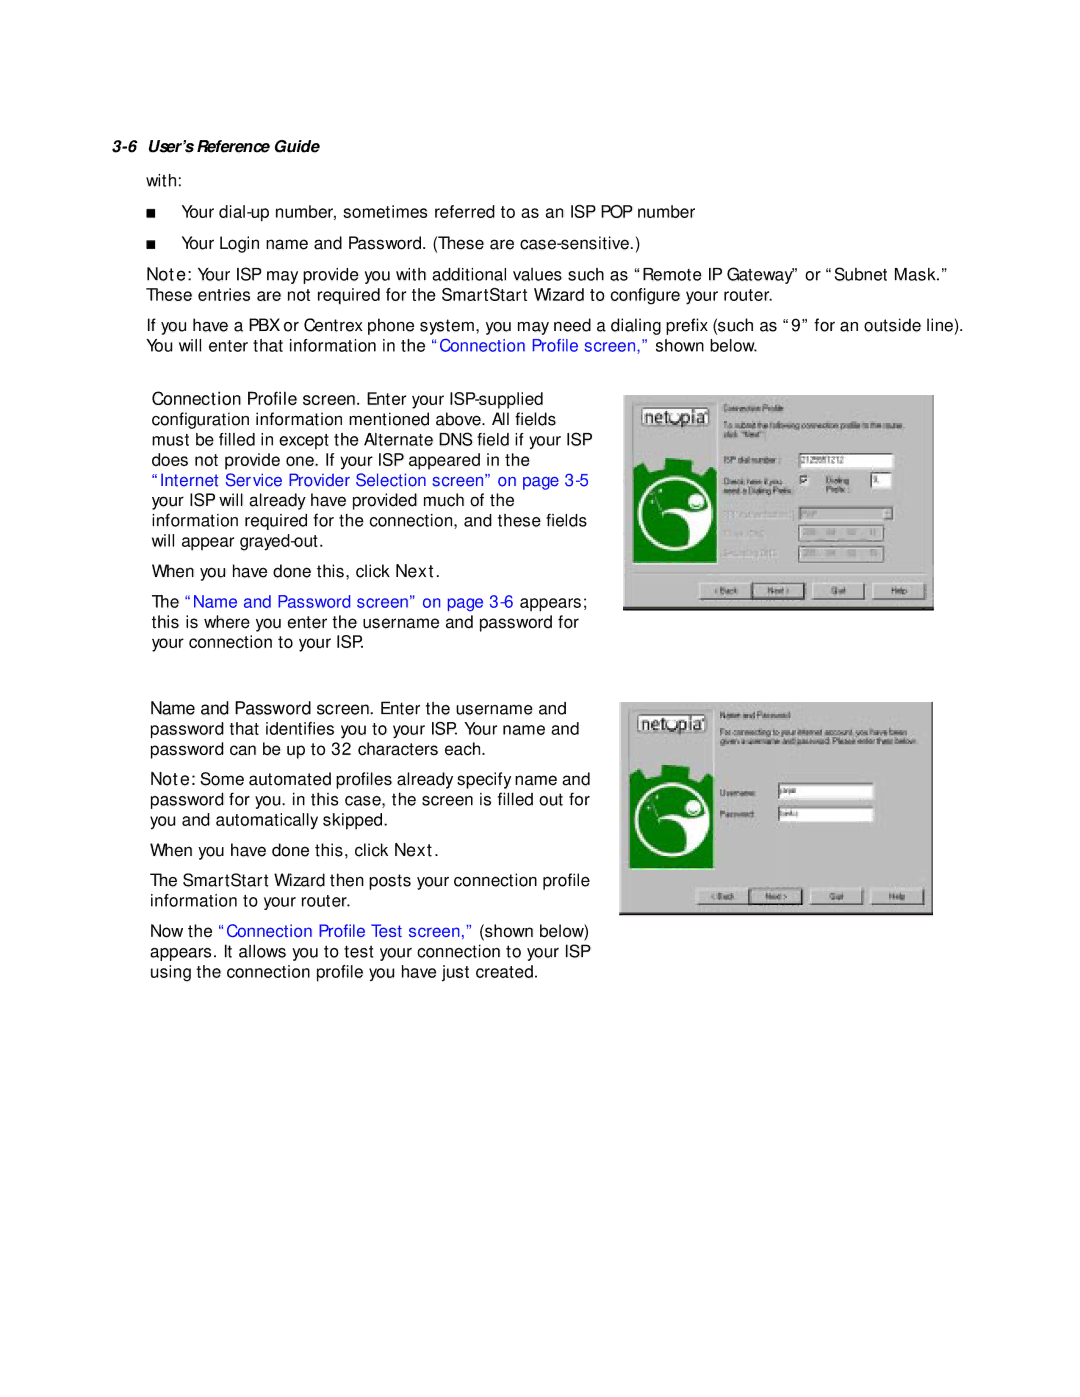
If you have a PBX or Centrex phone system, you may need a dialing prefix (such as “9” for an outside line). You will enter that information in the “Connection Profile screen,” shown below.
Connection Profile screen. Enter your
When you have done this, click Next.
The “Name and Password screen” on page
Name and Password screen. Enter the username and password that identifies you to your ISP. Your name and password can be up to 32 characters each.
Note: Some automated profiles already specify name and password for you. in this case, the screen is filled out for you and automatically skipped.
When you have done this, click Next.
The SmartStart Wizard then posts your connection profile information to your router.
Now the “Connection Profile Test screen,” (shown below) appears. It allows you to test your connection to your ISP using the connection profile you have just created.