Troubleshooting
E Replace the charger. | G Close the front cover. |
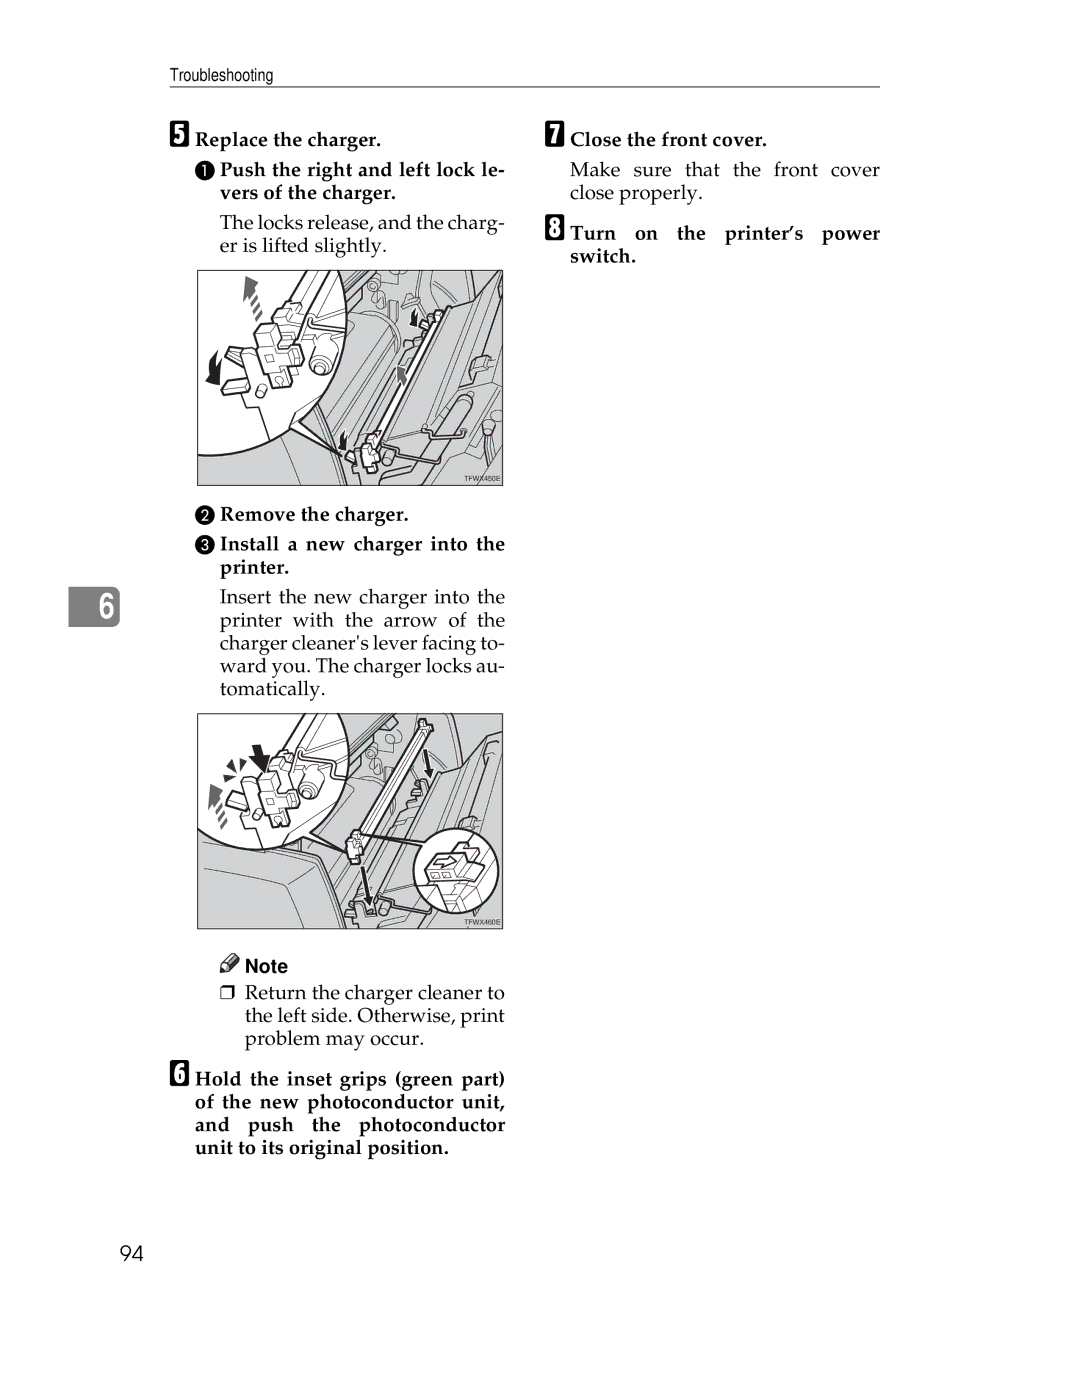
A Push the right and left lock le- vers of the charger.
The locks release, and the charg- er is lifted slightly.
TFWX450E |
Make sure that the front cover close properly.
H Turn on the printer’s power switch.
| B Remove the charger. | |
| C Install a new charger into the | |
| printer. | |
| Insert the new charger into the | |
6 | ||
printer with the arrow of the | ||
|
charger cleaner's lever facing to- ward you. The charger locks au- tomatically.
TFWX460E |
![]()
![]() Note
Note
❒Return the charger cleaner to the left side. Otherwise, print problem may occur.
F Hold the inset grips (green part) of the new photoconductor unit, and push the photoconductor unit to its original position.
94