Installing the Memory Unit (SIMM)
Installing the Memory Unit (SIMM)
RCAUTION:
•Make sure to turn off the printer and wait for about 30 minutes before installing options. Not waiting for the printer to cool down can result in a burn.
![]() Important
Important
❒The memory unit can be damaged by small amounts of static electric- ity. Before touching it, touch some- thing metal to discharge static electricity from you.
A Turn off the printer's power switch and remove all cables and cords from the printer.
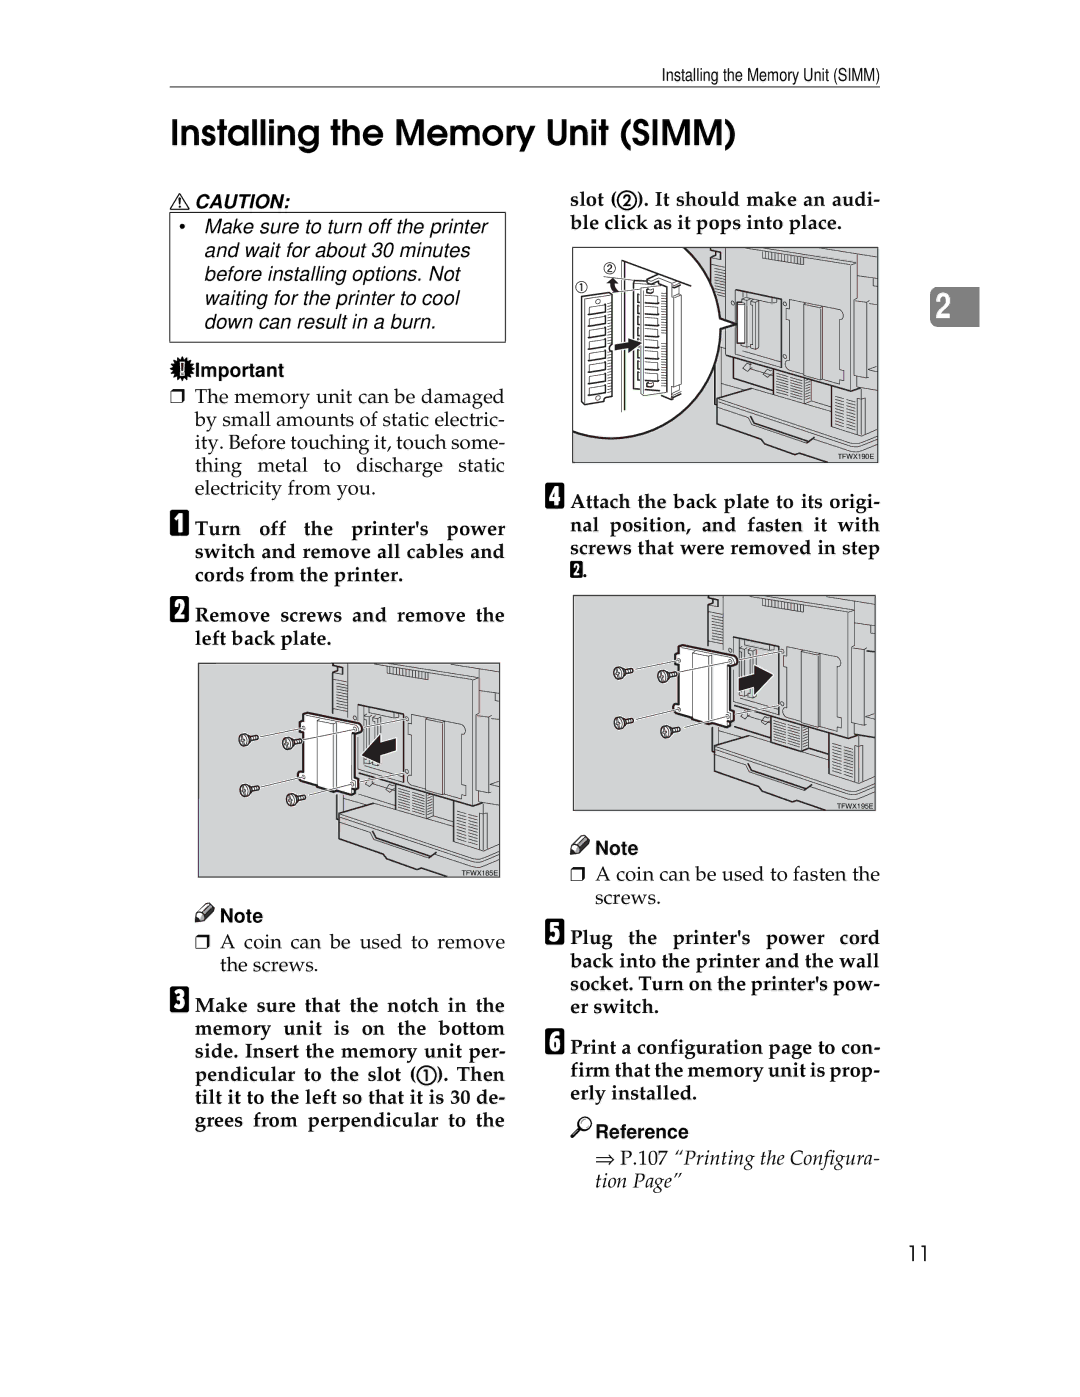
B Remove screws and remove the left back plate.
TFWX185E
![]()
![]() Note
Note
❒A coin can be used to remove the screws.
C Make sure that the notch in the memory unit is on the bottom side. Insert the memory unit per- pendicular to the slot (A). Then tilt it to the left so that it is 30 de- grees from perpendicular to the
slot (B). It should make an audi- ble click as it pops into place.
2 |
TFWX190E |
D Attach the back plate to its origi- nal position, and fasten it with screws that were removed in step B.
TFWX195E |
![]()
![]() Note
Note
❒A coin can be used to fasten the screws.
E Plug the printer's power cord back into the printer and the wall socket. Turn on the printer's pow- er switch.
F Print a configuration page to con- firm that the memory unit is prop- erly installed.

 Reference
⇒P.107 “Printing the Configura- tion Page”
11
