Cleaning and Adjusting the Printer
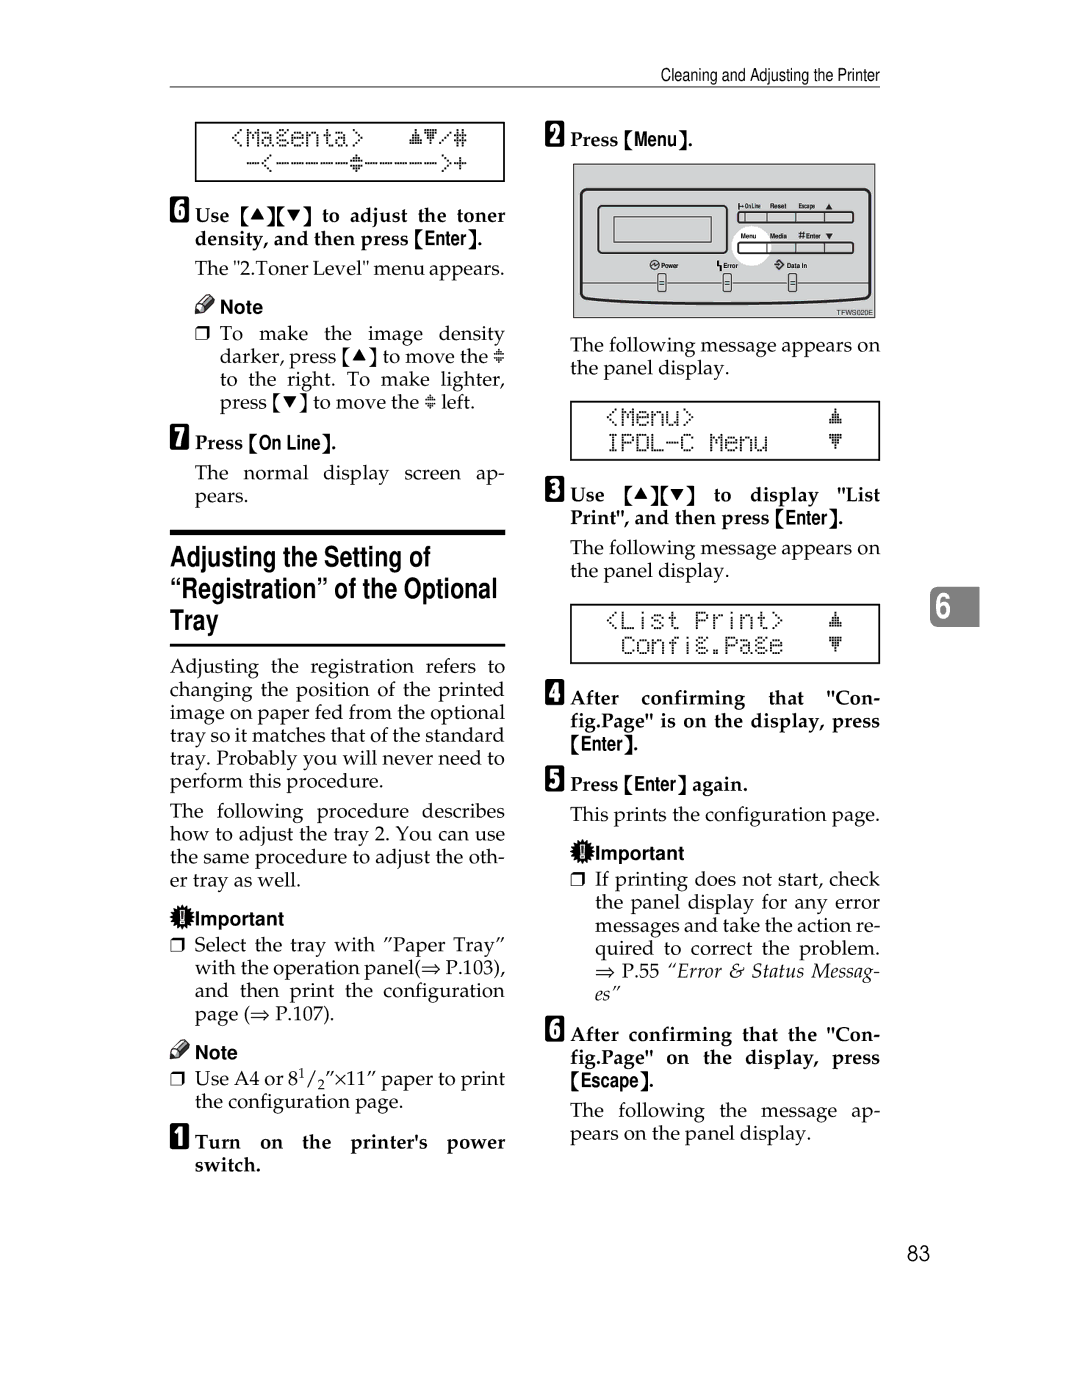
<Magenta> jl/# -<-----g----->+
F Use {U}{T} to adjust the toner density, and then press {Enter}.
The "2.Toner Level" menu appears.
![]()
![]() Note
Note
❒To make the image density darker, press {U} to move the g to the right. To make lighter, press {T} to move the g left.
G Press {On Line}.
The normal display screen ap- pears.
Adjusting the Setting of
“Registration” of the Optional
Tray
Adjusting the registration refers to changing the position of the printed image on paper fed from the optional tray so it matches that of the standard tray. Probably you will never need to perform this procedure.
The following procedure describes how to adjust the tray 2. You can use the same procedure to adjust the oth- er tray as well.
![]() Important
Important
❒Select the tray with ”Paper Tray” with the operation panel(⇒ P.103),
and then print the configuration page (⇒ P.107).
![]()
![]() Note
Note
❒Use A4 or 81/2”×11” paper to print the configuration page.
A Turn on the printer's power switch.
B Press {Menu}. |
|
|
|
| On Line | Reset | Escape |
| Menu | Media | Enter |
Power | Error |
| Data In |
|
|
| TFWS020E |
The following message appears on the panel display.
<Menu> | j |
l | |
|
|
C Use {U}{T} to display "List Print", and then press {Enter}.
The following message appears on the panel display.
|
|
|
| |
|
|
| 6 | |
<List Print> | j |
| ||
| ||||
Config.Page | l |
|
| |
|
|
|
|
D After confirming that "Con- fig.Page" is on the display, press {Enter}.
E Press {Enter} again.
This prints the configuration page.
![]() Important
Important
❒If printing does not start, check the panel display for any error messages and take the action re-
quired to correct the problem.
⇒ P.55 “Error & Status Messag- es”
F After confirming that the "Con- fig.Page" on the display, press {Escape}.
The following the message ap- pears on the panel display.
83
