Overlay copying
If you scan and store the data such as format, you can copy the original with the previously stored data.
1Place the originals face up in the DADF. Or place a single original face down on the scanner glass. (Page 4.1)
2Press Copy from the Main screen.
3Select the tray in Paper Supply.
4Press the Advanced tab > Overlay.
5Press List.
6Select a file name.
7Select a overlay option.
•New: Makes the new overlay. Select options for a new overlay and enter the file name.
•Detail: Shows information of the selected overlay.
•Edit: Modifies the name of the selected overlay.
•Delete: Deletes the selected overlay.
•Apply: Prints the originals with the selected overlay.
•Print: Prints the selected overlay.
•Cancel: Cancels overlay options you have selected.
8Press Start on the control panel to begin copying.
If you have selected option New in step 7, the machine starts storing the new overlay by pressing the Start button.
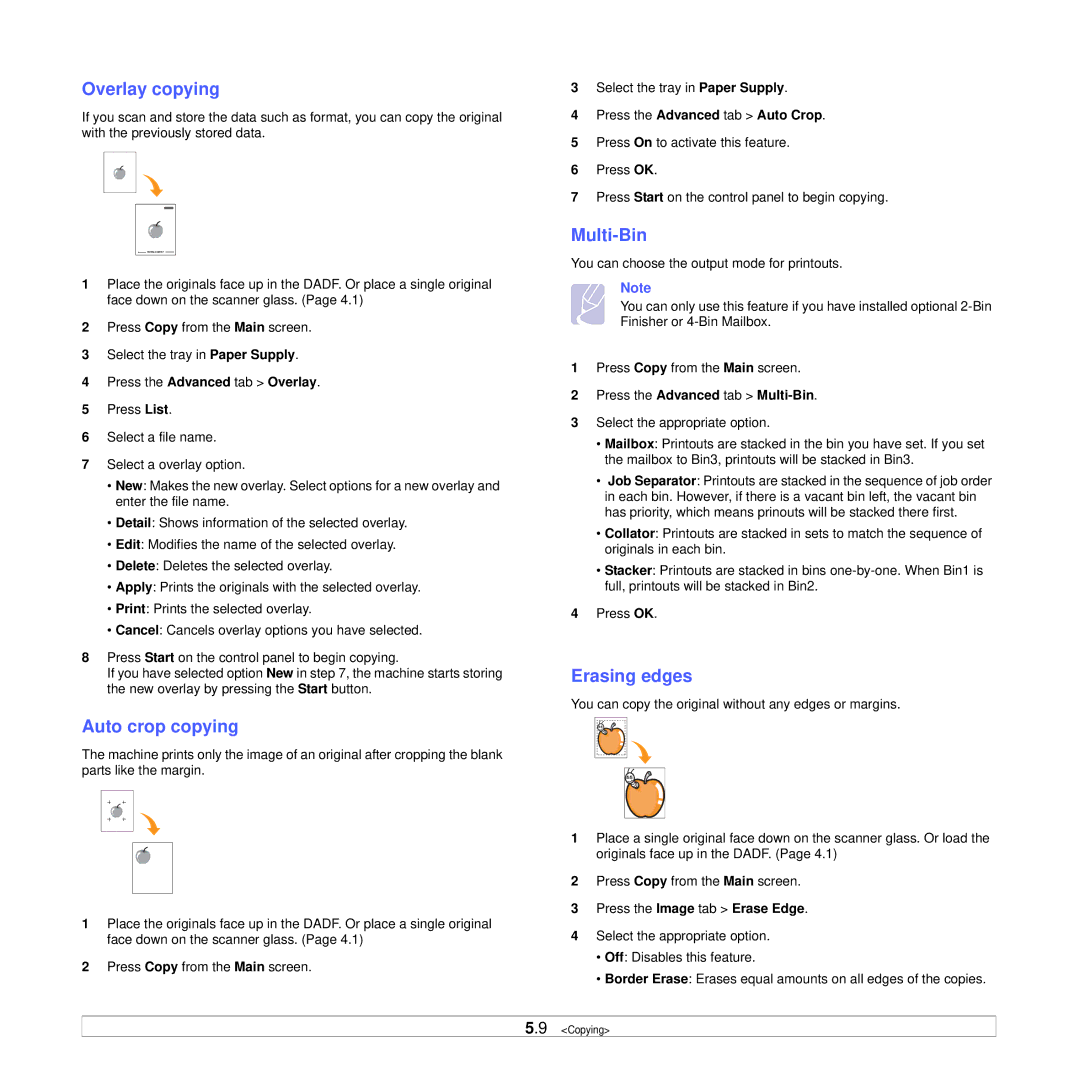
Auto crop copying
The machine prints only the image of an original after cropping the blank parts like the margin.
1Place the originals face up in the DADF. Or place a single original face down on the scanner glass. (Page 4.1)
2Press Copy from the Main screen.
3Select the tray in Paper Supply.
4Press the Advanced tab > Auto Crop.
5Press On to activate this feature.
6Press OK.
7Press Start on the control panel to begin copying.
Multi-Bin
You can choose the output mode for printouts.
Note
You can only use this feature if you have installed optional
1Press Copy from the Main screen.
2Press the Advanced tab > Multi-Bin.
3Select the appropriate option.
•Mailbox: Printouts are stacked in the bin you have set. If you set the mailbox to Bin3, printouts will be stacked in Bin3.
•Job Separator: Printouts are stacked in the sequence of job order in each bin. However, if there is a vacant bin left, the vacant bin has priority, which means prinouts will be stacked there first.
•Collator: Printouts are stacked in sets to match the sequence of originals in each bin.
•Stacker: Printouts are stacked in bins
4Press OK.
Erasing edges
You can copy the original without any edges or margins.
1Place a single original face down on the scanner glass. Or load the originals face up in the DADF. (Page 4.1)
2Press Copy from the Main screen.
3Press the Image tab > Erase Edge.
4Select the appropriate option.
•Off: Disables this feature.
•Border Erase: Erases equal amounts on all edges of the copies.
5.9 <Copying>