3Enter the IP address in dotted decimal notation or as a host name.
4Enter the server port number, from 1 to 65535. The default port number is 88.
5You can add a backup domain as a previous step.
6Click Apply.
Network user authorized by SMB
1Enter the domain that is used for SMB login.
2Select IP Address or Host Name.
3Enter the IP address in dotted decimal notation or as a host name.
4Enter the server port number, from 1 to 65535. The default port number is 139.
5You can add a backup domain as a previous step.
6Click Apply.
Note
User can add up to 6 alternate domains.
Network authorized user by LDAP
1Enter your machine’s IP address as the URL in a browser and click Go to access the web site of your machine.
2Click Machine Settings and LDAP Server Setup.
3Select IP Address or Host Name.
4Enter the IP address in dotted decimal notation or as a host name.
5Enter the server port number, from 1 to 65535. The default port number is 389.
6Enter Search Root Directory, the top search level of the LDAP directory tree.
7Select Authentication method. Two options for LDAP server login.
Anonymous: This is used to bind with null password and login ID (Password and login ID are grayed out in SWS).
Simple: This is used to bind with the login ID and password in SWS.
8Check the box next to Append Root to Base DN for adding Base DN to login name.
9Select Match User’s Login ID to the following LDAP attribute (options are CN, UID, or UserPrincipalName).
10Enter your login name, password, maximum number of search results and search timeout.
Note
LDAP Referral: LDAP client will search referral server if the LDAP server has no data to reply to query and if the LDAP server has a referral server.
11Select Serach Name Order that you desire.
12Check the box next to "From:" Field Security Options.
Note
This option is only provided if you have selected the Network authentication option in the user authentication setting. You may check this option if you want to search for information in a default email address group.
13Click Apply.
Scanning originals and sending through email
(Scan to Email)
You can scan the originals and email the scanned image to several destinations from the machine by email.
Sending a scanned image to several destinations as an email attachment
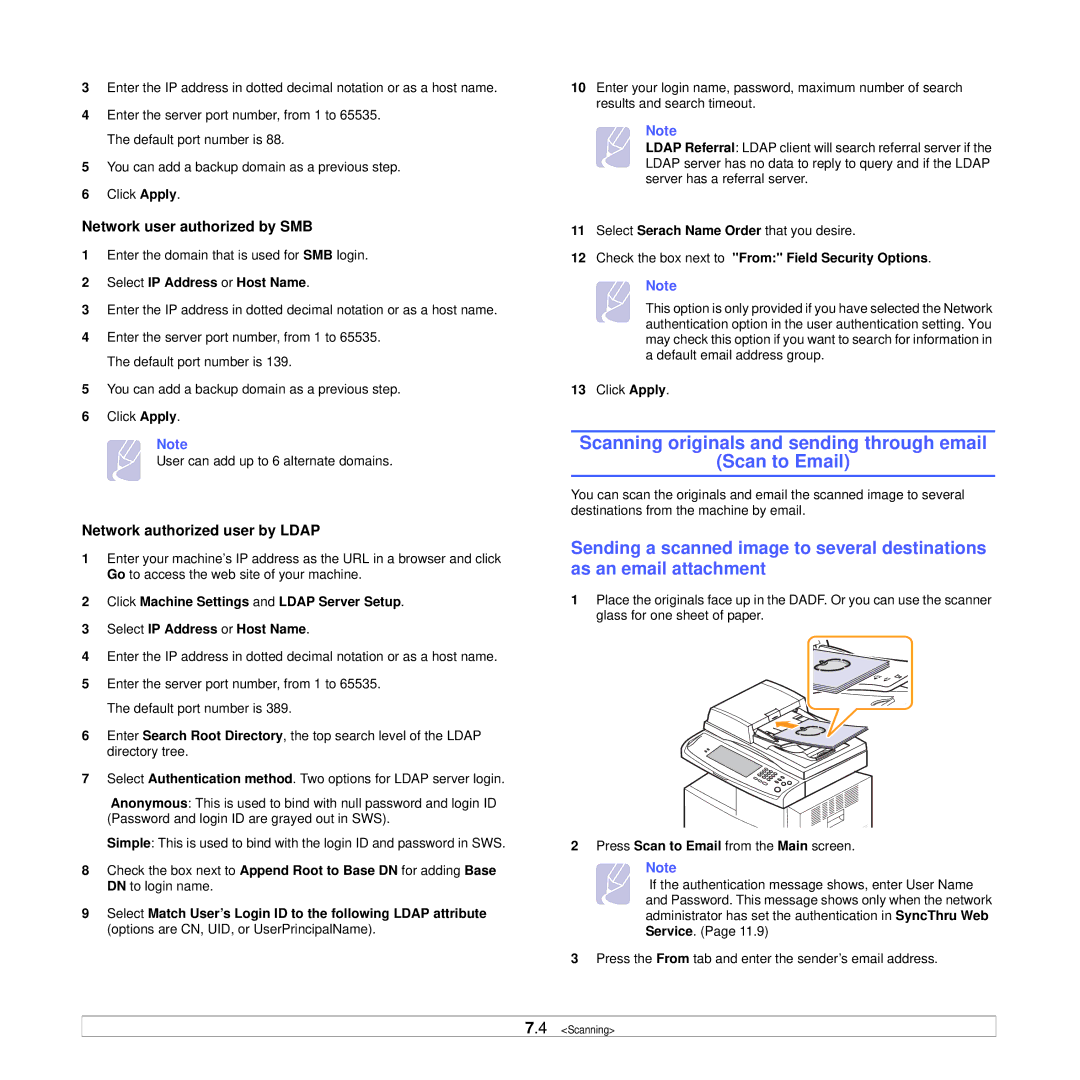
1Place the originals face up in the DADF. Or you can use the scanner glass for one sheet of paper.
2Press Scan to Email from the Main screen.
Note
If the authentication message shows, enter User Name and Password. This message shows only when the network administrator has set the authentication in SyncThru Web Service. (Page 11.9)
3Press the From tab and enter the sender’s email address.
7.4 <Scanning>