7 Scanning
Scanning with your machine lets you turn hard copy originals into digital files.
There are two ways to scan originals, one is using the USB cable to directly connect the machine with your computer, and the other is using the network scan feature which scans and sends to a specific destination via the network.
If you want to use the USB cable to scan originals, refer to the Scanning part of Software section. Your machine offers the following ways to scan an image using a local connection.
•Via one of the preset imaging applications. Scanning an image launches the selected application, enabling you to control the scanning process.
•Via the SmarThru program supplied with your machine.
•Via the Windows Image Acquisition (WIA) driver.
If you want to use the network scan feature, press Scan on the display to open three options of Scan to Email, NetScan and Scan to Server.
This chapter gives you information about the scanning method and the different ways to send the scanned file to the destination.
This chapter includes:
•Understanding the Scan screen
•User authentication for network scanning
•Scanning originals and sending through email (Scan to Email)
•Using Samsung Scan Manager
•Scanning originals and sending via SMB/ FTP (Scan to Server)
•Changing the scan feature settings
Understanding the Scan screen
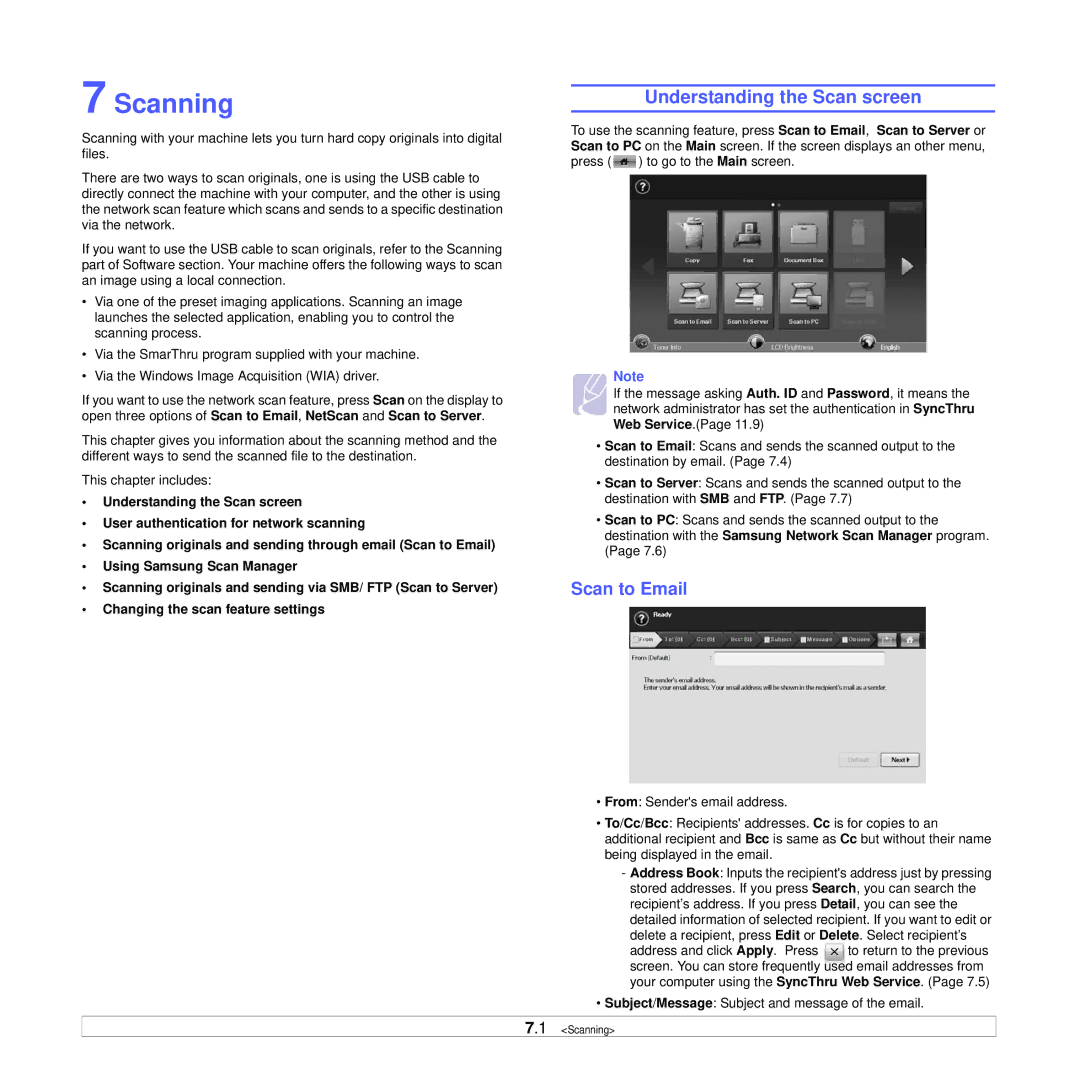
To use the scanning feature, press Scan to Email, Scan to Server or Scan to PC on the Main screen. If the screen displays an other menu, press ( ![]() ) to go to the Main screen.
) to go to the Main screen.
Note
If the message asking Auth. ID and Password, it means the network administrator has set the authentication in SyncThru Web Service.(Page 11.9)
•Scan to Email: Scans and sends the scanned output to the destination by email. (Page 7.4)
•Scan to Server: Scans and sends the scanned output to the destination with SMB and FTP. (Page 7.7)
•Scan to PC: Scans and sends the scanned output to the destination with the Samsung Network Scan Manager program. (Page 7.6)
Scan to Email
•From: Sender's email address.
•To/Cc/Bcc: Recipients' addresses. Cc is for copies to an additional recipient and Bcc is same as Cc but without their name being displayed in the email.
-Address Book: Inputs the recipient's address just by pressing stored addresses. If you press Search, you can search the recipient’s address. If you press Detail, you can see the detailed information of selected recipient. If you want to edit or delete a recipient, press Edit or Delete. Select recipient’s
address and click Apply. Press to return to the previous screen. You can store frequently used email addresses from your computer using the SyncThru Web Service. (Page 7.5)
• Subject/Message: Subject and message of the email.
7.1 <Scanning>