3RECORD SET
\
Setting auto deleting
You can set a storage period for recorded data as described below. When the set period has expired, the corresponding data will be automatically deleted.
1 Turn the jog dial to select “AUTO DELETE”, and then turn the shuttle dial clockwise.
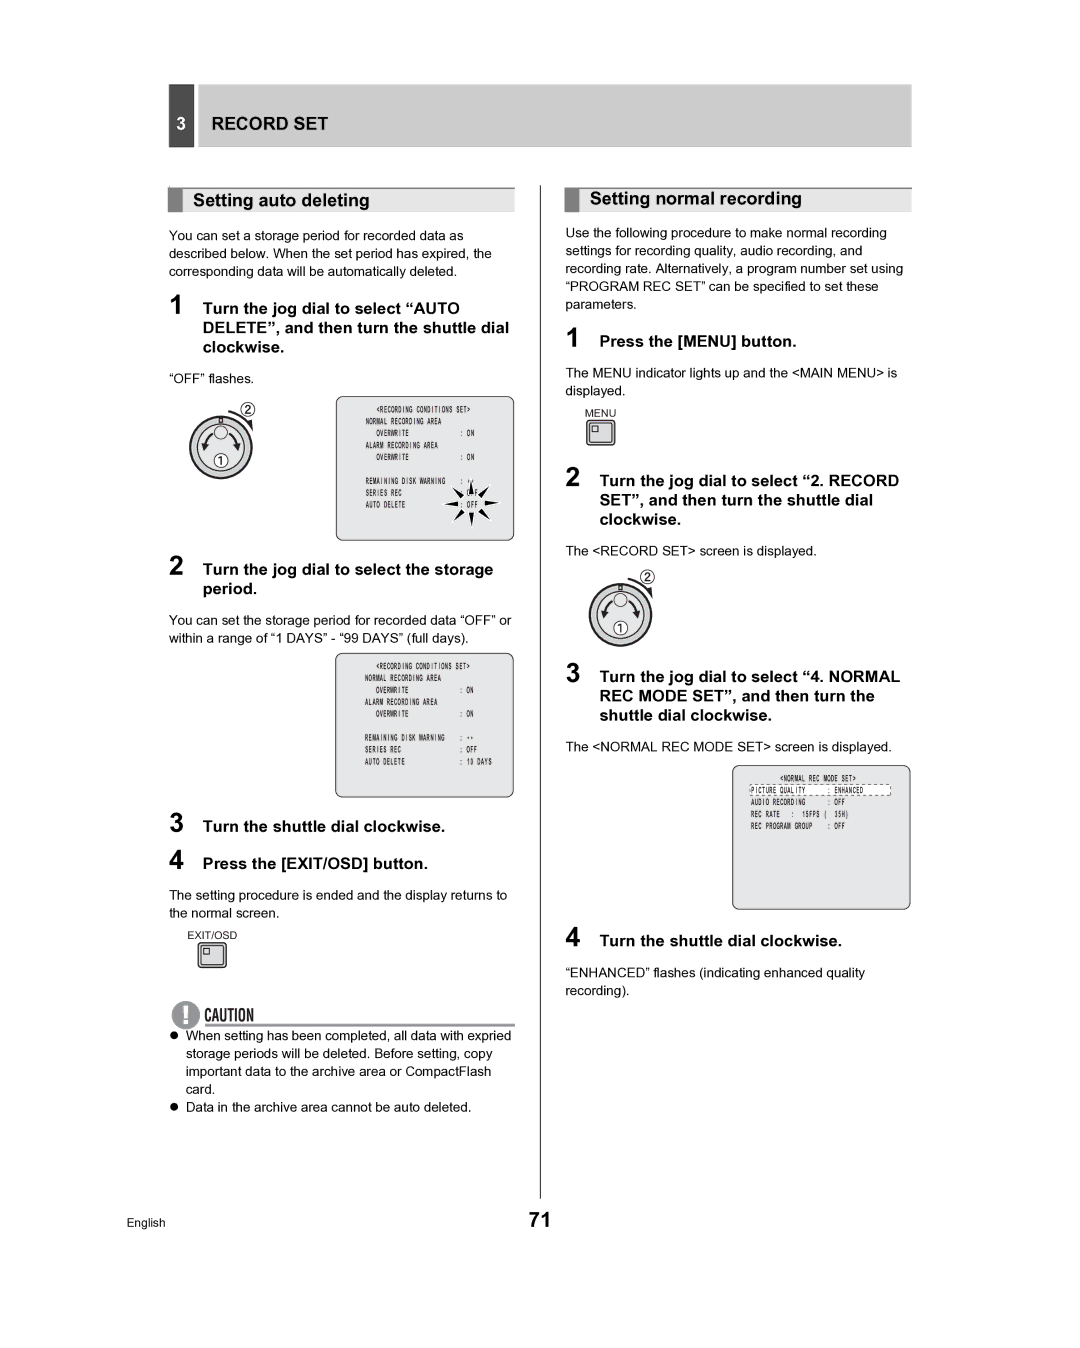
“OFF” flashes.
<RECORDING CONDITIONS SET> NORMAL RECORDING AREA
OVERWRITE : ON ALARM RECORDING AREA
OVERWRITE : ON
REMAINING DISK WARNING | : ** |
SERIES REC |
|
AUTO DELETE | : OFF |
2 Turn the jog dial to select the storage period.
You can set the storage period for recorded data “OFF” or within a range of “1 DAYS” - “99 DAYS” (full days).
<RECORDING CONDITIONS SET> NORMAL RECORDING AREA
OVERWRITE : ON ALARM RECORDING AREA
OVERWRITE : ON
REMAINING DISK WARNING | : ** |
|
SERIES REC | : OFF | |
AUTO DELETE | : 10 | DAYS |
3 Turn the shuttle dial clockwise.
4 Press the [EXIT/OSD] button.
The setting procedure is ended and the display returns to the normal screen.
EXIT/OSD
zWhen setting has been completed, all data with expried storage periods will be deleted. Before setting, copy important data to the archive area or CompactFlash card.
zData in the archive area cannot be auto deleted.
Setting normal recording
Use the following procedure to make normal recording settings for recording quality, audio recording, and recording rate. Alternatively, a program number set using “PROGRAM REC SET” can be specified to set these parameters.
1 Press the [MENU] button.
The MENU indicator lights up and the <MAIN MENU> is displayed.
MENU
2 Turn the jog dial to select “2. RECORD SET”, and then turn the shuttle dial clockwise.
The <RECORD SET> screen is displayed.
3 Turn the jog dial to select “4. NORMAL REC MODE SET”, and then turn the shuttle dial clockwise.
The <NORMAL REC MODE SET> screen is displayed.
<NORMAL REC MODE SET>
PICTURE QUALITY | : | ENHANCED |
AUDIO RECORDING | : | OFF |
REC RATE : 15FPS ( | 35H) | |
REC PROGRAM GROUP | : | OFF |
4 Turn the shuttle dial clockwise.
“ENHANCED” flashes (indicating enhanced quality recording).
English | 71 |