3RECORD SET
To cancel all set timer reservations
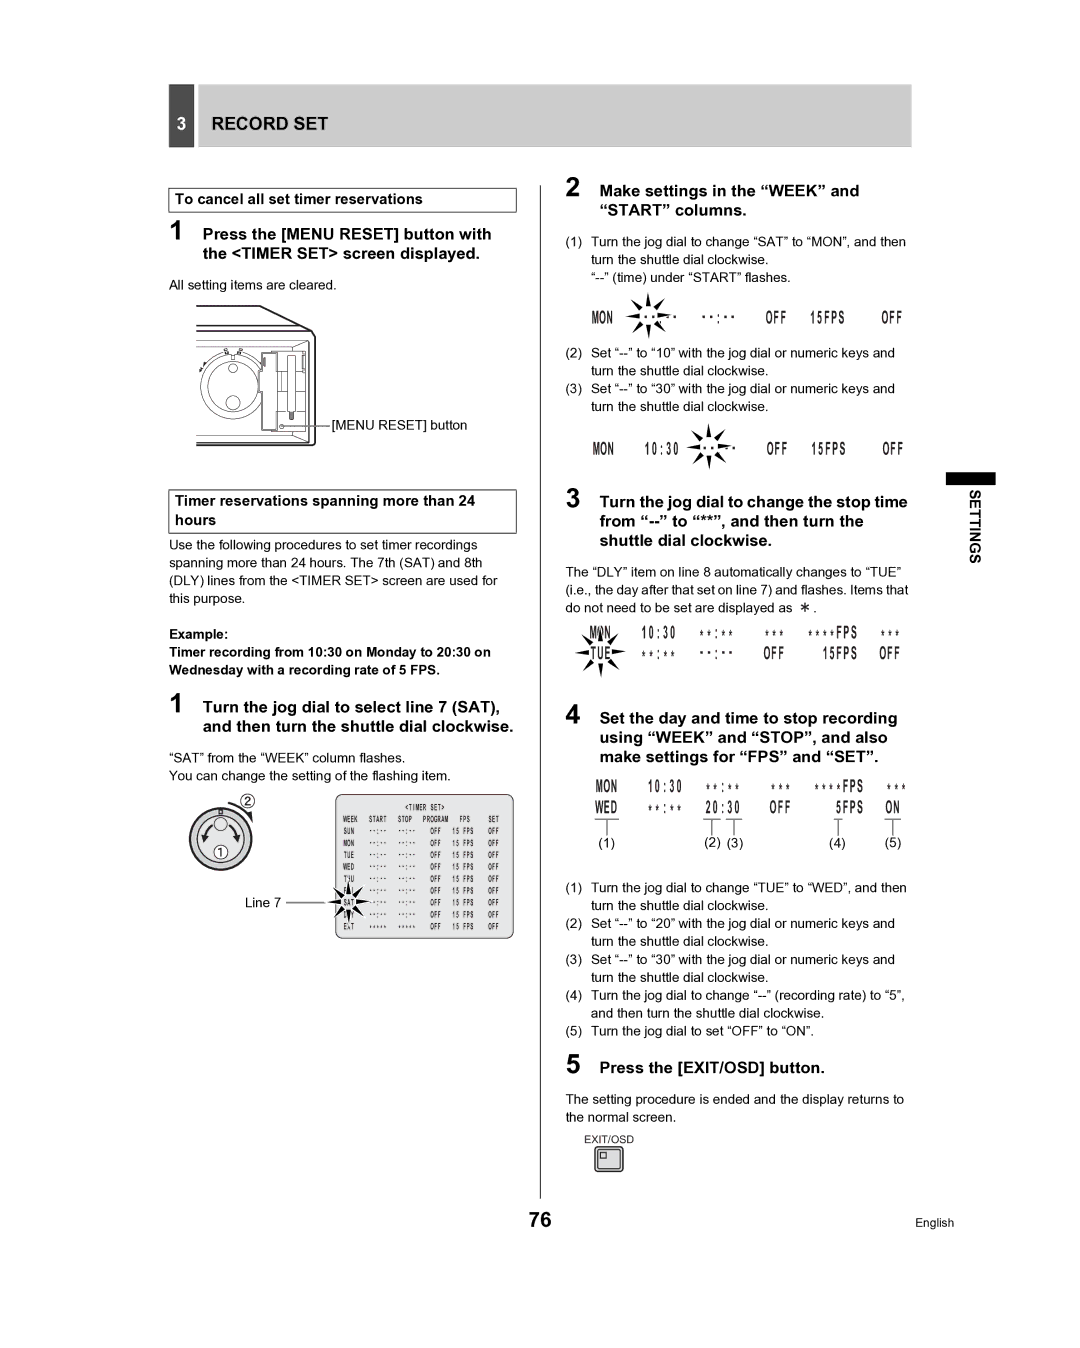
1 Press the [MENU RESET] button with the <TIMER SET> screen displayed.
All setting items are cleared.

 [MENU RESET] button
Timer reservations spanning more than 24 hours
Use the following procedures to set timer recordings spanning more than 24 hours. The 7th (SAT) and 8th (DLY) lines from the <TIMER SET> screen are used for this purpose.
Example:
Timer recording from 10:30 on Monday to 20:30 on Wednesday with a recording rate of 5 FPS.
1 Turn the jog dial to select line 7 (SAT), and then turn the shuttle dial clockwise.
“SAT” from the “WEEK” column flashes.
You can change the setting of the flashing item.
|
|
|
| <TIMER SET> |
|
|
| |
|
| WEEK | START | STOP | PROGRAM | FPS | SET | |
|
| SUN | OFF | 15 | FPS | OFF | ||
|
| MON | OFF | 15 | FPS | OFF | ||
|
| TUE | OFF | 15 | FPS | OFF | ||
|
| WED | OFF | 15 | FPS | OFF | ||
|
|
| OFF | 15 | FPS | OFF | ||
Line 7 |
| FRI | OFF | 15 | FPS | OFF | ||
| SAT | OFF | 15 | FPS | OFF | |||
| ||||||||
|
|
| OFF | 15 | FPS | OFF | ||
|
| EXT | ***** | ***** | OFF | 15 | FPS | OFF |
2 Make settings in the “WEEK” and “START” columns.
(1)Turn the jog dial to change “SAT” to “MON”, and then turn the shuttle dial clockwise.
MON  --
-- :
:--:-- OFF 15FPS OFF
(2)Set
(3)Set
MON 10:30 --
--
OFF 15FPS OFF
3 Turn the jog dial to change the stop time from
The “DLY” item on line 8 automatically changes to “TUE” (i.e., the day after that set on line 7) and flashes. Items that do not need to be set are displayed as ![]() .
.
MON | 10:30 | **:** | *** | ****FPS | *** |
TUE | **:** | OFF | 15FPS | OFF |
4 Set the day and time to stop recording using “WEEK” and “STOP”, and also make settings for “FPS” and “SET”.
MON | 10:30 | **:** | *** | ****FPS | *** | ||||||||||
WED | **:** | 20:30 | OFF |
| 5FPS | ON | |||||||||
|
|
|
|
|
|
|
|
|
|
|
|
|
|
|
|
|
|
|
|
|
|
|
|
|
|
|
|
|
|
|
|
(1) |
| (2) | (3) |
| (4) | (5) | |||||||||
(1)Turn the jog dial to change “TUE” to “WED”, and then turn the shuttle dial clockwise.
(2)Set
(3)Set
(4)Turn the jog dial to change
(5)Turn the jog dial to set “OFF” to “ON”.
5 Press the [EXIT/OSD] button.
The setting procedure is ended and the display returns to the normal screen.
EXIT/OSD
SETTINGS
76 | English |