3RECORD SET
1Make timer settings for “TIME PERIOD A” and “TIME PERIOD B” from <TIME PERIOD SET>. (JP.57)
2Turn the jog dial select “MOTION SENSOR”, and then turn the shuttle dial clockwise.
The motion sensor screen is displayed.
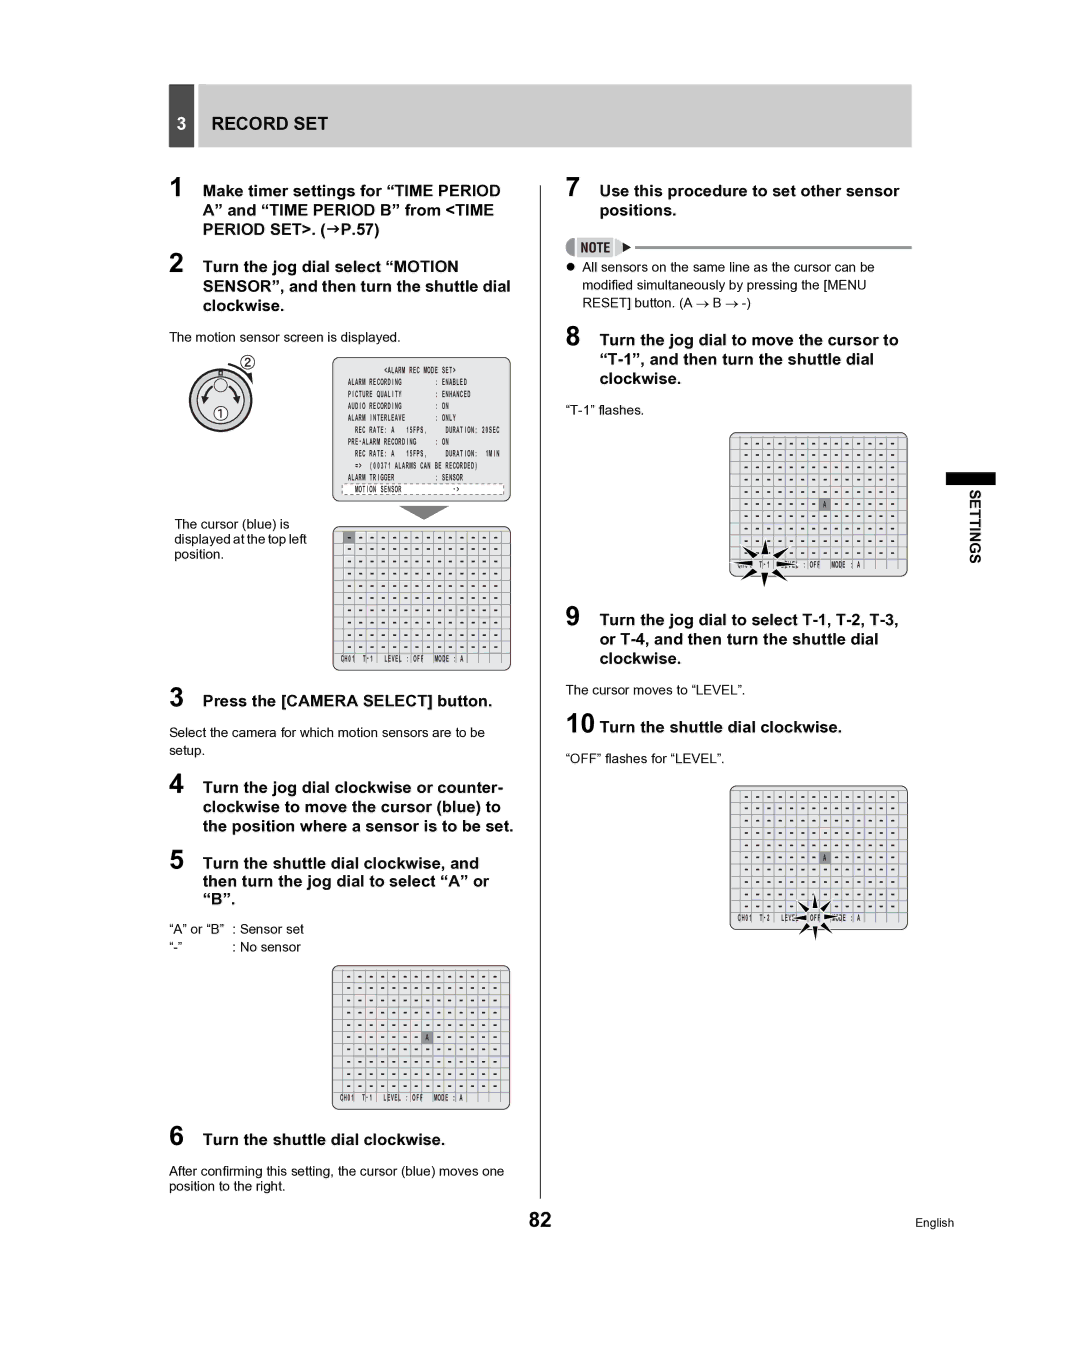
<ALARM REC MODE | SET> | ||
ALARM RECORDING |
| : ENABLED | |
PICTURE QUALITY |
| : ENHANCED | |
AUDIO RECORDING |
| : ON | |
ALARM INTERLEAVE | : ONLY | ||
REC RATE: A | 15FPS, |
| DURATION: 20SEC |
: ON | |||
REC RATE: A | 15FPS, |
| DURATION: 1MIN |
=> (00371 ALARMS CAN BE RECORDED) | |||
ALARM TRIGGER |
| : SENSOR | |
MOTION SENSOR |
|
| |
The cursor (blue) is displayed at the top left position.
7 Use this procedure to set other sensor positions.
zAll sensors on the same line as the cursor can be modified simultaneously by pressing the [MENU RESET] button. (A → B →
8 Turn the jog dial to move the cursor to
“T-1” flashes.
A
![]()
![]() LEVEL : OFF MODE : A
LEVEL : OFF MODE : A
SETTINGS
CH01
LEVEL : OFF
MODE : A
9 Turn the jog dial to select
3 Press the [CAMERA SELECT] button.
Select the camera for which motion sensors are to be setup.
4 Turn the jog dial clockwise or counter- clockwise to move the cursor (blue) to the position where a sensor is to be set.
5 Turn the shuttle dial clockwise, and then turn the jog dial to select “A” or “B”.
“A” or “B” : Sensor set
A
CH01
6 Turn the shuttle dial clockwise.
After confirming this setting, the cursor (blue) moves one position to the right.
The cursor moves to “LEVEL”.
10 Turn the shuttle dial clockwise.
“OFF” flashes for “LEVEL”.
A
CH01 ![]() MODE : A
MODE : A
82 | English |