3RECORD SET
2 Turn the jog dial to set “MAIN MON. DISPLAY”, and then turn the shuttle dial clockwise.
The cursor moves to “ALARM PRIORITY”.
3 Turn the shuttle dial clockwise and turn the jog dial to set “ALARM PRIORITY”, and then turn the shuttle dial clockwise once again.
The cursor moves to “MON.2 DISPLAY”.
[Settings] ( indicates default setting)
Setting | Description |
|
|
When a number of alarms are occurring, the most-
LAST recent alarm video is given priority.
| When a number of alarms are occurring, only the | |
FIRST | video for the first alarm is displayed. However, if | |
the duration for the alarm with the first input | ||
| ||
| expires, video for the next alarm will be displayed. | |
|
| |
| When a number of alarms are occurring, the | |
SWITCH | display switches between the video from the | |
| corresponding cameras, showing each for one | |
| second. |
zAfter an alarm duration has ended, the display returns to the screen prior to alarm input.
4 Turn the shuttle dial clockwise and turn the jog dial to set “MON.2 DISPLAY” (ON/OFF), and then turn the shuttle dial clockwise.
The cursor moves to “ALARM RETRIGGER”.
[Settings] ( indicates default setting)
Setting | Description | |
|
| |
ON | When an alarm occurs, the corresponding video is | |
displayed on the monitor 2. | ||
| ||
|
| |
OFF | No alarm video is displayed on the monitor 2. | |
|
|
5 Press the [EXIT/OSD] button.
The setting procedure is ended and the display returns to the normal screen.
EXIT/OSD
Canceling alarms
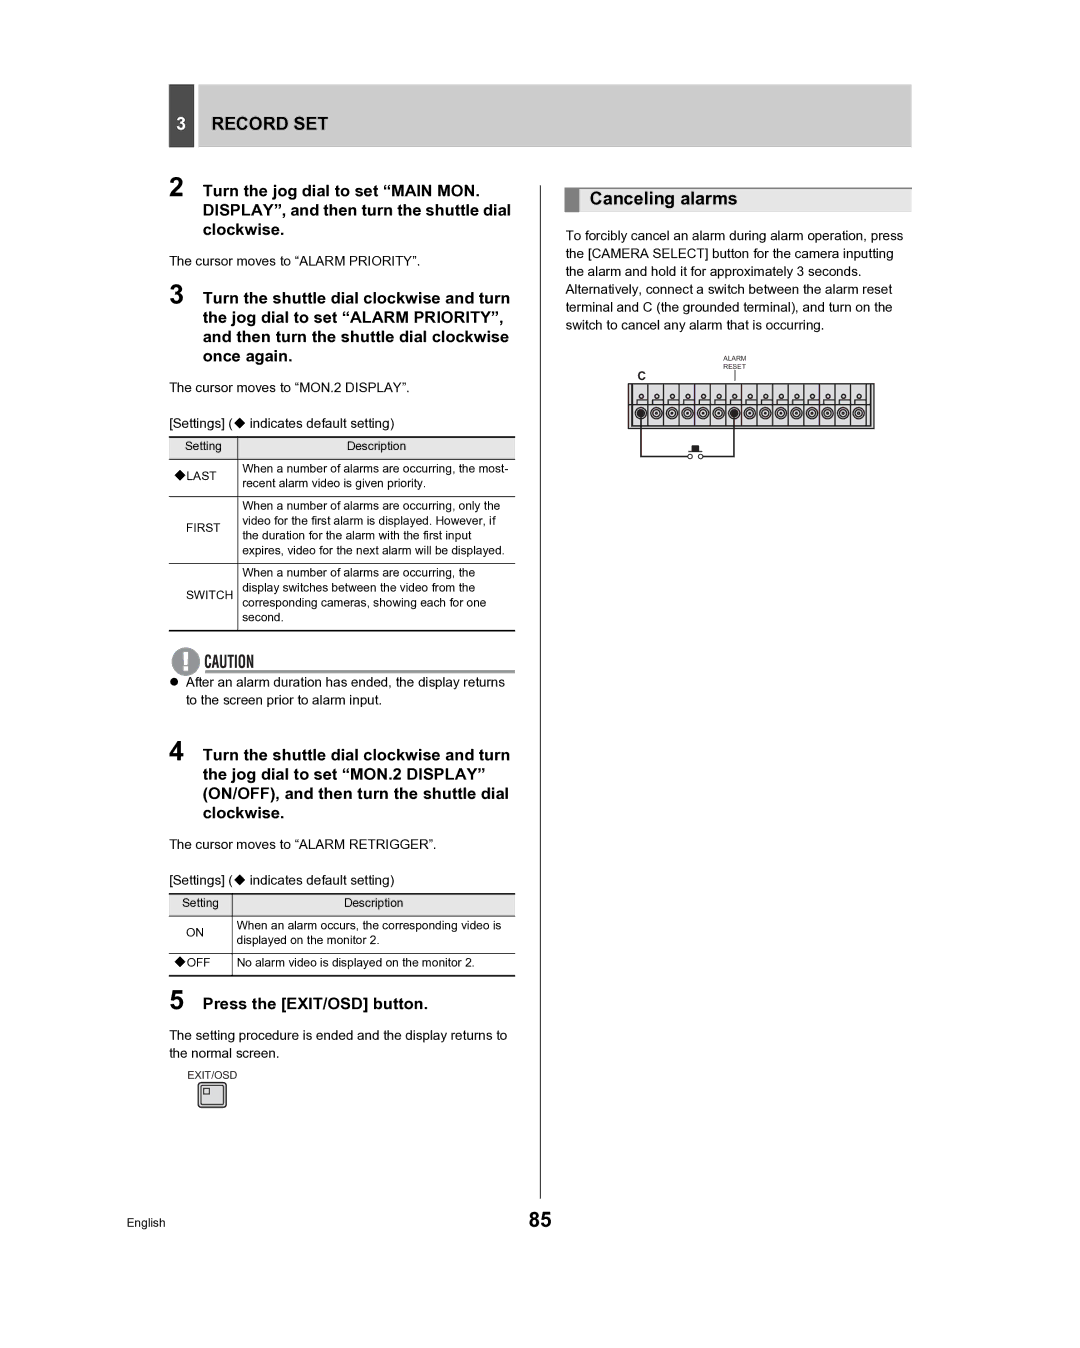
To forcibly cancel an alarm during alarm operation, press the [CAMERA SELECT] button for the camera inputting the alarm and hold it for approximately 3 seconds. Alternatively, connect a switch between the alarm reset terminal and C (the grounded terminal), and turn on the switch to cancel any alarm that is occurring.
ALARM
RESET
C
English | 85 |
