3RECORDING
Pre-alarm recording
Use the following procedure to record video from immediately before occurrence of an alarm.
1 Set pre-alarm recording.
Follow the instructions on P.79 set “7. ALARM REC MODE SET” from <RECORD SET> to
<ALARM REC MODE | SET> | ||
ALARM RECORDING | : ENABLED | ||
PICTURE QUALITY | : ENHANCED | ||
AUDIO RECORDING | : ON | ||
ALARM INTERLEAVE | : ONLY | ||
REC RATE: A | 15FPS, |
| DURATION: 20SEC |
: ON | |||
REC RATE: A | 15FPS, |
| DURATION: 1MIN |
=> (00371 ALARMS CAN BE RECORDED) | |||
ALARM TRIGGER |
| : ALARM | |
MOTION SENSOR |
| ||
2 Press the [EXIT/OSD] button.
The setting procedure is ended and the display returns to the normal screen.
“PRE” appears in the operation display area.
EXIT/OSD | EN A PRE 0000 | |
|
02
If an alarm is detected
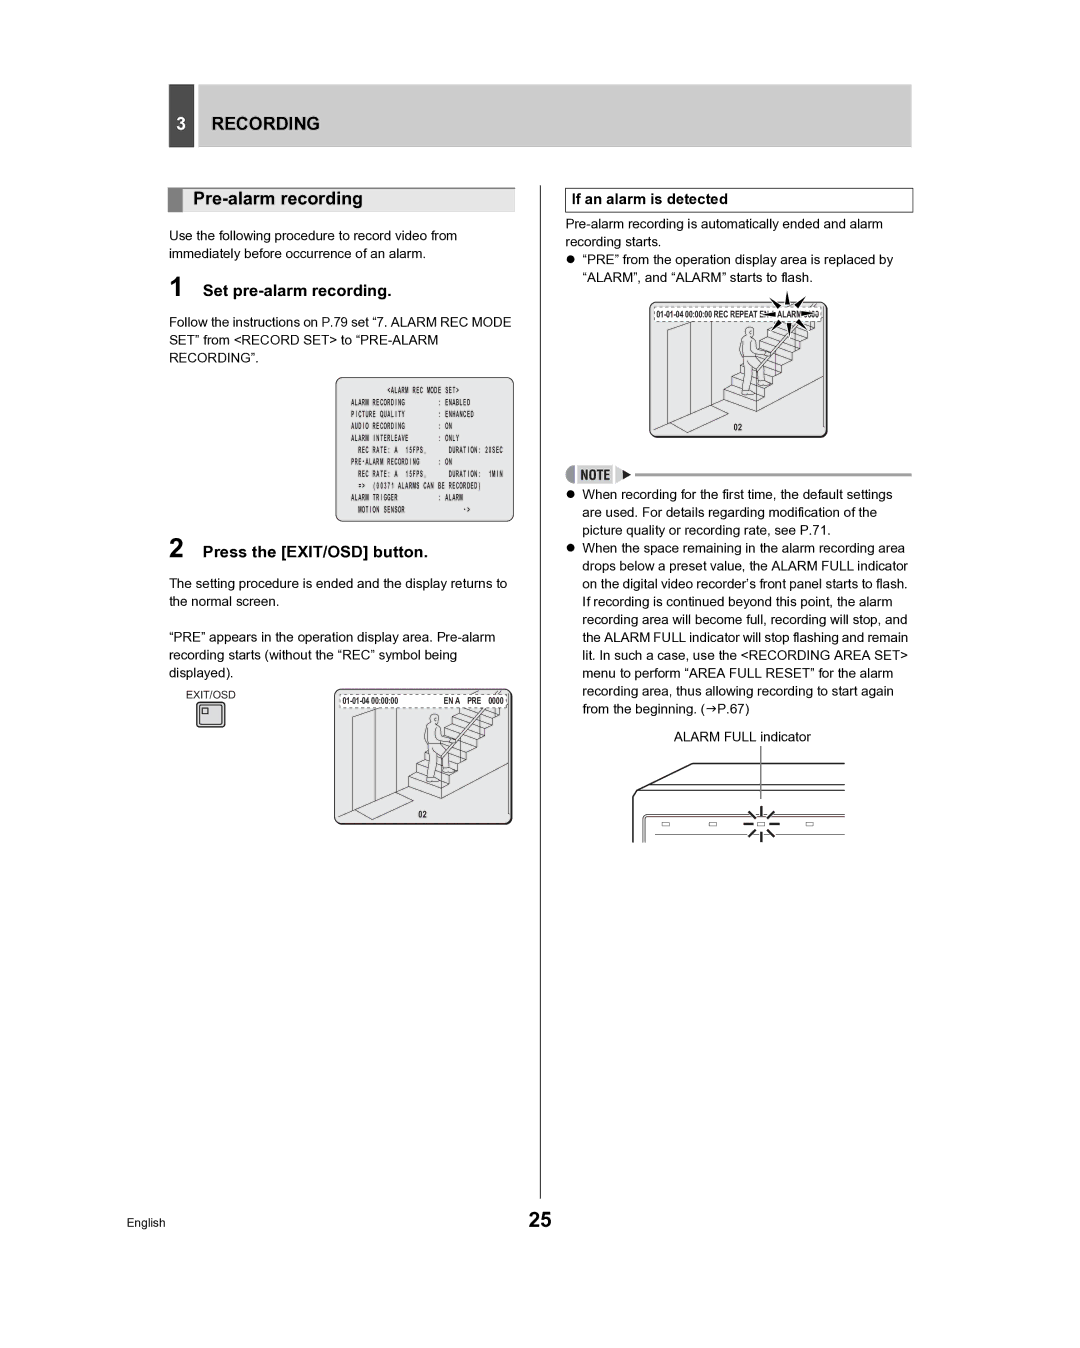
z“PRE” from the operation display area is replaced by “ALARM”, and “ALARM” starts to flash.
02
zWhen recording for the first time, the default settings are used. For details regarding modification of the picture quality or recording rate, see P.71.
zWhen the space remaining in the alarm recording area drops below a preset value, the ALARM FULL indicator on the digital video recorder’s front panel starts to flash. If recording is continued beyond this point, the alarm recording area will become full, recording will stop, and the ALARM FULL indicator will stop flashing and remain lit. In such a case, use the <RECORDING AREA SET> menu to perform “AREA FULL RESET” for the alarm recording area, thus allowing recording to start again from the beginning. (JP.67)
ALARM FULL indicator
English | 25 |
