3RECORD SET
Timer recording using an external timer
Use the following procedure to control the start and end of recording in response to signals received via the EXT TIMER ON terminal on the rear of the digital video recorder.
Example:
Recording at a rate of 5 FPS using the EXT TIMER ON terminal
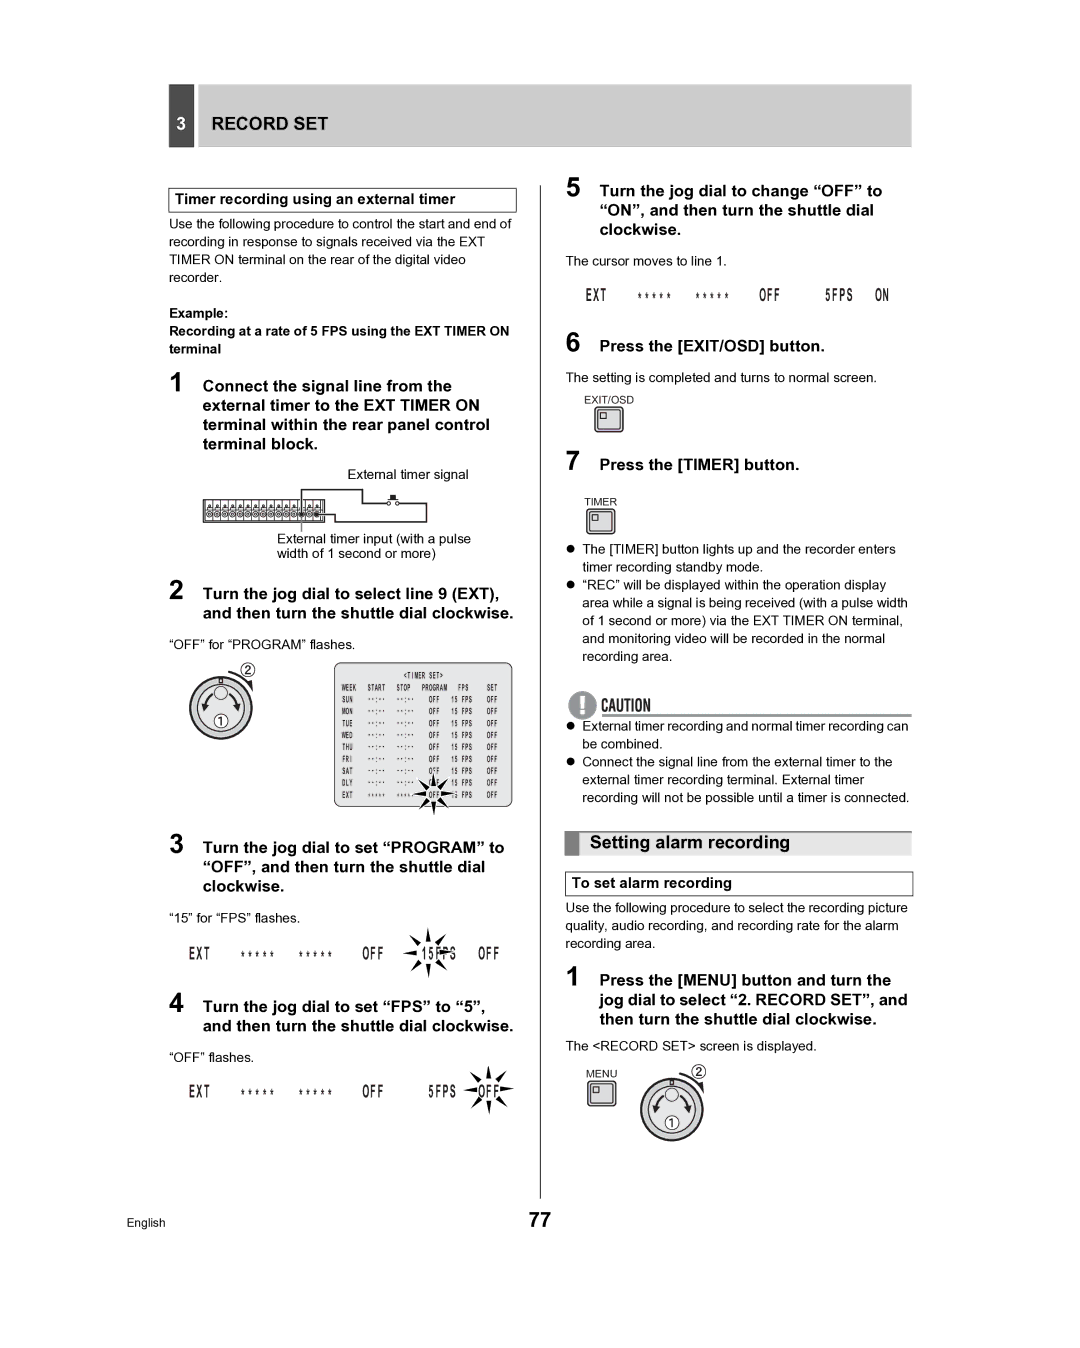
1 Connect the signal line from the external timer to the EXT TIMER ON terminal within the rear panel control terminal block.
External timer signal
External timer input (with a pulse width of 1 second or more)
2 Turn the jog dial to select line 9 (EXT), and then turn the shuttle dial clockwise.
“OFF” for “PROGRAM” flashes.
|
| <TIMER SET> |
|
|
| |
WEEK | START | STOP | PROGRAM | FPS | SET | |
SUN | OFF | 15 | FPS | OFF | ||
MON | OFF | 15 | FPS | OFF | ||
TUE | OFF | 15 | FPS | OFF | ||
WED | OFF | 15 | FPS | OFF | ||
THU | OFF | 15 | FPS | OFF | ||
FRI | OFF | 15 | FPS | OFF | ||
SAT | OFF | 15 | FPS | OFF | ||
DLY | OFF | 15 | FPS | OFF | ||
EXT | ***** | ***** | OFF | 15 | FPS | OFF |
3 Turn the jog dial to set “PROGRAM” to “OFF”, and then turn the shuttle dial clockwise.
“15” for “FPS” flashes.
EXT ***** ***** OFF ![]() 15FPS OFF
15FPS OFF
4 Turn the jog dial to set “FPS” to “5”, and then turn the shuttle dial clockwise.
“OFF” flashes.
EXT | ***** ***** | OFF | 5FPS OFF |
5 Turn the jog dial to change “OFF” to “ON”, and then turn the shuttle dial clockwise.
The cursor moves to line 1.
EXT | ***** ***** | OFF | 5FPS ON |
6 Press the [EXIT/OSD] button.
The setting is completed and turns to normal screen.
EXIT/OSD
7 Press the [TIMER] button.
TIMER
zThe [TIMER] button lights up and the recorder enters timer recording standby mode.
z“REC” will be displayed within the operation display area while a signal is being received (with a pulse width of 1 second or more) via the EXT TIMER ON terminal, and monitoring video will be recorded in the normal recording area.
zExternal timer recording and normal timer recording can be combined.
zConnect the signal line from the external timer to the external timer recording terminal. External timer recording will not be possible until a timer is connected.
Setting alarm recording
To set alarm recording
Use the following procedure to select the recording picture quality, audio recording, and recording rate for the alarm recording area.
1 Press the [MENU] button and turn the jog dial to select “2. RECORD SET”, and then turn the shuttle dial clockwise.
The <RECORD SET> screen is displayed.
MENU
English | 77 |