V1 |
|
Shutter Settings
| This section covers the settings for electronic shutter | |
| speed, CLS (clear scan ) and EVS function. | |
| The new value for the shutter speed or clear scan | |
| frequency and EVS setting remains set until changed, | |
| even when the camera is powered off. | |
| Shutter speeds | |
| There are five shutter speeds, from 1/100 s | |
| D35WSL) or 1/60 s | |
| Increasing the shutter speed reduces blurring when | |
| shooting a | |
| reduce flicker when shooting under fluorescent | |
| lighting by changing the shutter speed. | |
| CLS (Clear Scan) function | |
| When shooting a computer screen or projected image, | |
| horizontal bands may appear in the camera image. | |
| This is because the vertical scan frequency of the | |
| ||
| vertical scan frequency of the video system. The clear | |
| scan function allows you to select a vertical scan | |
| frequency to reduce this interference. | |
| EVS (Enhanced Vertical Scan) | |
| This function enhances the vertical scan resolution | |
| from 400 to 450 lines (or 450 to 530 lines) to reduce | |
| flicker. However, this increases the aliasing. | |
| Setting the shutter speed, CLS and EVS | |
| function | |
Chapter | Notes on setting the shutter speed | |
5 | • The faster you make the shutter speed, the darker the | |
Adjustments | ||
image becomes. Check the brightness in the | ||
viewfinder, and if necessary increase the lighting | ||
level or adjust the iris. | ||
and | ||
• When the shutter speed is very fast, shooting a high | ||
Settings | ||
intensity subject may cause long vertical tails to | ||
appear on the highlights (smear). | ||
| Note on setting the CLS function | |
| The vertical scan frequencies of computer screens | |
| vary, and it may not be possible to eliminate the | |
| interference patterns entirely. Note also that the | |
| vertical scan frequency may change depending on the |
1 3 2
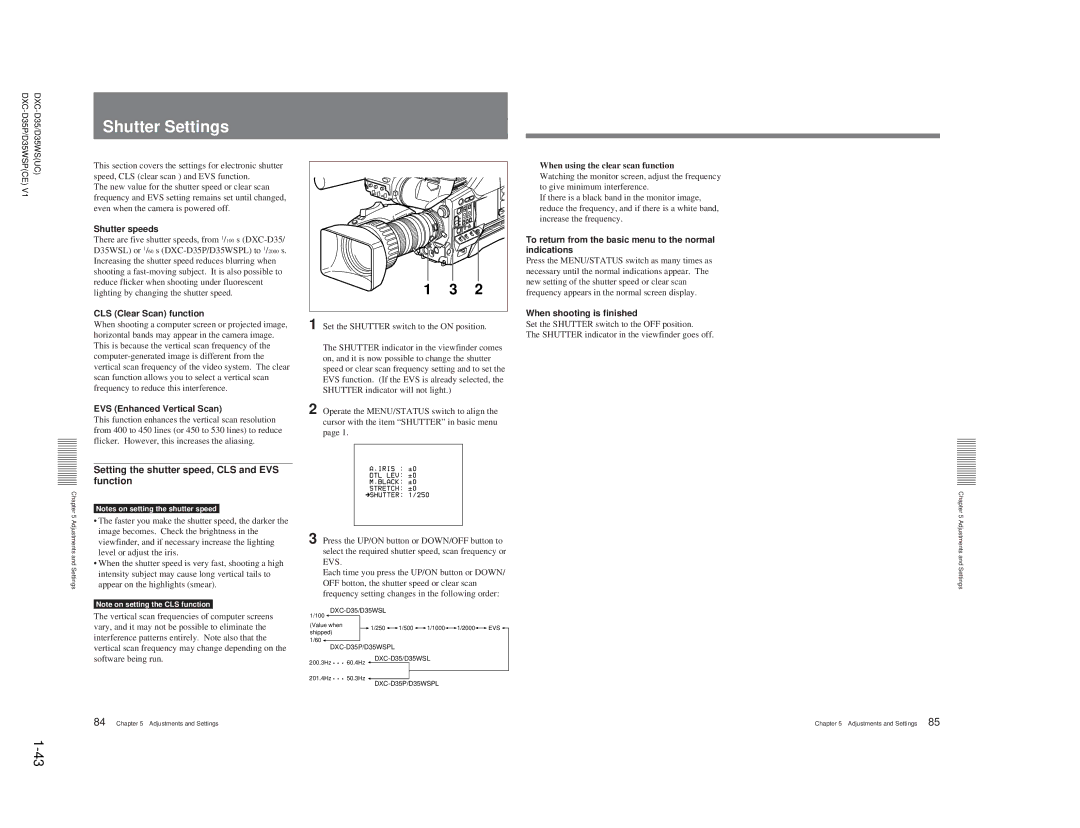
1 Set the SHUTTER switch to the ON position.
The SHUTTER indicator in the viewfinder comes on, and it is now possible to change the shutter speed or clear scan frequency setting and to set the EVS function. (If the EVS is already selected, the SHUTTER indicator will not light.)
2 Operate the MENU/STATUS switch to align the cursor with the item “SHUTTER” in basic menu page 1.
3 Press the UP/ON button or DOWN/OFF button to select the required shutter speed, scan frequency or EVS.
Each time you press the UP/ON button or DOWN/ OFF botton, the shutter speed or clear scan frequency setting changes in the following order:
1/100 |
|
|
|
|
|
|
|
|
|
|
|
|
|
|
|
|
|
|
|
| |
(Value when |
|
| 1/250 | 1/500 |
| 1/1000 |
| 1/2000 | EVS | |
shipped) |
|
|
| |||||||
|
|
|
|
|
|
|
| |||
1/60 ![]()
When using the clear scan function
Watching the monitor screen, adjust the frequency to give minimum interference.
If there is a black band in the monitor image, reduce the frequency, and if there is a white band, increase the frequency.
To return from the basic menu to the normal indications
Press the MENU/STATUS switch as many times as necessary until the normal indications appear. The new setting of the shutter speed or clear scan frequency appears in the normal screen display.
When shooting is finished
Set the SHUTTER switch to the OFF position.
The SHUTTER indicator in the viewfinder goes off.
Chapter 5 Adjustments and Settings
software being run. |
84 | Chapter 5 Adjustments and Settings |
200.3Hz • • • 60.4Hz ![]()
201.4Hz • • • 50.3Hz ![]()
Chapter 5 Adjustments and Settings | 85 |
