V1 |
|
Chapter 3 Shooting
Basic Procedure for Shooting
Filter setting | Lighting conditions | |
1 | (3200K) | Studio halogen lighting (incandescent), |
|
| sunrise and sunset. |
2 | (5600K + 1/8 | Sunlight. |
ND) | This setting includes a 1/8 neutral density | |
|
| filter (reducing the exposure by the |
|
| equivalent of three stops). Use it to prevent |
|
| hunting1) or to reduce the depth of field2). |
3 | (5600K) | Cloudy or rainy outdoor shooting, and |
|
| fluorescent lighting. |
4 | (5600K + | Sunlight. |
1/64ND) | This setting includes a 1/64 neutral density | |
|
| filter (reducing the exposure by the |
equivalent of six stops). Use it to prevent hunting1) or to reduce the depth of field2).
3 Check the switch settings on the camera head. (See pages 13 to 18.)
If there is not sufficient time to check the camera settings, you can use “easy mode” by setting the EZ MODE switch to the ON position. The camera is automatically adjusted to standard settings, and the iris and the white balance are adjusted automatically. (See page 68.)
4 Check the settings in the basic menu (page 58) and advanced menu (page 64).
5 Check the lens settings (pages 30 and 31) and flange focal length adjustment (page 89).
6 Adjust the eyepiece focus, and the contrast and brightness of the viewfinder image (page 88).
7 Check the sound system settings.
•Microphone connections
•Settings on the VTR (refer to the VTR instructions)
8 If required, switch on the center marker and/or safety zone (basic menu page 5 and advanced menu page 4) and zebra pattern (ZEBRA switch) in the viewfinder image.
9 Adjust the white balance (page 79) and black balance (page 83).
10Turn the focusing ring so that the subject is sharply in focus. It may be convenient to use the EZ FOCUS button for the “easy focus” function (see page 14).
11Set up the VTR according to your shooting objectives, then start recording.
If a camera control unit is not connected: Press the VTR button on the camera head or on the lens.
If a camera control unit is connected: Press the
VTR’s record button to begin recording.
For details of VTR setup and operations, see your VTR’s operating instructions.
•During recording, the REC/TALLY indicator(s) in the viewfinder light(s), and “REC” appears on the viewfinder screen.
•Depending on the setting of the REC TIME switch (See page 15), you can display the total recording time or the length of the camera cut on the viewfinder screen.
•When recording on the
For details of this operation, see the operating instructions for the
12To pause recording, press the VTR button again.
Reviewing the recording
It is possible to review the last few seconds of the recording on the tape (recording review).
Press the VTR button to pause recording, then press the RET button on the lens.
Depending on how long the button is pressed, the tape is automatically rewound over the last two to ten seconds from the paused position, and then this part is played back in the viewfinder. If the RET button is kept pressing, about ten seconds of the recording review is possible.
The VTR then returns to the paused state.
Note
This function may not be provided by some VTRs. Refer to the instructions for the VTR.
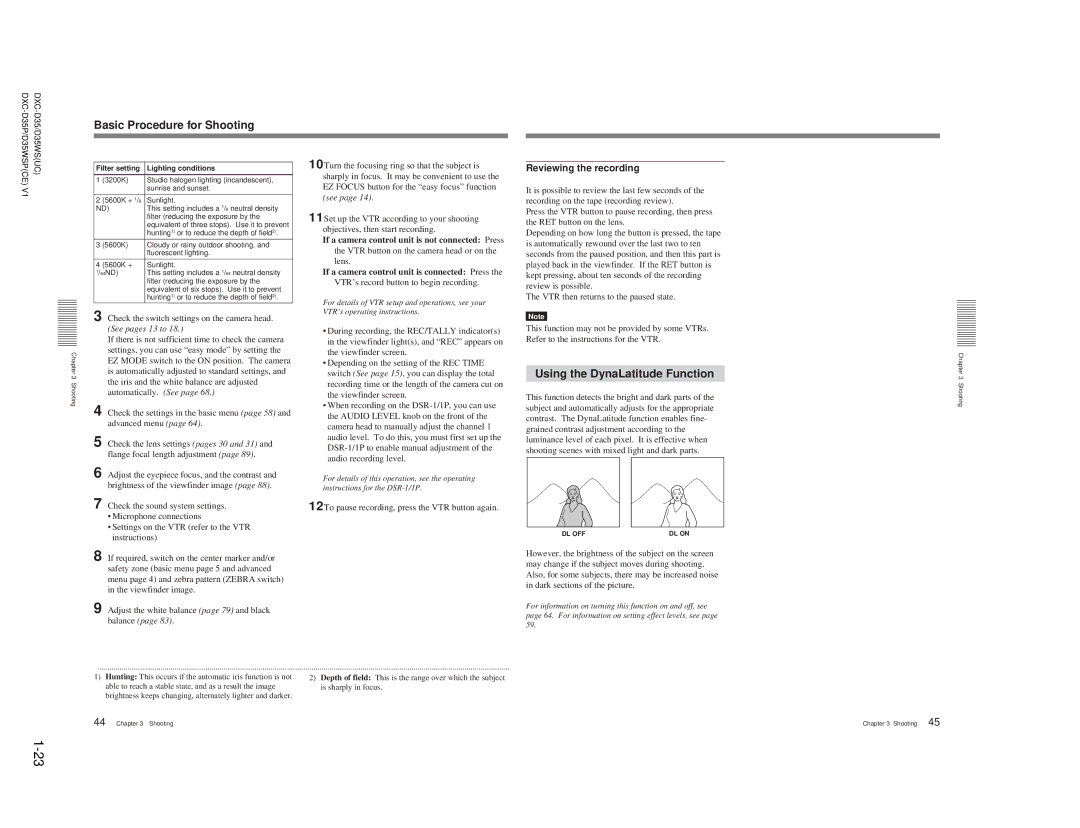
Using the DynaLatitude Function
This function detects the bright and dark parts of the subject and automatically adjusts for the appropriate contrast. The DynaLatitude function enables fine- grained contrast adjustment according to the luminance level of each pixel. It is effective when shooting scenes with mixed light and dark parts.
DL OFF | DL ON |
However, the brightness of the subject on the screen may change if the subject moves during shooting. Also, for some subjects, there may be increased noise in dark sections of the picture.
For information on turning this function on and off, see page 64. For information on setting effect levels, see page 59.
Chapter 3 Shooting
..........................................................................................................................................................................................................
1) Hunting: This occurs if the automatic iris function is not | 2) Depth of field: This is the range over which the subject |
able to reach a stable state, and as a result the image | is sharply in focus. |
brightness keeps changing, alternately lighter and darker. |
|
44 Chapter 3 Shooting |
|
Chapter 3 Shooting 45