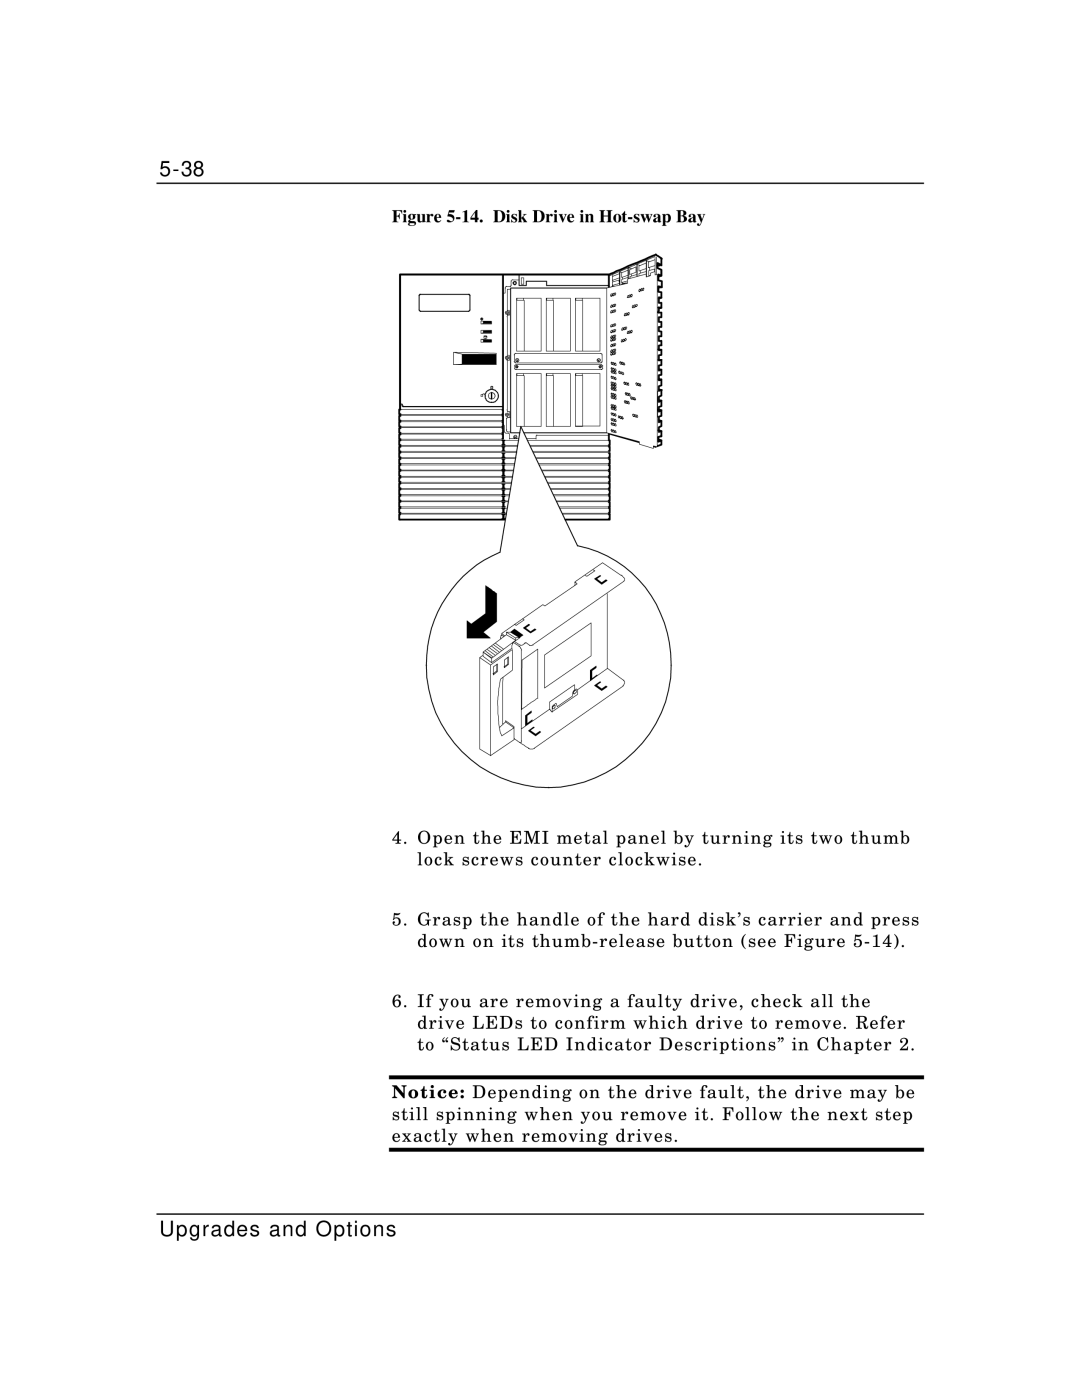
Figure 5-14. Disk Drive in Hot-swap Bay
4.Open the EMI metal panel by turning its two thumb lock screws counter clockwise.
5.Grasp the handle of the hard disk’s carrier and press down on its
6.If you are removing a faulty drive, check all the drive LEDs to confirm which drive to remove. Refer to “Status LED Indicator Descriptions” in Chapter 2.
Notice: Depending on the drive fault, the drive may be still spinning when you remove it. Follow the next step exactly when removing drives.