OfficeConnect Remote Sdsl Router User’s Guide
3Com Corporation 5400 Bayfront Plaza Santa Clara, California
About this Guide
System Administration
Configuring IP Routing
Configuring Bridging
Configuring Dhcp
Upgrading Operational Software for the Officeconnect Remote
Configuring Filters
Troubleshooting
Bridging and Routing
Using the CLI Guide
Technical Support
Page
Introduction
About this Guide
Conventions
Guide
Text Convention
About this Guide
3Com Year 2000 web
Year
Compliance
About this Guide
Introduction
Overview
Remote 840?
What Is
OfficeConnect
What is ATM?
What is an Sdsl
What is Frame
Modem?
4CHAPTER 1 Overview
What is a Remote Site?
3Connection with Three Virtual Circuits VCs
What is RFC 1490?
Smart Mode?
What is Dhcp
NAT and PAT can be configured for each remote site
Bridge Mode?
What Is Default
Getting Started
Quickly
OfficeConnect Remote
Features
Remote 840 Panel
5OfficeConnect Remote 840 Back Panel
DIP Switch Modes
Local Site LAN, Remote Site WAN, and Global configuration.
Configuration
Following shows the areas of configuration for each
Overview
Check the routing tables on configured protocols
Test the network accessibility
Remote
Ping a remote site
Manager Menus
Starting
Manager
Header Quick Link Area Main Area
Using OfficeConnect Remote Manager
Where to Find More Configuration Information
18CHAPTER 1 Overview
Performing System Administration Tasks
System Administration
Select the login name to be deleted Click Delete
Adding a Login
Deleting a Login
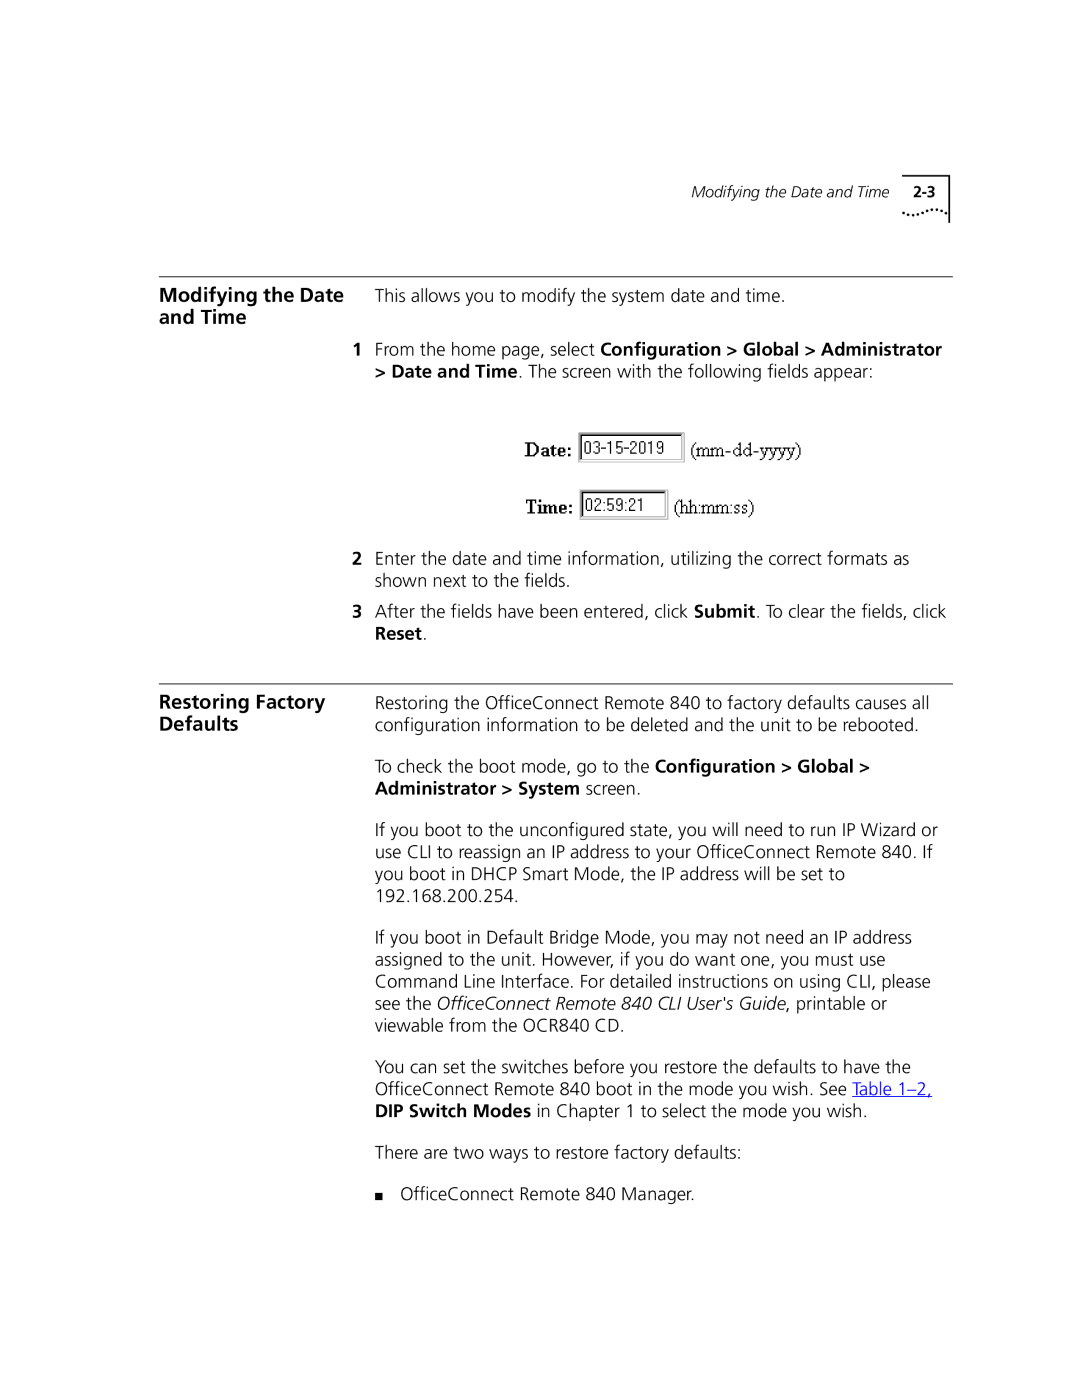
Restoring Factory
Defaults
Administrator System screen
Manager to Restore
Using
Access
Updating
Controlling Snmp Access
6CHAPTER 2 System Administration
Trap Managers
Assigning Snmp
Send an unsolicited message to a Snmp manager
Instructions
8CHAPTER 2 System Administration
Remote Site
Remote Site Management
Divided into the following parts
Connection and communication to the remote site
Adding a Remote Site Profile
Managing a
Remote Site Profile
Deleting a Remote Site Profile
Modifying a Remote Site Profile
This will access the Remote Sites General Modify Screen
Configuring Network Service Information PPP / RFC 1483 / RFC
Frame Relay
Select Network Service to either PPP over Frame Relay or RFC
Check the Enable Remote Site box
Configuring ATM
Information
ATM Modify Screen
Configuring ATM Information
Protocol Parameters
Configuring
Monitoring Remote
Site Connections
Overview
Configuring IP Routing
Access the IP Screen through Configuration Global IP IP
Select Configuration Local Site LAN IP
Network
On the LAN
Configuring IP RIP
Necessary
Advanced RIP
Resetting Parameters
Configuring IP
Configuring IP for
Connection
Parameters for
Local WAN IP Address
Network Information
Complete the following entries
Remote WAN IP Address
Sites IP
On a Remote Site
Site Select Configuration Remote Sites WAN
Configuring IP
Static and Framed
Routes
IP Route
Using IP Address Validation
Monitoring
Ping Responses IPAddress is alive
Ping timeout waiting for reply from IP Address
Ping no route to host
Ping host unreachable
An example script of a successful ping is
IP Testing Ping
18CHAPTER 4 Configuring IP Routing
Configuring Bridging
For more information on bridging, see Appendix A, Bridging
To set up bridging on the OfficeConnect Remote 840, you must
Bridging for
Select Configuration Local Site LAN Bridge
Monitor Networks Network Status table
Adding a Bridge
Connections
Profile, and then you modify the profile to enable bridging
To that remote site
Monitor Network Network Status table
Bridging IP Traffic
6CHAPTER 5 Configuring Bridging
OfficeConnect Remote 840 can be configured for simultaneous
Check the Enable MAC Encapsulated Routing box to enable MAC
Bridge Firewall
Encapsulated Routing for this remote site
Forward Broadcast/Unicast Packets All
Discard Routed Protocols Discard
Forward Unicast Packets Only Unicast
Advanced Bridging Options
Default Bridge Mode
Monitoring Bridging
Testing Bridging
Viewing Bridge
From the addresses
12CHAPTER 5 Configuring Bridging
Selecting Address Translation
Network Address Translation Using the Officeconnect Remote
Page
Data Protocol UDP button to access the static port tables
Configuring Static
PAT Port Entries
Press the Modify button to set the address
Page
Each entry will have the same public address
Port number, and the value of the inactivity timer
Networks NAT/PAT Port Assignments screen. Only those
Page
Dhcp Overview
Configuring Dhcp
Responds with
An IP address for the workstation
2CHAPTER 7 Configuring Dhcp
Dhcp Server
Access the Monitor Networks Dhcp Dhcp leases screen
Dhcp Smart Mode
Dhcp Relay
Monitoring Dhcp
Dhcp
6CHAPTER 7 Configuring Dhcp
DNS Overview
Configuring DNS
Two servers may be specified per domain name
Remote DNS
Servers
Click Add
DNS Host Entries
IPX packet based on the destination IPX network number
Configuring IPX Routing
Adding a Local IPX To add a Local IPX network
Information, such as IPX addresses and IPX routing
Configuring IPX for
Remote Sites
Configure Remote Site IPX Network Information
Check the Enable IPX checkbox
Configuring IPX
Both
Established
Click Framed Routes
Select the remote site to modify, and click Modify
Services include file servers and printers
Services
Real-time via SAP packet exchange between routers
Associated remote site is active
Select Configuration Global IPX IPX Services
Adding a Static IPX To add a static IPX Service to a LAN
Click Framed Services
Select Configuration Local Site IPX
Modify screen
RIP and SAP
Monitoring IPX
IPX Testing
IPX Testing
14CHAPTER 9 Configuring IPX Routing
Software
Obtaining Updated
Upgrading Operational Software for Officeconnect Remote
Operational
Installing
Software to
Remote 840 Unit
Page
Wait for the download to complete
Execute the batch file with the following command dl 115 ms
IPX
Monitoring Officeconnect Remote
11-2CHAPTER 11 Monitoring the Officeconnect Remote
Throughput Graphs
Ethernet Interface
11-4CHAPTER 11 Monitoring the Officeconnect Remote
Interface Status
Information in the Monitor Sdsl Transceiver Status screen
ATM Site Counters
Remote Site Connection
Sites Remote Site Status
Frame Relay VC Site Counters
Page
Dhcp
Address Translation
11-12CHAPTER 11 Monitoring the Officeconnect Remote
IPX
Bridge
Connection to the WAN or whenever a critical event happens
Events Logs
11-16CHAPTER 11 Monitoring the Officeconnect Remote
Filtering Overview
Configuring Filters
Capabilities
Filtering
2Advertisement Filters
Creating Filters
Creating Filters Overview
Traffic
Bridge filter in this example
Creating Filters Using the OfficeConnect Remote 840 Manager
12-6CHAPTER 12 Configuring Filters
Filter Status
Filter Screens Filter Index
Filter Create/Modify
Filter Summary
3Basic IP Condition
Condition Screens
5Basic IPX Condition
Delete Filter/Add Condition screen
Filter Delete/Modify
Delete Filter /Add Condition
12-12CHAPTER 12 Configuring Filters
Filter Using
Go to Configuration Global Filters
Disable the filter by unchecking the Enable Filter checkbox
Direction/location
12-14CHAPTER 12 Configuring Filters
Bridge Connection Problems
Troubleshooting
Guide for more information
Configuration problems are covered
IP Wizard and Web Browser Problems
LAN Connection Problems
Specified address, configure
IP Wizard and Web Browser Problems
WAN Connection Problems
Symptom Possible Cause Correction Action
General Network Connection Problems
Error test Remote network ATM cells are being
Save the current configuration and reboot
IP Network Connection Problems
Symptom Possible Cause
My video application
IPX is not enabled over both the LAN and the WAN
IPX Network Connection Problems
Bridging is not enabled over both the LAN and the WAN
Bridge Connection Problems
13-14CHAPTER 13 Troubleshooting
Routing Concepts
Bridging and Routing
Decide
Terrestrial and satellite links
2APPENDIX a Bridging and Routing
How Bridges Learn A-3
4APPENDIX a Bridging and Routing
How Bridges Learn A-5
Organization
Network
Structure,
Physical Layout
Network Organization, Structure, and Physical Layout A-7
8APPENDIX a Bridging and Routing
RIP. RIP is also known as a distance vector protocol
IP Routing
Information the router uses to make these assessments is
10APPENDIX a Bridging and Routing
IP Addressing
Administrators that are new to the IP protocol
Introduction to IP
Addressing
Mask Binary Subnets Hosts/Subnet
Subnets of Class C networks
IP Addressing Basics
Remote
Add ip network houston address 192.75.202.99/23
6APPENDIX B IP Addressing
Table B-2IP Addresses
176 248
Figure B-1Numbered WAN Interfaces
IP Addressing Basics
10APPENDIX B IP Addressing
Becoming more scarce
Address Translation Tutorial
2APPENDIX C Address Translation Tutorial
Figure C-1 NAT Example
Translation PAT
Port Address
Static NAT
PAT Example
Figure C-2 PAT Example
6APPENDIX C Address Translation Tutorial
Accessing the CLI
Using the CLI Guide
Documentation
From
2APPENDIX D Using the CLI Guide
Instructions for
Configuration NON -SETUP
Internet Access
Set Network Service to PPP over Frame Relay or RFC
Instructions for Internet Access
Only
Instructions for Internet Access
Page
Information from your remote site network administrator
Planning Form from of the Installation Guide by entering
Telecommuting
Remote Office
Enter the Dlci
Instructions for Telecommuting / Remote Office Access E-9
Remote Site IP Otherwise, press Next
Instructions for Telecommuting / Remote Office Access E-11
Then press the Save Configuration button
Remote site configuration
Audit
Configuration Audit
Local IPX Network These steps
Follow these steps
Saving
Testing
Support from Your
Online Technical
Network Supplier
World Wide Web Site
Country Telephone Number Fax Number
Numbers
Configuring ATM information
Default Bridge Mode
Critical Event Log 11
Filtering Advertisement filters
Networks
Monitoring the OfficeConnect Remote
Defined
Snmp
Storms a Structure
WAN
Page
3Com Corporation Limited Warranty
Warranties Exclusive
FCC Class B Statement