To configure IP routing, IP must be defined on both the LAN interface and one or more remote sites. On the LAN, an IP network must exist and it must have a specified IP address and subnet mask. On the remote sites, IP routing needs to be enabled, and the remote router address, a remote subnet mask and local WAN interface address need to be configured. The remote site address configuration can be learned dynamically when the remote site connection is established if the network service is PPP, otherwise it has to be specified.
Enabling IP Routing When the OfficeConnect Remote 840 is to be used for IP Routing, forwarding must be enabled in the global IP setting.
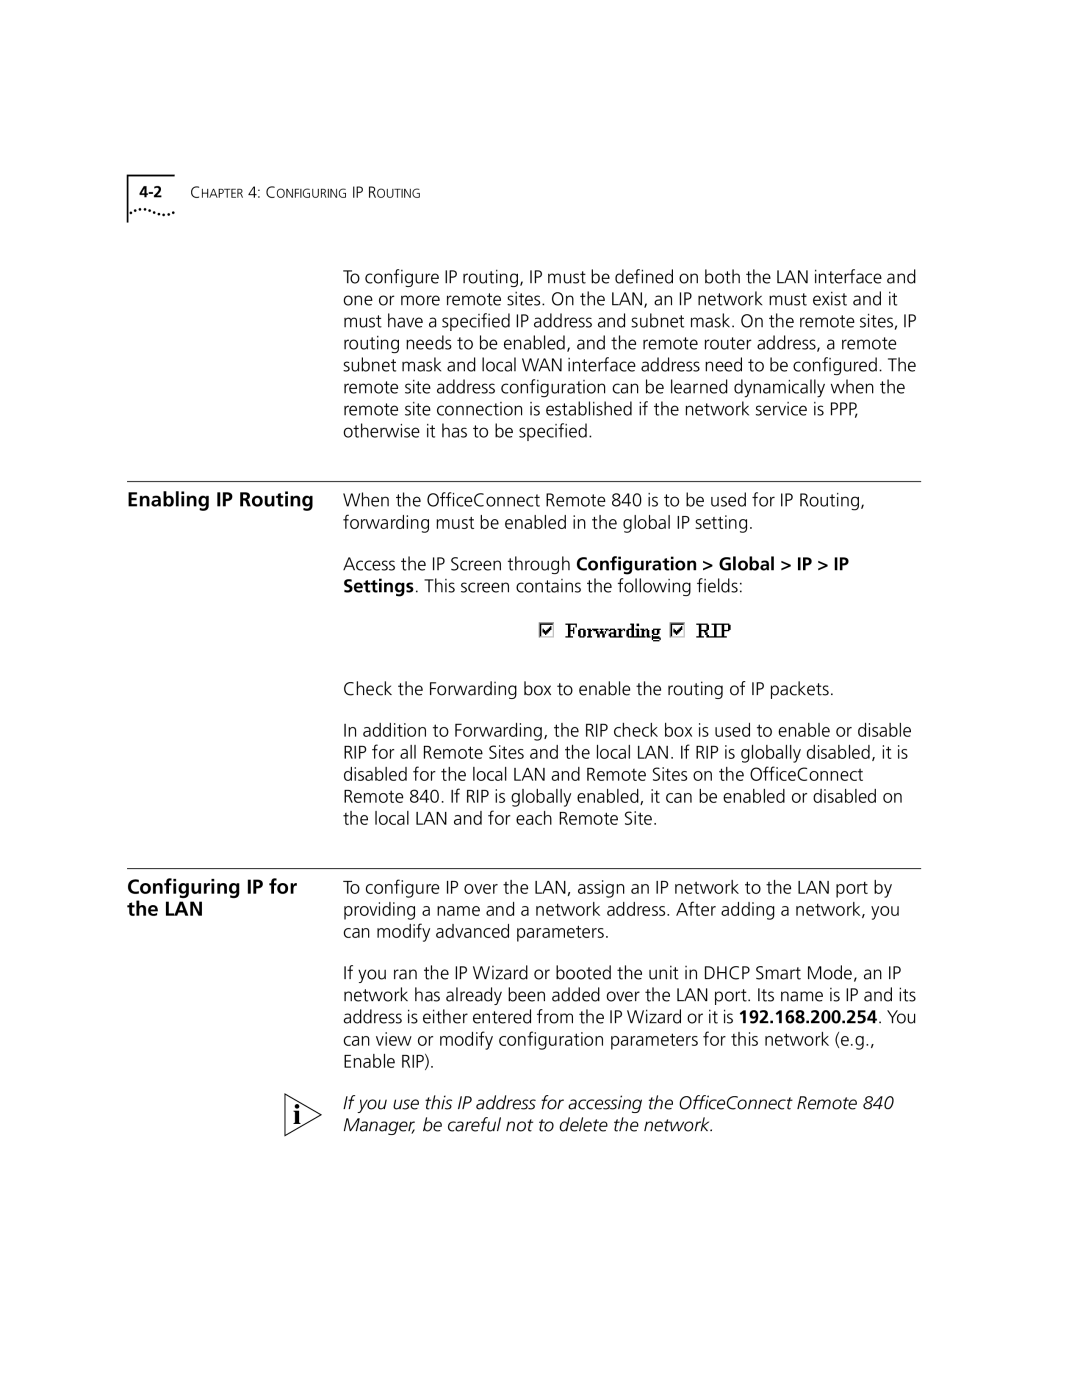
Access the IP Screen through Configuration > Global > IP > IP
Settings. This screen contains the following fields:
Check the Forwarding box to enable the routing of IP packets.
In addition to Forwarding, the RIP check box is used to enable or disable RIP for all Remote Sites and the local LAN. If RIP is globally disabled, it is disabled for the local LAN and Remote Sites on the OfficeConnect Remote 840. If RIP is globally enabled, it can be enabled or disabled on the local LAN and for each Remote Site.
Configuring IP for To configure IP over the LAN, assign an IP network to the LAN port by
the LANproviding a name and a network address. After adding a network, you can modify advanced parameters.
If you ran the IP Wizard or booted the unit in DHCP Smart Mode, an IP network has already been added over the LAN port. Its name is IP and its address is either entered from the IP Wizard or it is 192.168.200.254. You can view or modify configuration parameters for this network (e.g., Enable RIP).
If you use this IP address for accessing the OfficeConnect Remote 840 Manager, be careful not to delete the network.
